DO NOT IMPLEMENT AZURE NAT GATEWAY FOR WVD
We are currently investigating issues at a customer site, that is using Azure NAT Gateway, I will release a blogpost next week when the confirmation comes back that the issue is resolved.
Keeping below blog for reference!!! (20200807)
Introduction
In a former blogpost I described a simple way to create a static PUBLIC IP for more than one Virtual Machine in Microsoft Azure. The reason is still the same, you might need a simple and cheap method of using a single PUBLIC IP for one or more RDS/WVD machines, so that all users browse via the same PUBLIC IP to the internet. This is especially useful when your users use an IP whitelisted website.
Azure NAT has several advantaged above my former Ubuntu NAT solution. It is a fully managed solution created by Microsoft and it is running as a service, not a VM. You only have to configure the service and not update VM’s operating systems etc. Depending on the VM size in my former solution pricing can be a little higher.
A simple B1S Linux machine costs around € 7,50 per month (€ 0,01 per hour). The NAT Gateway costs around 4 times more about € 0,04 per hour. This will be around € 30, – per month. Also, it has more advantages because it is a managed service, not a NAT function in a user managed Linux VM. Just create the gateway and that’s it.
Requirements
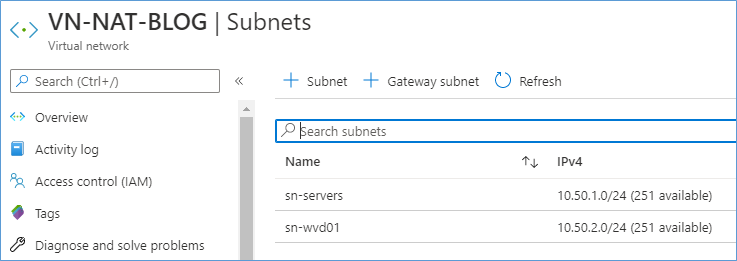
This blog post also assumes you have an Azure VNET with multiple subnets. And at least a few Windows Servers. Below is the setup created to write this blog. In this setup I have no connection to on-prem network, so cloud only.
In contrast of my older blog you do not need a special public subnet.
Address space: 10.50.0.0/16
Create two Windows Virtual Machines: Size/HDD does not matter you can change it later.
| Name | IP | Subnet | Public IP | |
| VM-BACKEND | 10.50.1.4 | sn-servers | Yes, for RDP/steppingstone to WVD01 | |
| VM-WVD01 | 10.50.2.4 | sn-wvd01 | no | |
I call the VM ‘VM-WVD01’ but I have not configured WVD for this blog, it is just Windows 10 VM running in this subnet. The principles are the same.
Let us check the PUBLIC IP of the VM-WVD01 computer.
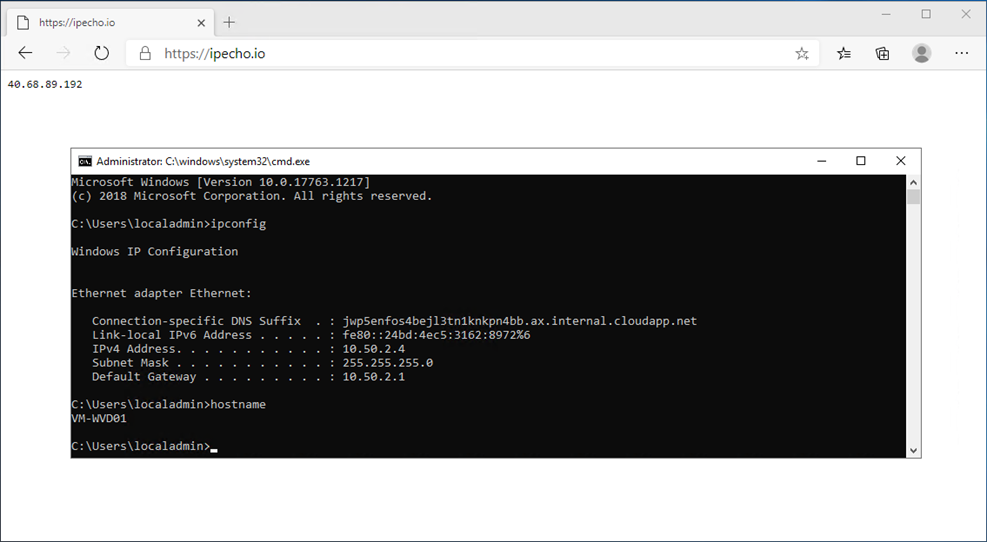
At this point the VM-WVD01 has a random internet breakout PUBLIC IP number, provided by the Azure network default.
Next, we create the Azure NAT.
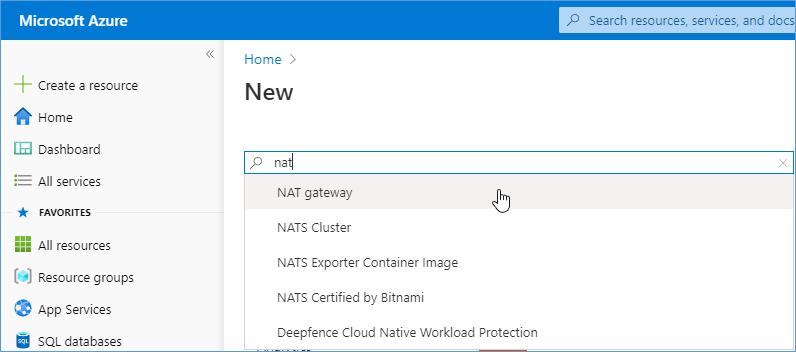
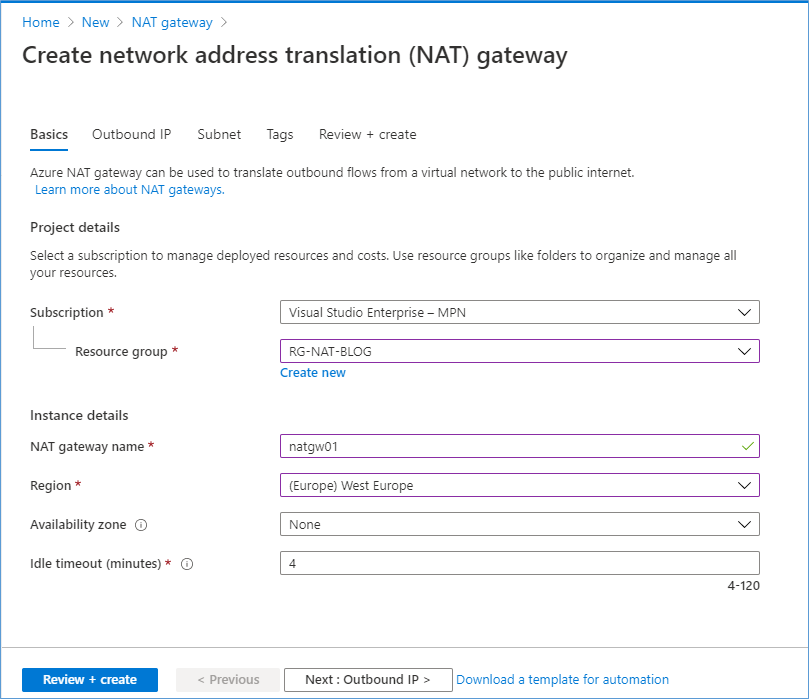
In Azure Portal, click on “Create a resource”, search for NAT and choose NAT Gateway.
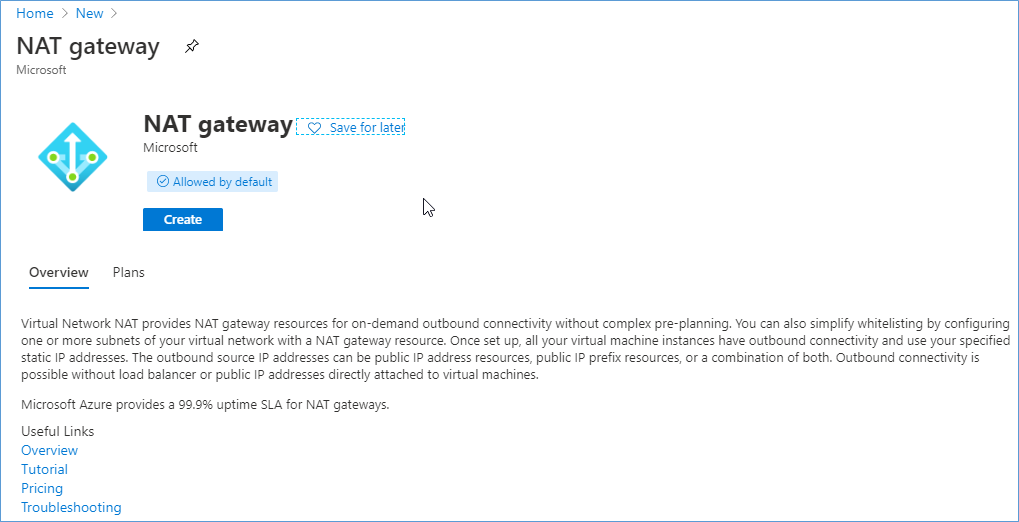
Click Create.
Click Next : Outbound IP.
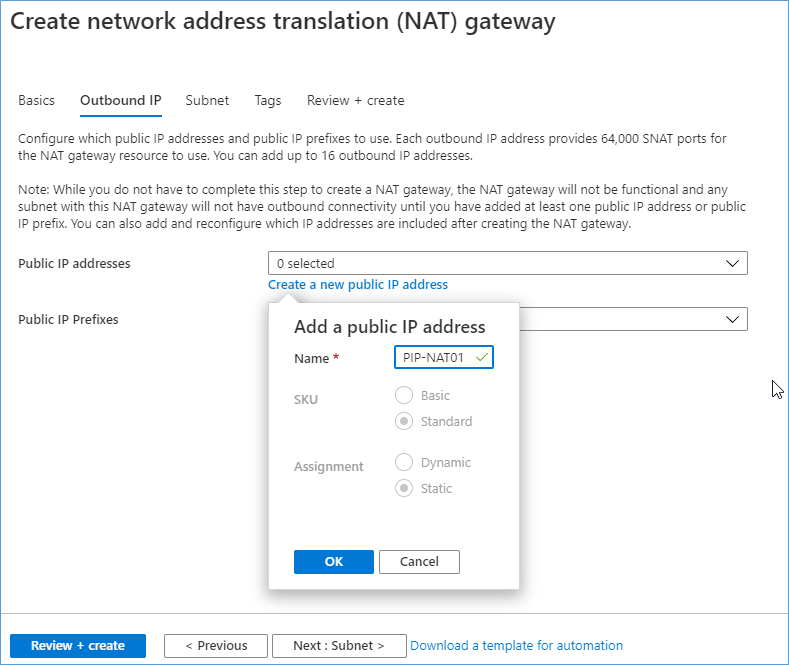
Create a new Public IP number, name it, and choose Static. I named it PIP-NAT01. Click OK.

Click Next : Subnet.
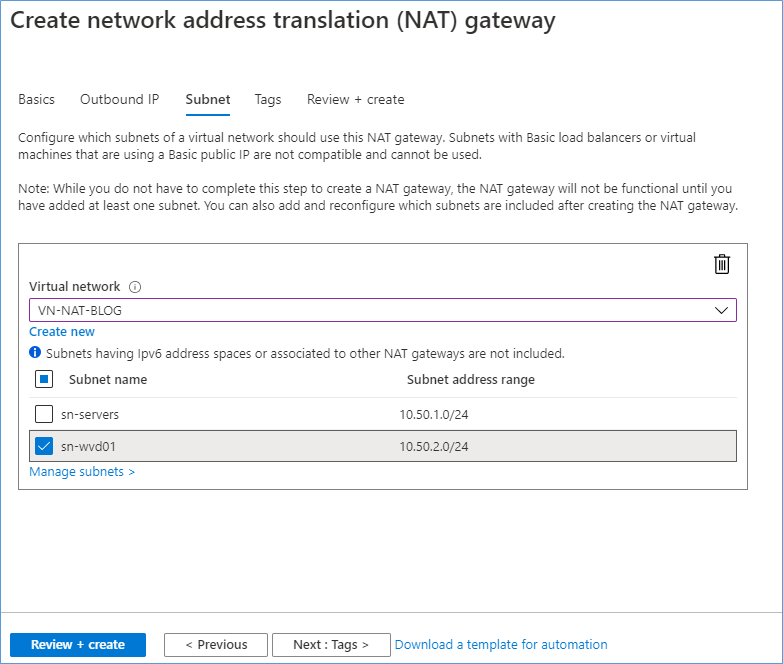
Choose your Virtual Network and select the subnet for which to use this NAT. Note; the subnet must not contain any VMs with an attached PUBLIC IP. In my example I choose sn-wvd01.
Click Review + Create.
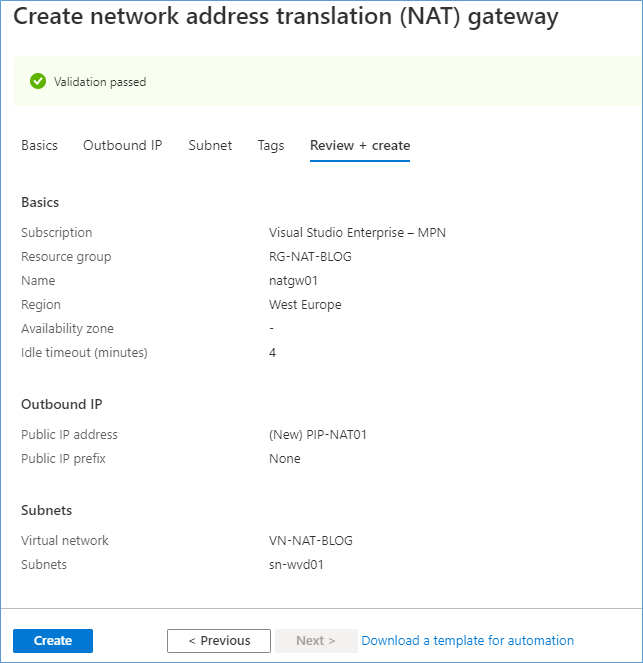
Click Create.
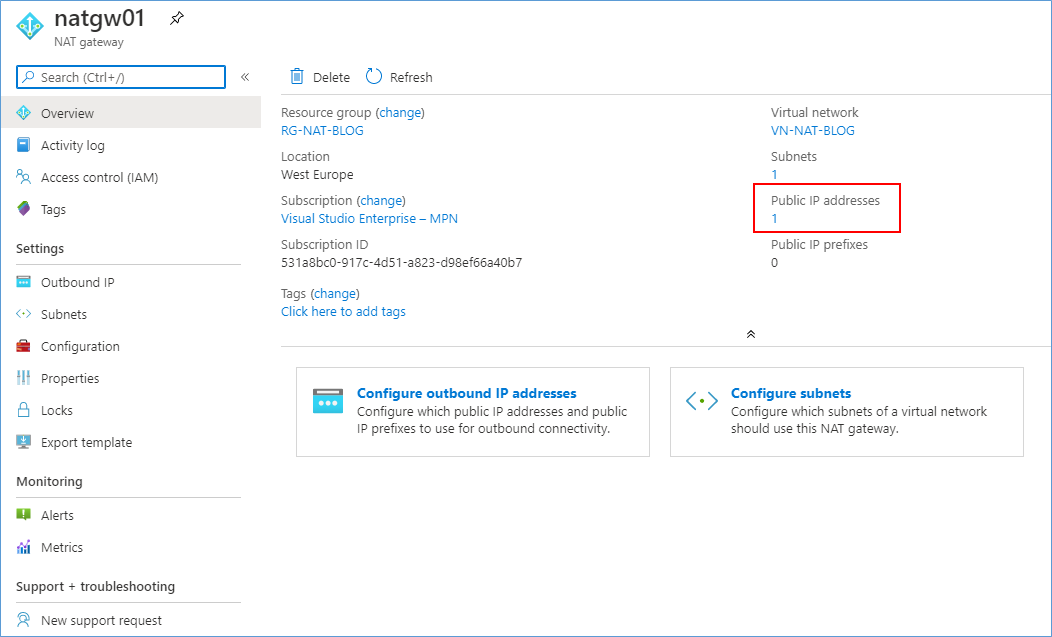
Click on the resource just created. Click on the 1 number in PUBLIC IP address.
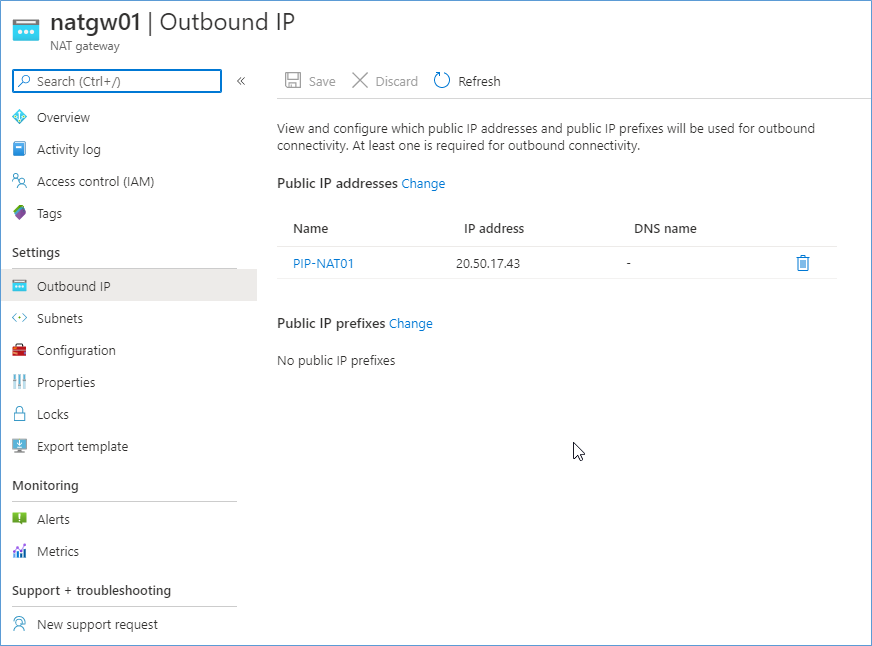
In this overview you see the current PUBLIC IP. This should be the new outbound number of VM-WVD01.
Next we go back to the VM-WVD01 and press F5. Tadaa….
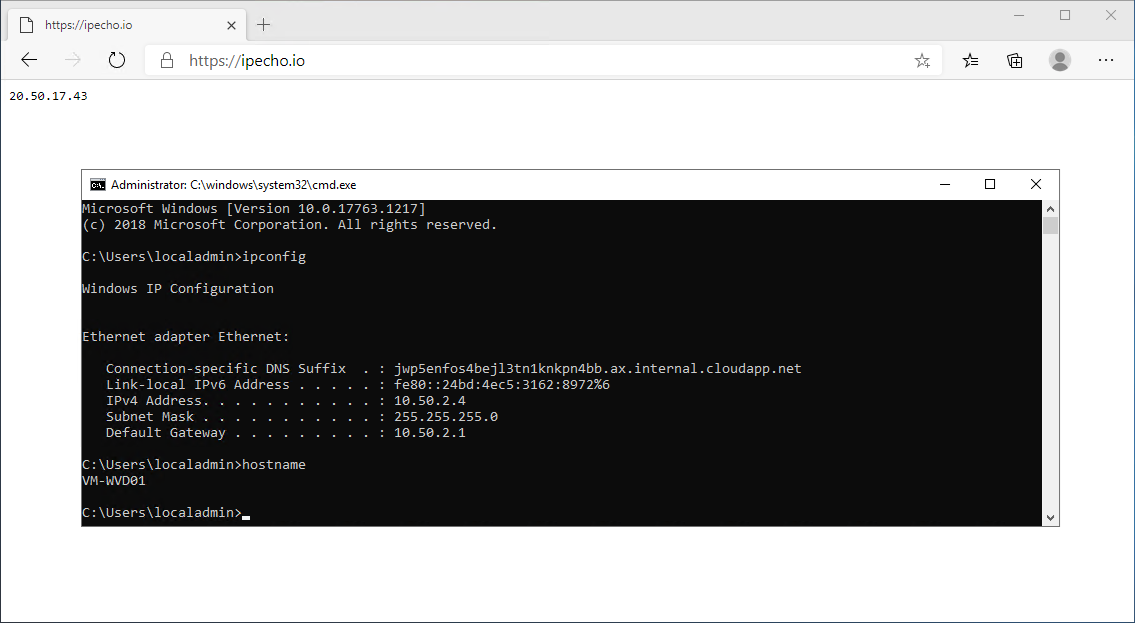
This was a lot easier than the Linux way!
One thought on “Azure NAT”