Introduction
PSRoomSigning 2022 is a complete new version of the PowerShell based solution for RoomSigning. The solution has been reinvented because of issues with the 2021 version. If you installed the 2021 version and have “server error 500” sometimes please remove the old version and install this one.
RoomSigning 2022 will display the meetings in your meeting rooms in your environment. If you have an information display in your company restaurant or foyer you can display this information. Only meetings of today are displayed and meetings in the past are no longer on the screen, keeping it nice and clean.
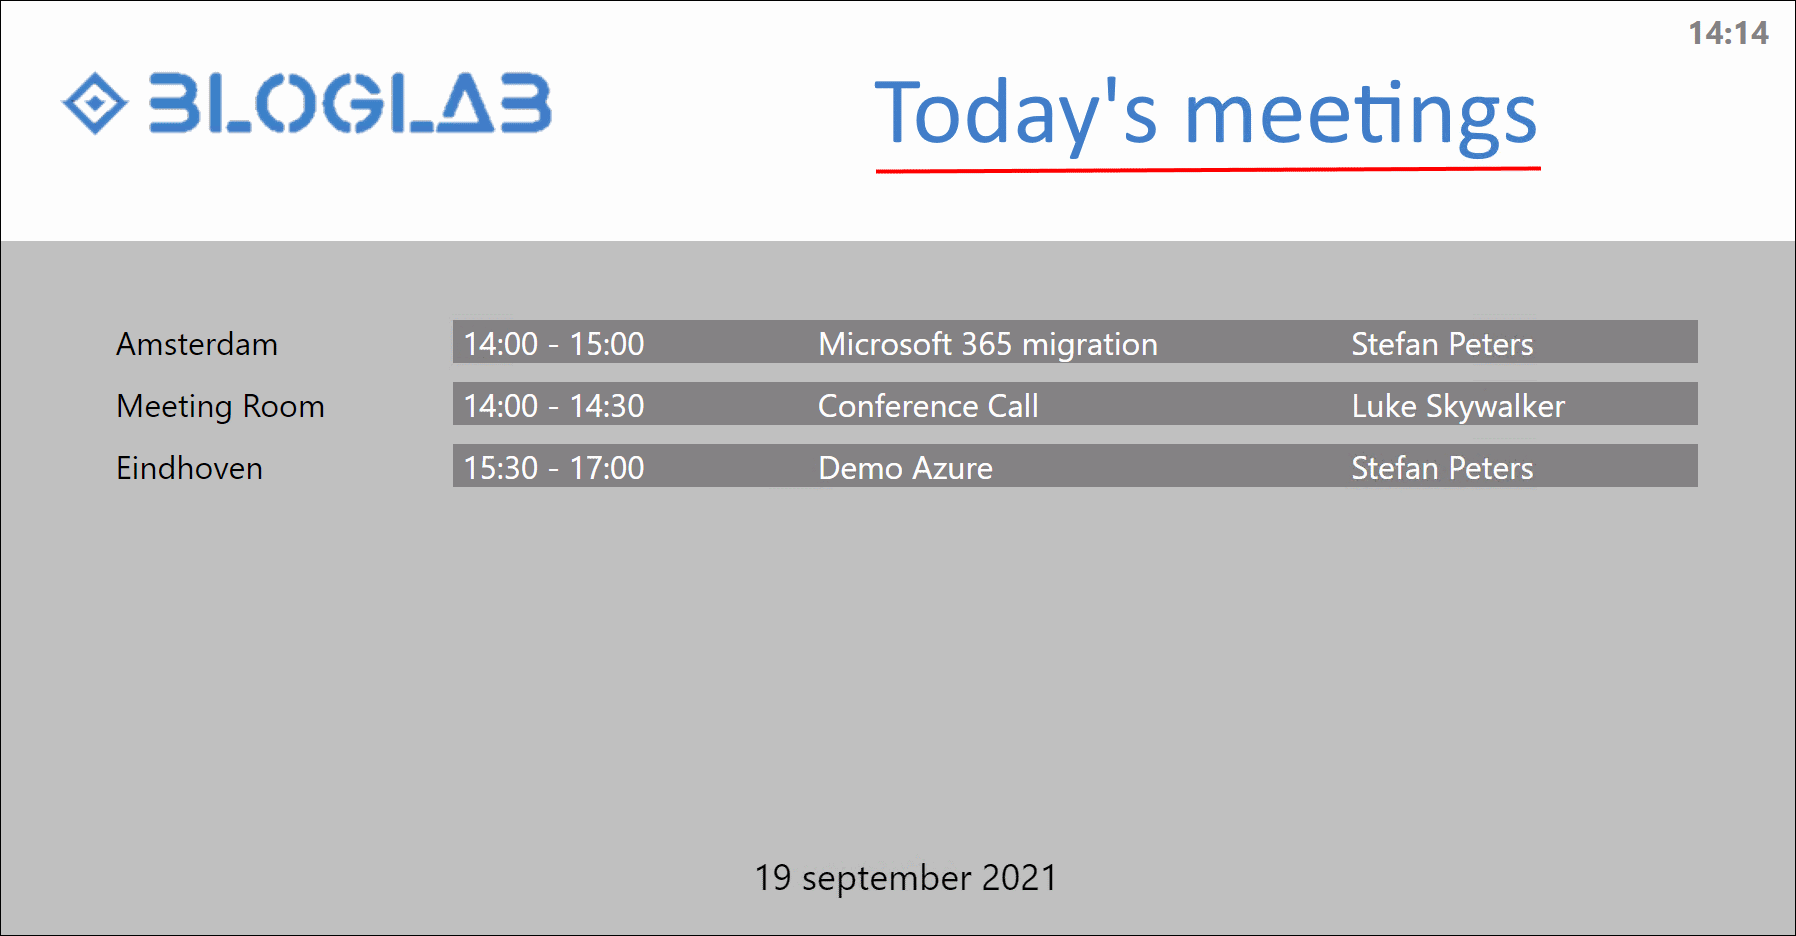
Example of RoomSigning
How does it work?
The PowerShell script is designed to run as a scheduled task, or scheduled Azure Automation Runbook. The script needs a Service Principal Name in Azure AD with ‘Calendar.Read’ and ‘User.Read’ permissions. And when your target is Azure Web App Service the SPN needs Contributor permissions on the App Service.
When the script runs it will read the configured Exchange Online Room mailboxes and will render an HTML file in a configured target location. This HTML file is the visual representation of the Exchange Rooms. The HTML location needs to be a location where your display device can access it. This can be a webserver running local or in Azure or can be a local folder or a shared folder on a file share. If your client can access it, it will work.
Revision History:
2022 – Second release
• Reinvented the solution with extra jQuery script and splitting the HTML into two files.
• Add jQuery script for refreshing the page, making it more robust and stable.
• Requires webserver, doesn’t work local anymore.
• Fixed the PSRoomsigning_CreateResources.ps1 script now it works.
2021 – First release
Download the PSRoomSigning 2022 solution here.