In this blog I will explain how to install a Hyper-V role on a Windows 2019 Standard Server Core. I also install and configure the DHCP and RRAS role. To configure these roles, I use a Windows 2019 Standard Server (Desktop Experience).
This normally is pretty easy when all are joined to the domain, but for my “LAB” scenario I do not use a Domain Controller. Procedures should work also on Hyper-V Server 2019, except for the DHCP and RRAS role.
In my LAB network I want to use a Sophos XG HOME edition for network protection to the Internet. I want to virtualize this software to maximize the usability of the MiniPC I purchased.
From a major Chinese webshop I purchased a J1900 based MiniPC with 4x Intel Network card in it. It came with 8GB and 120GB SSD. The J1900 processor supports Hyper-V.
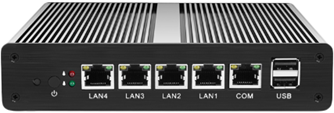
I want to use the DHCP/RRAS and Hyper-V role on this BOX. Because the J1900 only supports 8GB of RAM I use the Server Core edition of Windows 2019 instead of the Desktop Experience.
For management I use a Windows 2019 Standard (Desktop Edition) running in a VM for the purpose of this Blog. In practice I have configured these tools on my Windows 10 Pro workgroup computer with the RSAT tools.
Shopping list:
| For the Hyper-V Server | For the Management Server |
| J1900 Based computer with 8GB RAM and 120GB SSD. | Hyper-V based Guest on Windows 10 Pro with 4GB RAM and 2 CPU. |
| Windows Server 2019 ISO on a USB stick
(MSDN source) |
Windows Server 2019 ISO |
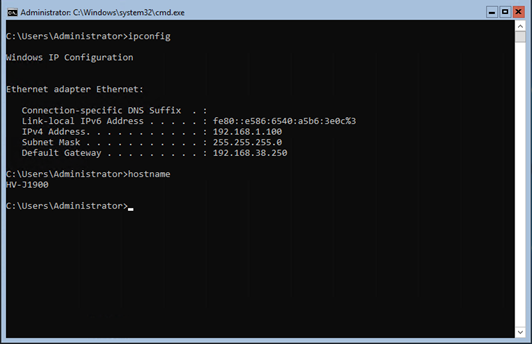
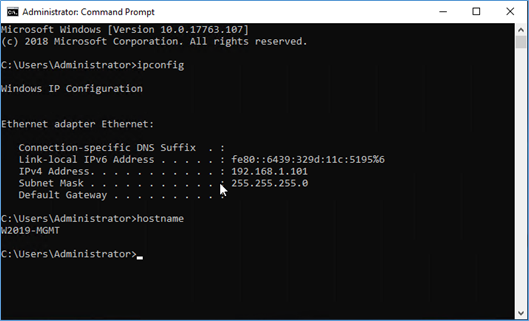
| Hostname: HV-J1900 | Hostname: W2019-MGMT |
| STATIC IP on LAN1: 192.168.1.100 | STATIC IP on LAN1: 192.168.1.101 |
| Windows Server 2019 Standard (Server Core) | Windows Server 2019 Standard (Desktop Experience) |
This blog starts after the install of both the J1900 computer and the Management VM.
Prepare the Hyper-V host:
Management W2019 Server:
Step 1: Configure the Hyper-V host
Add the Hyper-V role to the server.
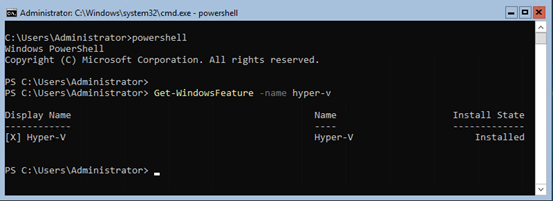
First on the Command Prompt, type ‘powershell’ <ENTER>.
Install-WindowsFeature -Name Hyper-V -IncludeManagementTools -Restart

The Server will reboot automatically, after the reboot you can check if the role has been installed.
Get-WindowsFeature -name Hyper-V
Step 2: Configure the Management Server
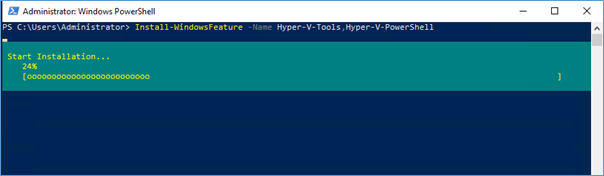
Type this PowerShell command to install the Hyper-V management tools:
Install-WindowsFeature -Name Hyper-V-Tools,Hyper-V-PowerShell
Step 3: Make GUI management work.
First, make sure machines can connect to each other using names. Use either DNS or HOSTS files to make name resolution work.
In my LAB I use HOSTS files. Hostnames are enough for this LAB.
[HOSTS file entry on HV-J1900]
192.168.1.101 W2019-MGMT
[HOSTS file entry on W2019-MGMT]
192.168.1.100 HV-J1900
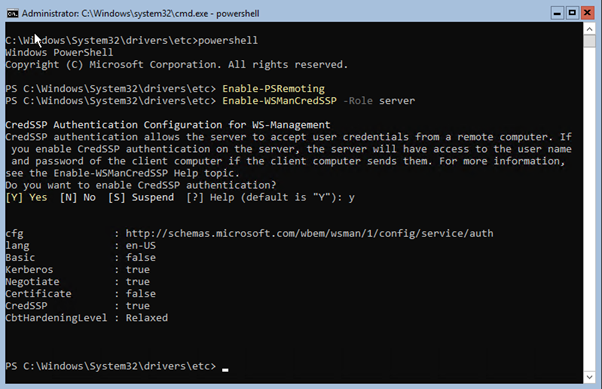
PowerShell Commands for the HV-J1900 (Hyper-V Core server)
Enable-PSRemoting
Enable-WSManCredSSP -Role server
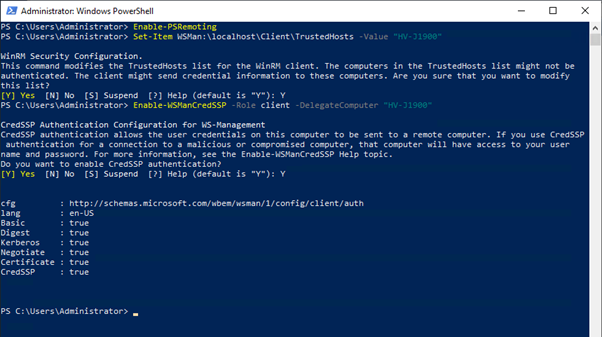
PowerShell Commands for the W2019-MGMT
Enable-PSRemoting
Set-Item WSMan:\localhost\Client\TrustedHosts -Value “HV-J1900”
Enable-WSManCredSSP -Role client -DelegateComputer “HV-J1900”
Step 4: Test Hyper-V Console
After you followed the steps 1,2 and 3 you should be able to Manage the VMs using Hyper-V manager.
On the W2019-MGMT server start the Hyper-V console
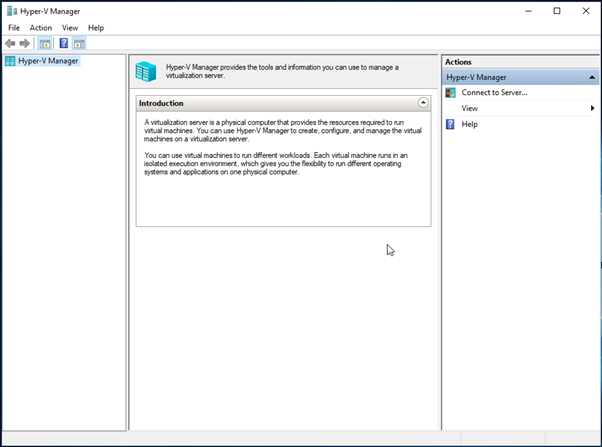
On the Action Panel click: Connect to Server…
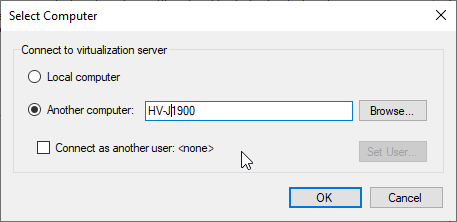
On the Select Computer dialog chose Another Computer and type the name of the Hyper-V server: HV-J1900.
If the local Administrator account and remote are the same name and password this should be enough. If there are not the same you can select “Connect as another user” to add credentials for this connection.
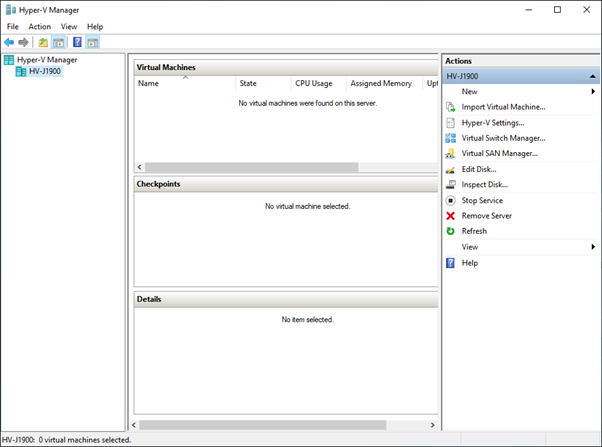
You can now choose to create a new VM. And start virtualization.
Step 5: Add DHCP and RRAS to the server and manage from the Management server.
[HV-J1900]
On the HV-J1900 Core server enter these PowerShell commands to add the Roles.
For DHCP:
Install-WindowsFeature DHCP -IncludeManagementTools
For RRAS:
Install-WindowsFeature RemoteAccess
Install-WindowsFeature RSAT-RemoteAccess-PowerShell
Install-WindowsFeature Routing
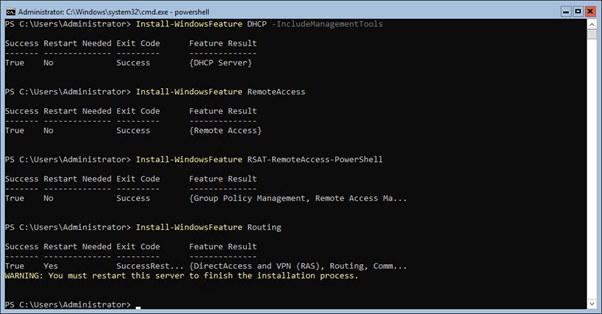
Restart the Core server with powershell: shutdown -r -f -t 0
[W2019-MGMT]
On the W2019-MGMT Server (GUI Server) enter these PowerShell commands to install the RSAT GUI tools for the DHCP and RRAS roles.
Install-WindowsFeature -Name RSAT-DHCP
Install-WindowsFeature -Name RSAT-RemoteAccess

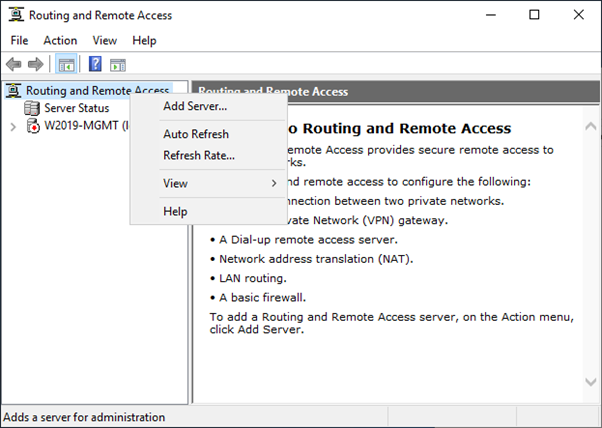
Start Routing and Remote Access console, right click “Routing and Remote Access” and click Add Server…
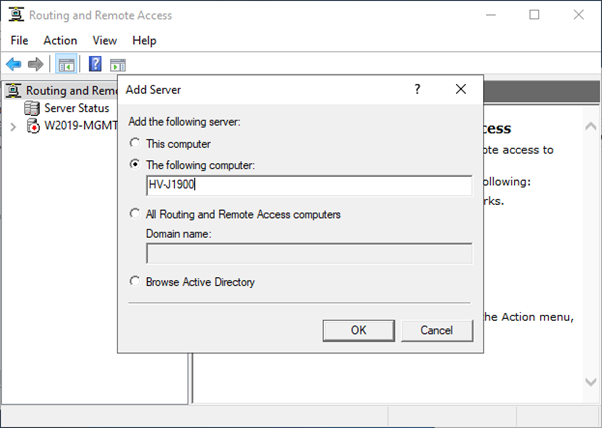
Choose “The Following computer” and enter: HV-J1900 press OK.
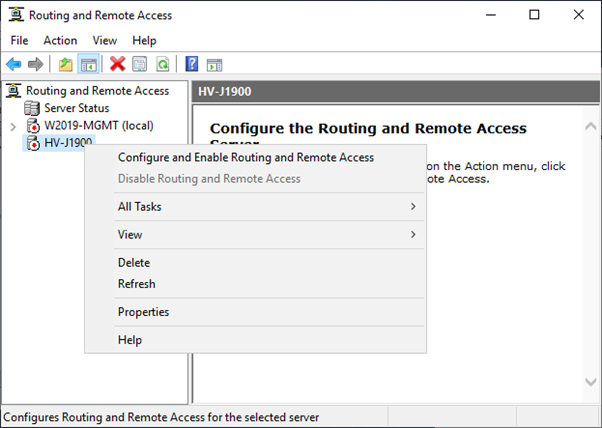
Rightclick the JV-J1900 and choose Configure and Enable Routing and Remote Access. After this you can proceed configuring RRAS as usual.
For the DHCP Role start the DHCP Management Console.
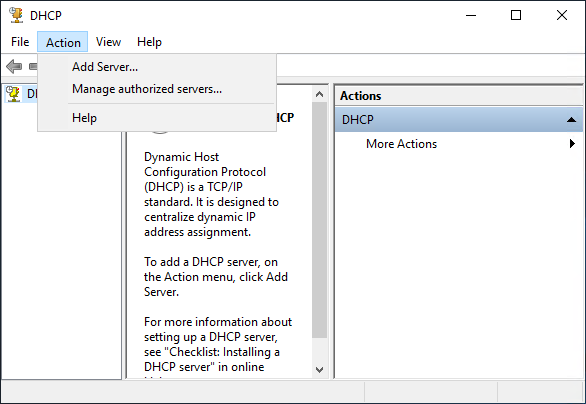
Click the Action menu, choose Add Server…
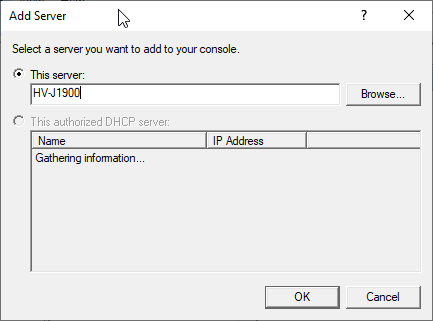
The the Servername: HV-J1900 and press OK.
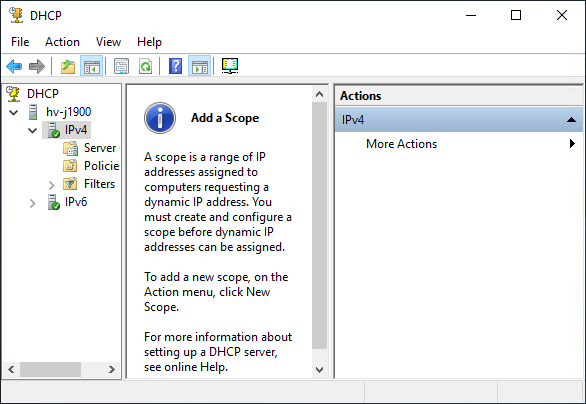
After this you can configure the DHCP server as usual.
Note: I haven’t tried but you probably can install more Roles on the Core server and manage them using step 3.