Microsoft has a new Virtual Desktop to host desktops managed by Microsoft running on Azure. At time of writing the Windows 10 Enterprise for Virtual Desktops is not available as ISO file, so running SCCM or MDT to build your own WVD “Golden Image” is not that easy. Combining some techniques allows me to create a WIM file of the VHD that Azure delivers. The WIM file can be used to do an MDT OS Deployment.
What do you need?
- Microsoft Azure subscription (https://portal.azure.com)
- MDT Server
- An up and running Windows Virtual Desktop environment
Steps to get the WIM file.
- Create an Azure VM with the correct Windows 10 version.
- SYSPREP the VM and shutdown/deallocate.
- Download the VHD file
- Convert the VHD to WIM with a few PowerShell lines
- Import the WIM file in MDT for a regular OS deployment task sequence.
First, we need to create a Windows 10 Enterprise multi-session Virtual Machine in Azure to get the source files.
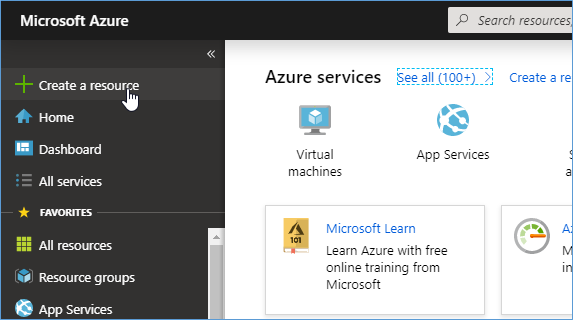
Login to https://portal.azure.com click “Create a resource”
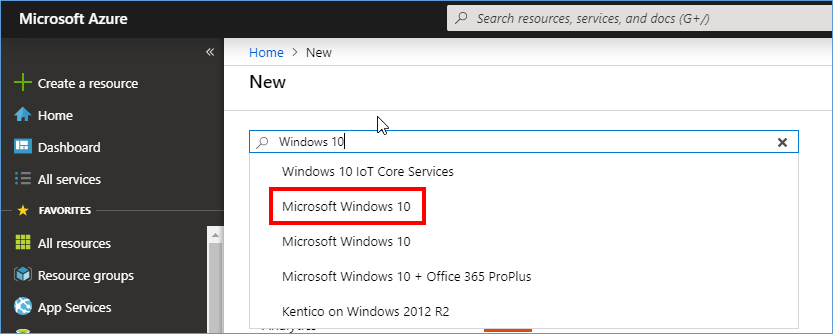
Type Windows 10 in the search field. Choose the first Windows 10 option.
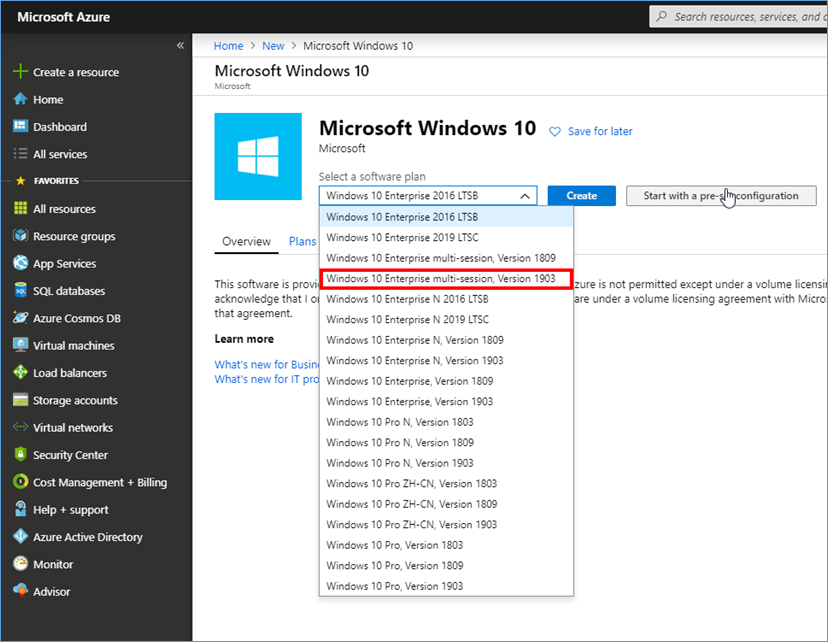
In the dropdown choose the version: “Windows 10 Enterprise multi-session, Version 1903”.
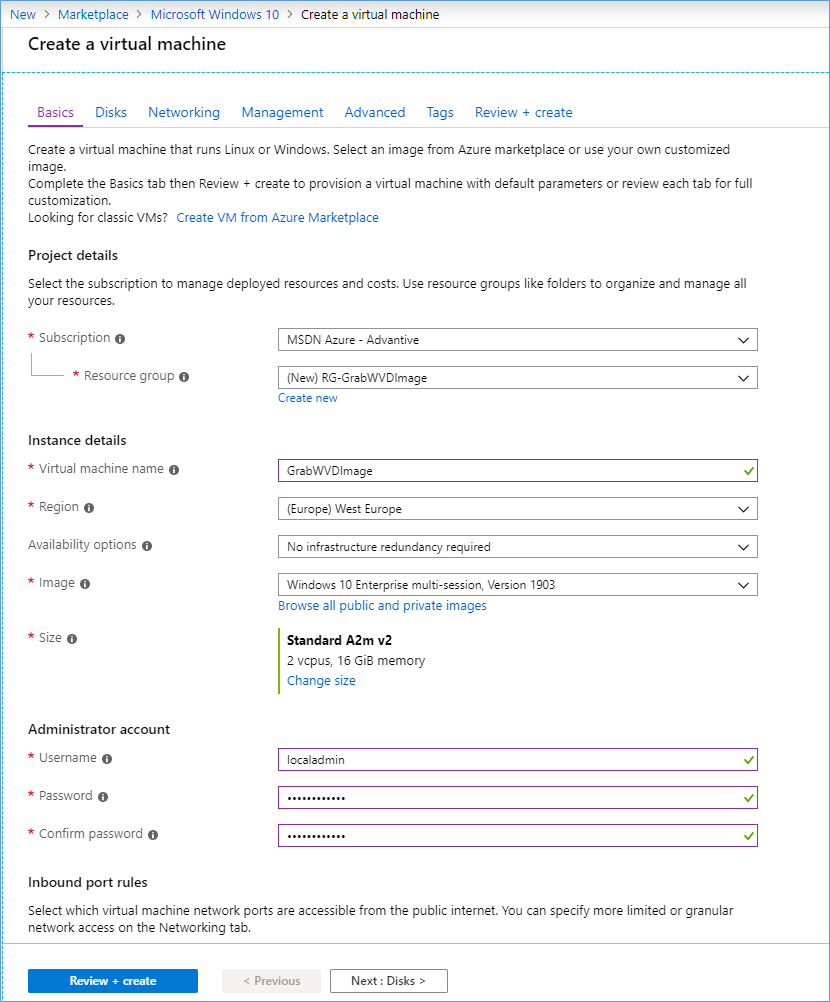
Enter details about the VM, create the VM as you would any standalone VM.
This VM only needs to exist to download the VHD for the conversion. The VHD needs to be sysprep-ped. The easiest way to do this is while the VHD is still in Azure. RDP into the VM.
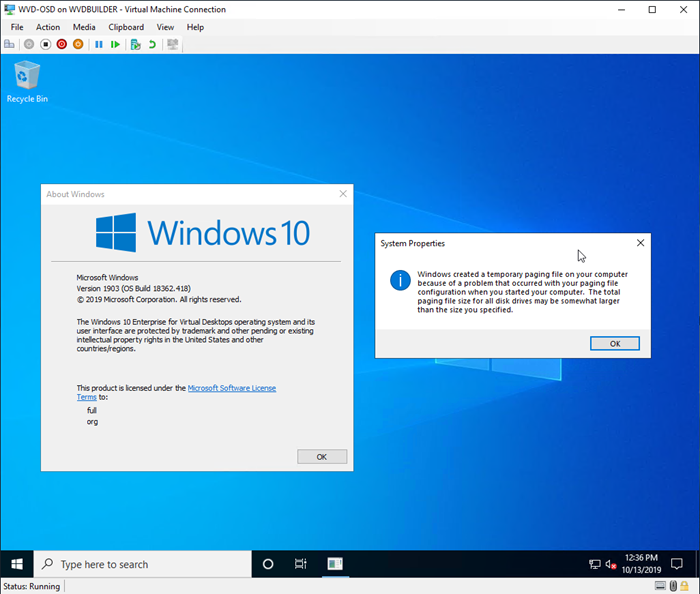
To be sure it is the correct Windows image, right click Start select Run and type: winver (press enter)

Check if it says “Windows 10 Enterprise for Virtual Desktops”
Next, start sysprep via an elevated CMD box.
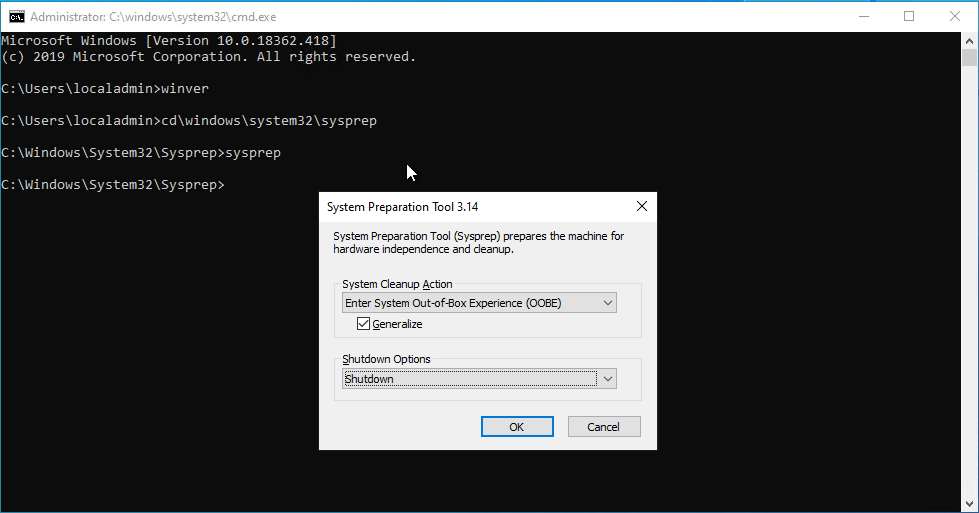
Select “Enter System Out-of-Box Experience (OOBE)”, enable Generalize, and SHUTDOWN as Shutdown Options. Press OK.
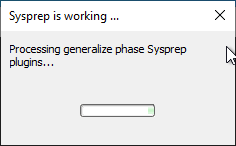
Wait until the RDP session disconnects.
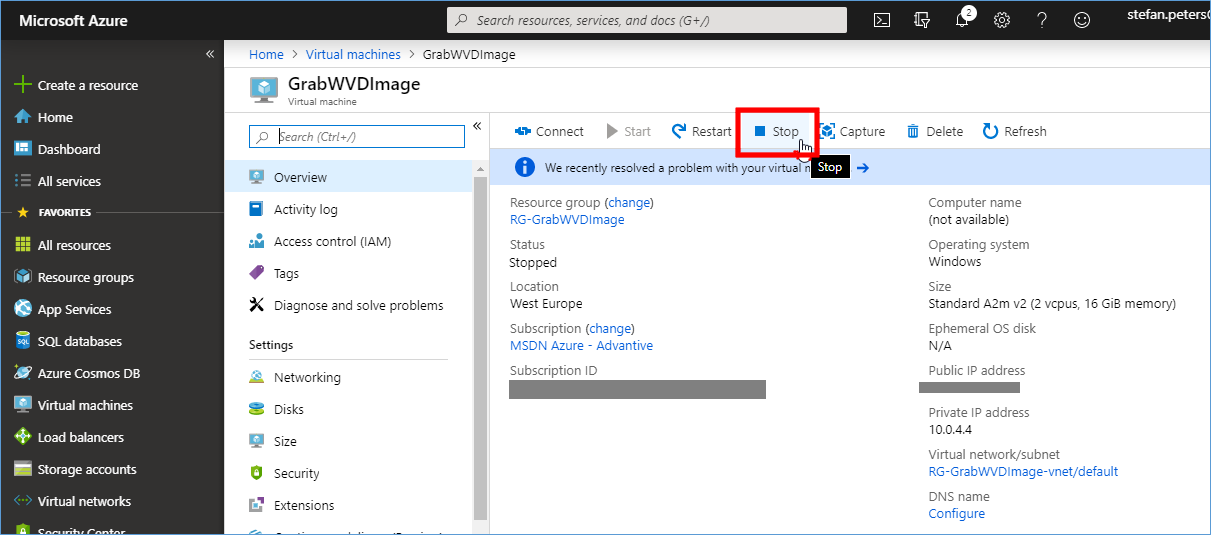
Before we can download the VHD file we need to de-allocate the VM, check the VM Status and wait until it says Stopped. We do not want to interrupt the SYSPREP process by clicking STOP too soon. When the Status is Stopped you can press the STOP button to fully deallocate the server.
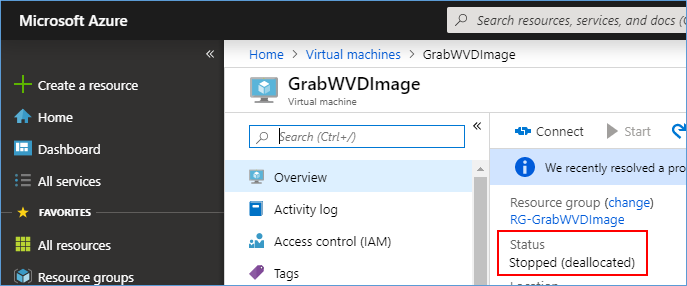
When the status is Stopped (deallocated) continue.
First click Disks, then click the OS disk name “GrabWVDImage_….”
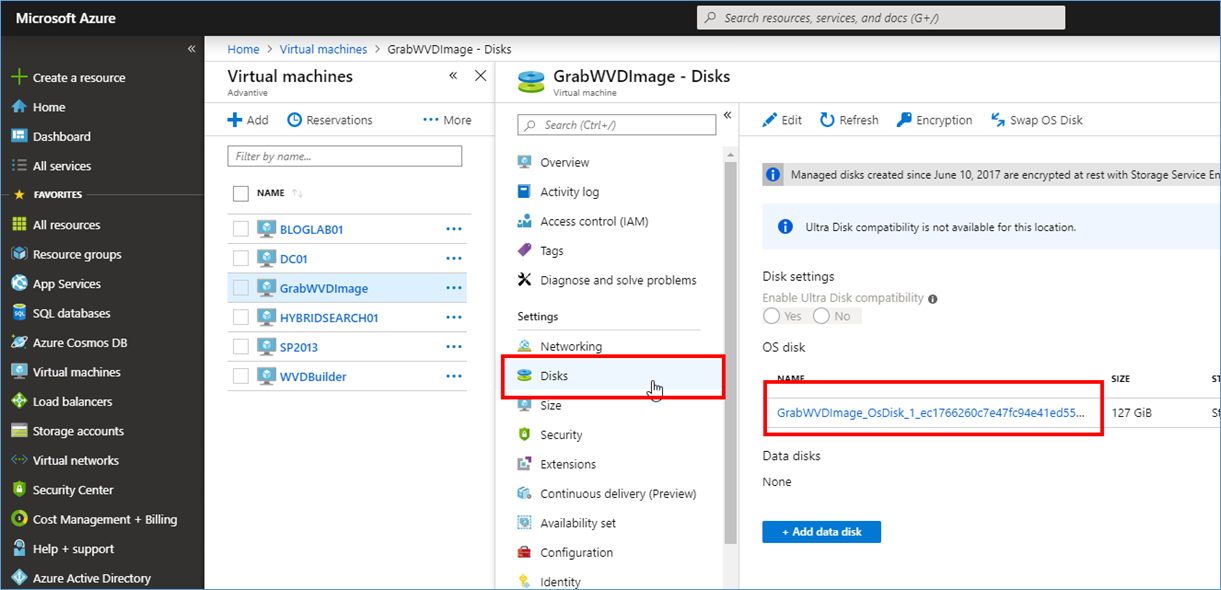
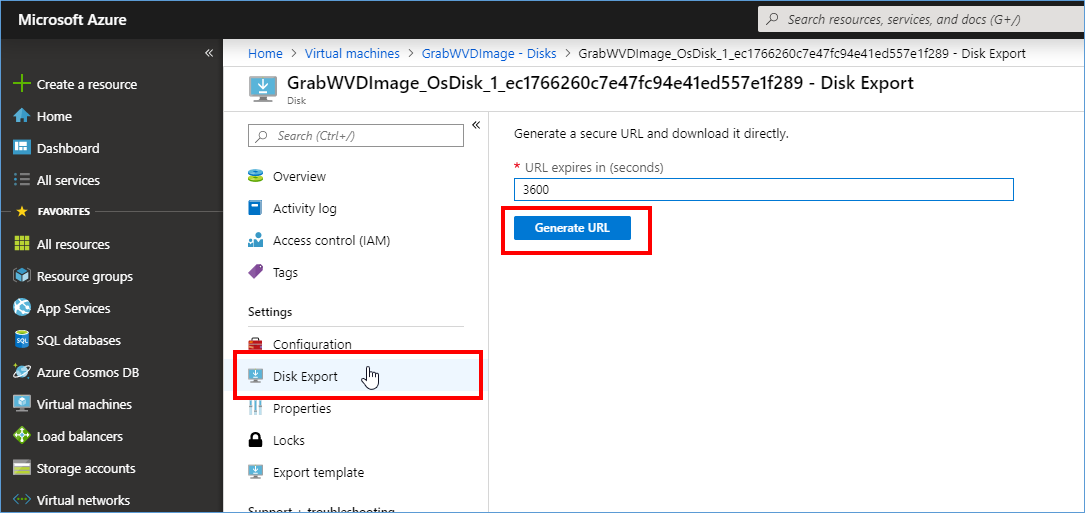
Click Disk Export, set the time you think it needs to download 127GB VHD file over your connection in seconds. And press Generate URL.
When the URL is generated you can press “Download the VHD file” or copy/paste the URL to another machine to download it there. Make sure your Downloads folder is capable of saving 127GB VHD file.
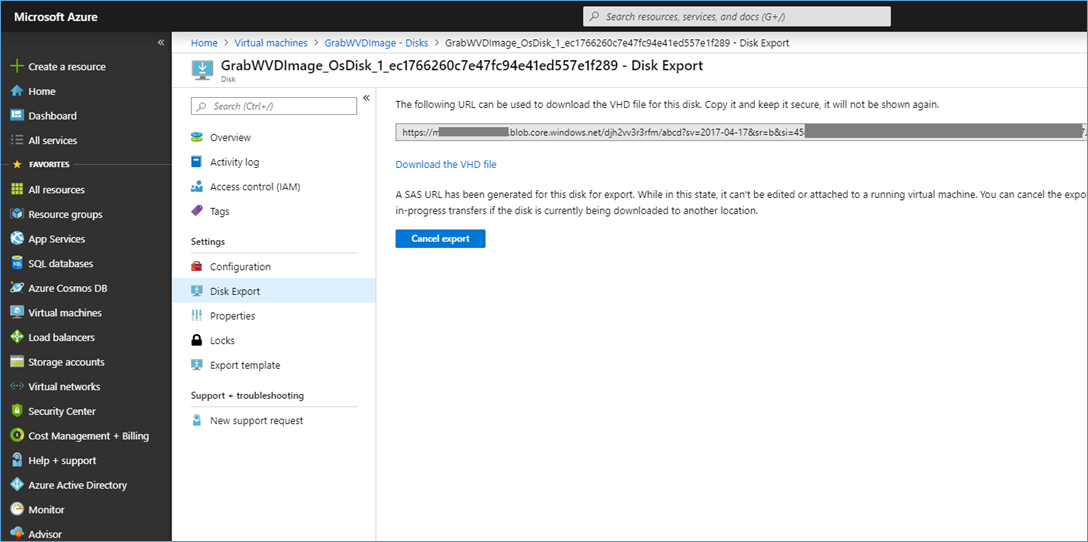
When the file is downloaded you can press “Cancel Export” on this screen or just let the URL expire.
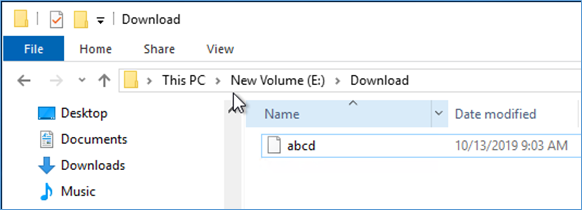
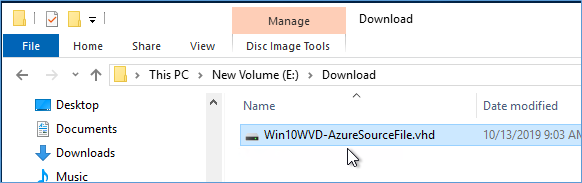
My file is downloaded to E:\Download. The file is named “abcd” so first I rename the file to: “Win10WVD-AzureSourceFile.vhd”
Next, we need to convert the VHD to a WIM file. Open PowerShell and execute these three lines:
Mount-WindowsImage -ImagePath “E:\Download\Win10WVD-AzureSourceFile.vhd” -Path C:\WVDVHDMount –Index 1
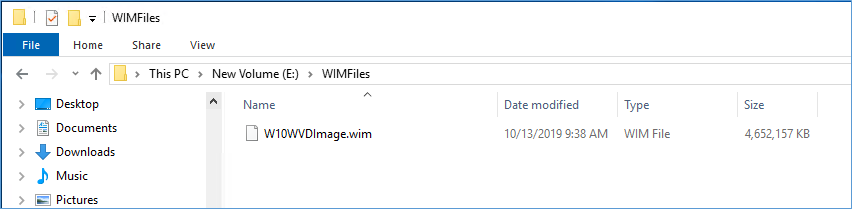
New-WindowsImage -CapturePath C:\WVDVHDMount -Name W10WVDImage -ImagePath E:\WIMFiles\W10WVDImage.wim -Description “W10WVDImage – 20191013” -Verify
Dismount-WindowsImage -Path C:\WVDVHDMount -Discard
Edit the lines according to your environment. Edit the path to the source VHD, the temporary mount path “C:\WVDVHDMount” and the target WIM path. Make sure the temp path exists before executing the script. Make sure you run in Elevated PowerShell or PowerShell ISE.
The conversion can take some time, so wait for it.
Import the WIM file in MDT for a regular OS deployment task sequence.
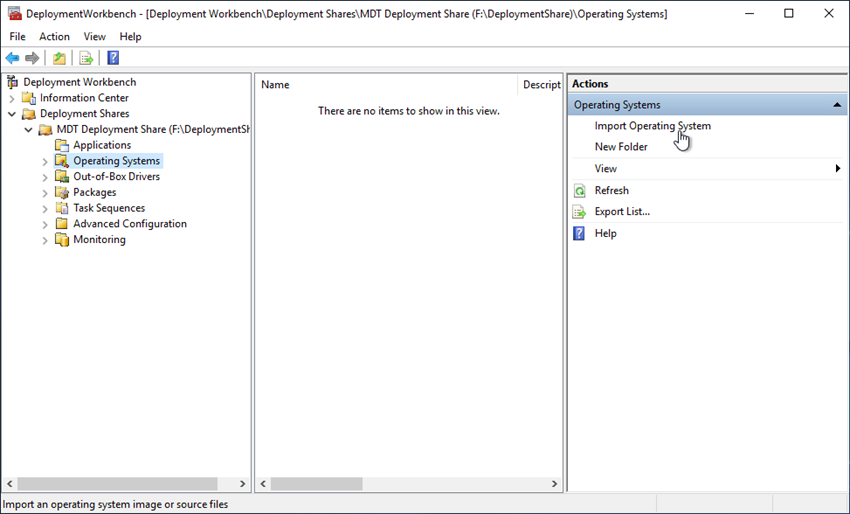
For OS Desployment I use MDT, it is free, simple and it works. You can also use SCCM if you like, but MDT will do the job just fine.
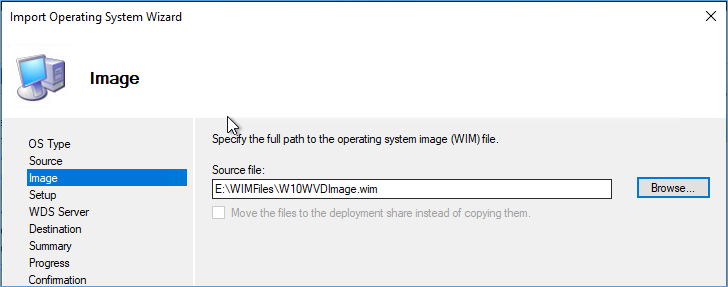
Open DeploymentWorkbench, browse to you deploymentshare and select Operating Sytems. In the right pane click “Import Operating System”
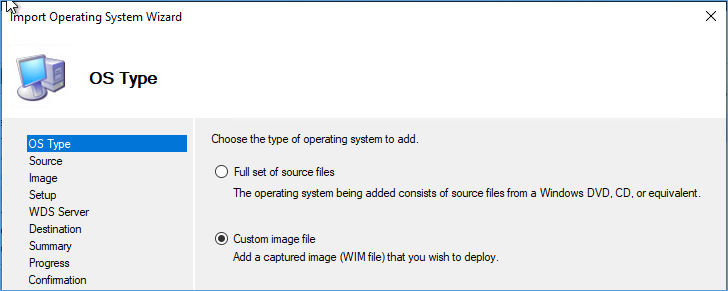
Select “Custom image file”, Next.
Select your new WIM file just created. Next.
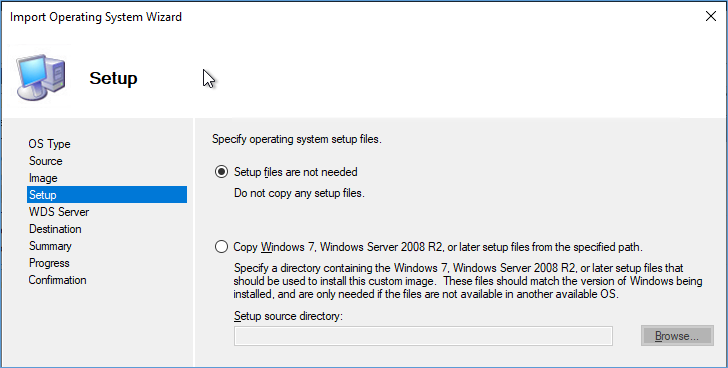
Setup files are not needed, next.
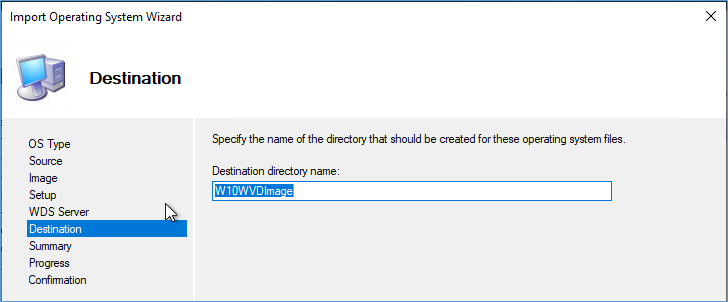
Choose the destination directory name, next. Next on the summary page.
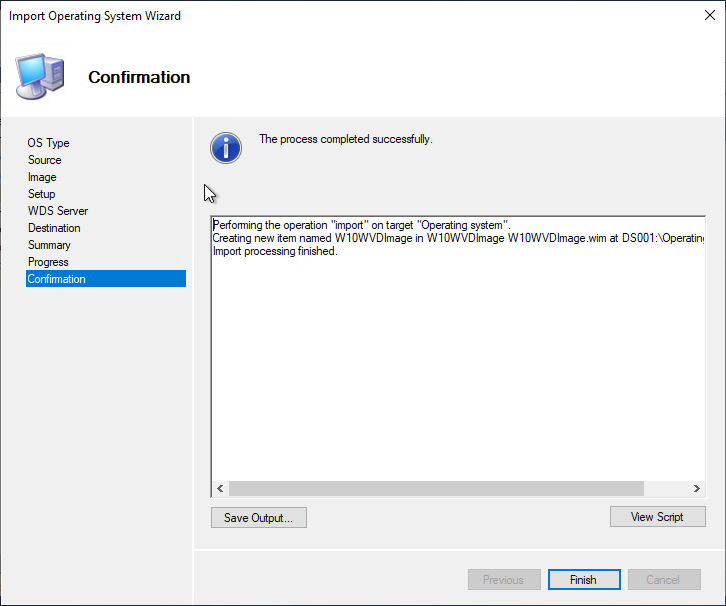
Finish.
Next, you can create an MDT task sequence to do an OS Deployment.
Example of an OS Deployment without any applications.
Before you upload this VHD to Azure make sure it is:
- All preparations for uploading VHD files to azure (link)
- In VHD format (not VHDX)
- In VHD Fixed size not dynamic before the upload
- SYSPREPPED.