Microsoft Azure is a great platform to host Virtual Machines. What native Azure doesn’t have is a good snapshot/checkpoint manager like Hyper-V does. Since some time now you can create disk snapshots per disk. If a Virtual Machine has multiple disks you have to create the snapshot for every disk. And for every disk it asks how you want to call it. Don’t even mention about putting the snapshot back in the VM.
That is where Azure Snapshot Manager comes in. This PowerShell based tool makes it a lot easier for you to create snapshots of all disks in one run. Also it allows you to apply the snapshot on any existing VM in the same region, but also create a new VM based of the selected snapshot. I have developed this script in a few iterations and I believe this version is ready to go into the wild.
If you have any suggestions or questions please check the About button on the site and let me know!
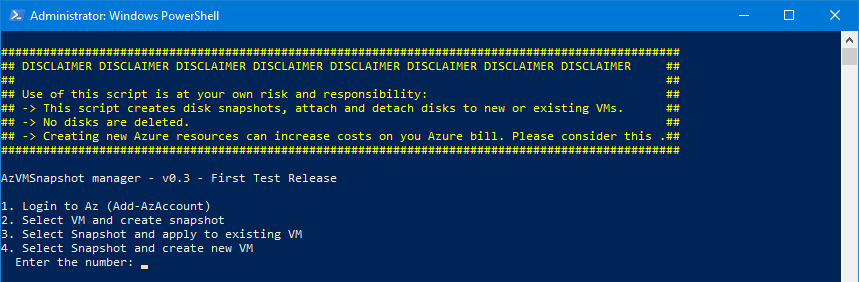
DISCLAIMER
Use of this script is at your own risk and responsibility: This script creates disk snapshots, attach and detach disks to new or existing VMs. No disks are deleted. Creating new Azure resources can increase costs on you Azure bill. Please take this into account.
DOWNLOAD
Download the script here: AzVMSnapshotMgr_v3.zip
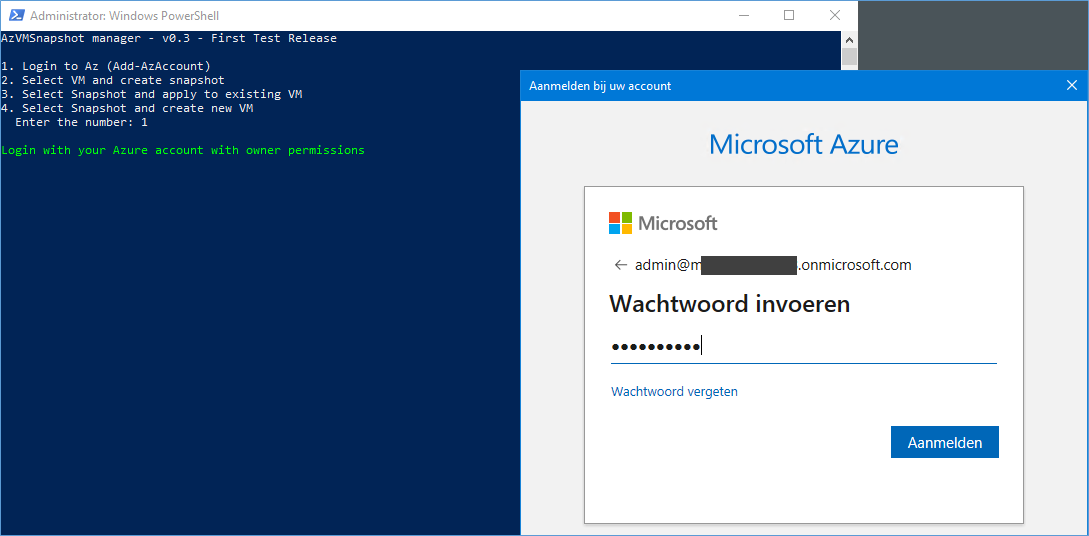
Start the script and connect to Azure.

First you need to login to Azure and select the Azure Subscription.
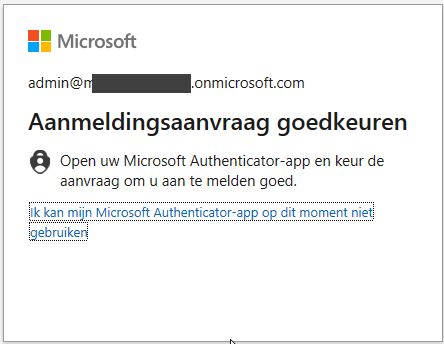
Approve any MFA protection you have in place.
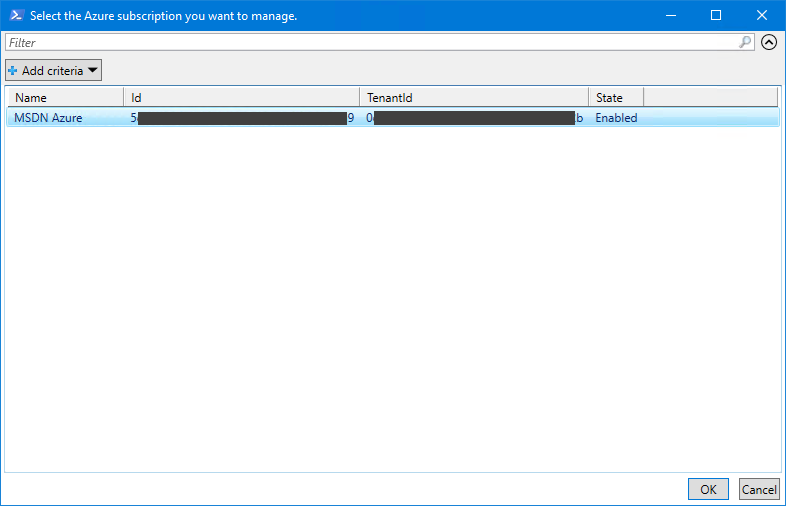
Select the subscription you wish to use.
After this step, restart the script.
Create a snapshot from a VM
Select option 2.
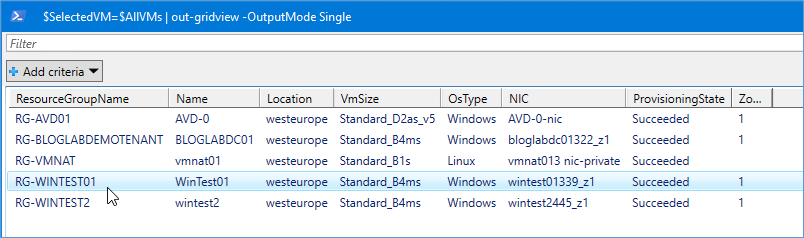
Select the VM from which you want to create disk snapshots, and click OK.
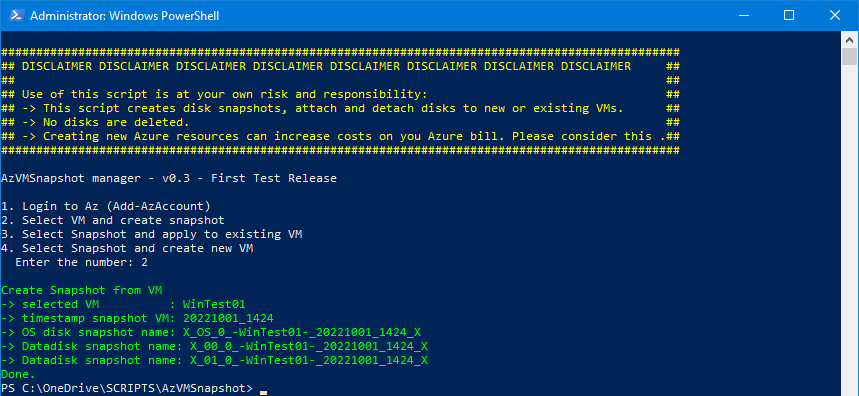
The snapshot is now taken, info about the process is displayed on the PowerShell console.
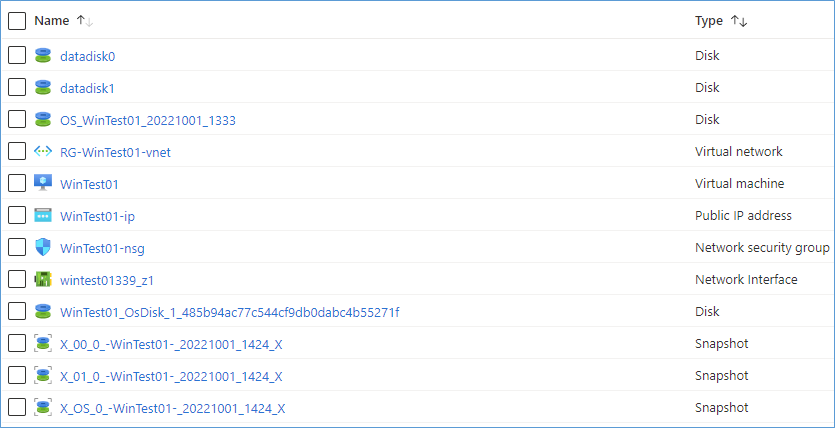
In this screenshot you see the Azure Snapshot objects.
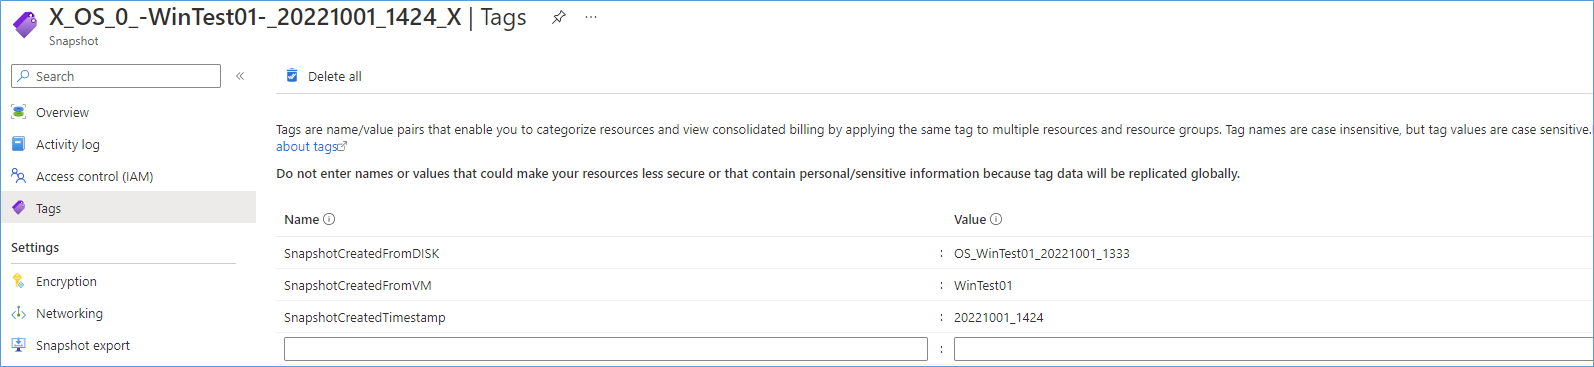
The tags of the Snapshot object are added for reference. It will tell you the origin of the snapshot.
Apply snapshot to existing VM
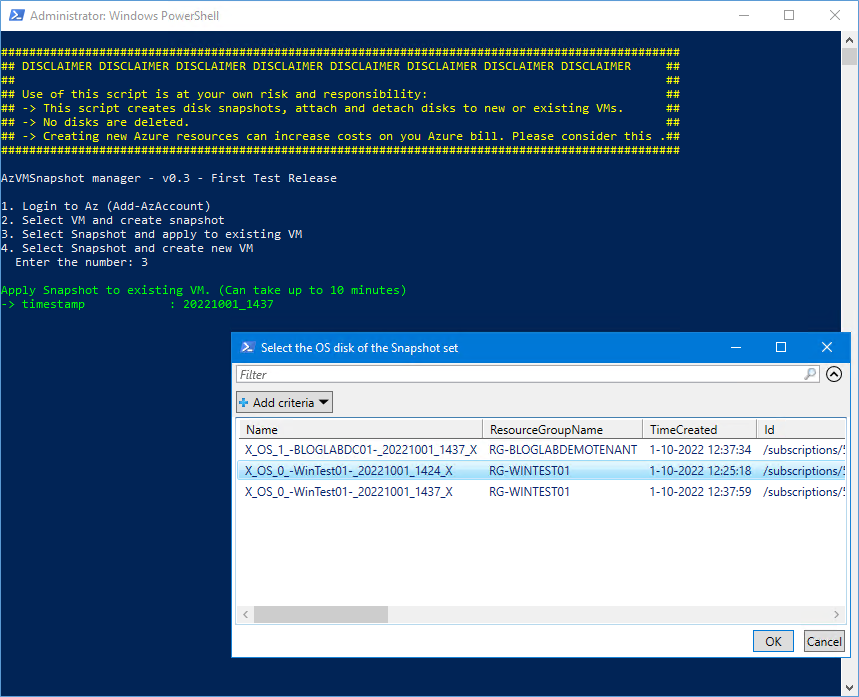
Enter option 3 to select the snapshot to apply to an existing VM. Note, only the OS disk of the snapshot set is displayed for convenience. Select the snapshot you want to apply.
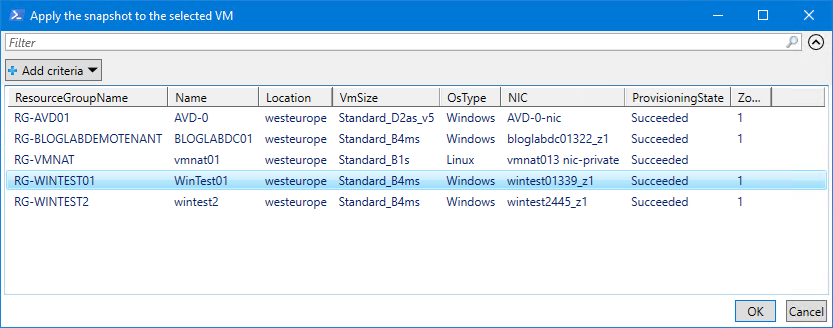
Select the target VM to apply the snapshot to. WARNING: If the VM is running it will be restarted without warning during the application of the snapshot.
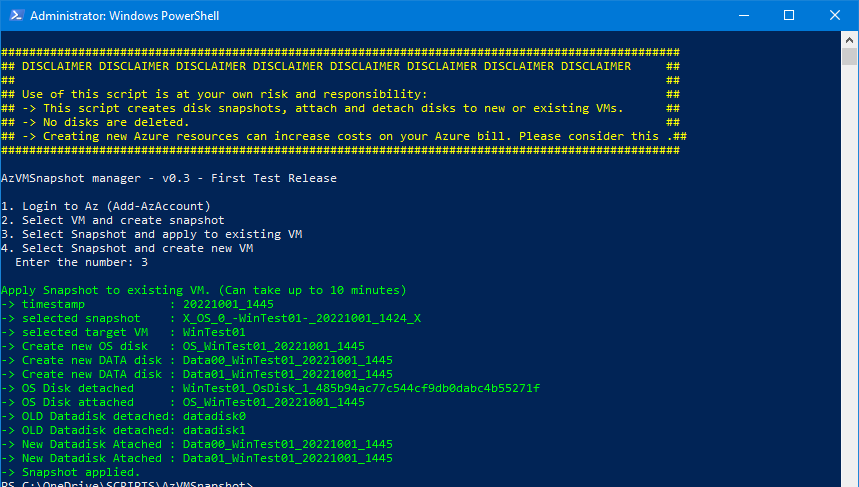
The snapshot is being applied. After several minutes, the application of the snapshot is done.
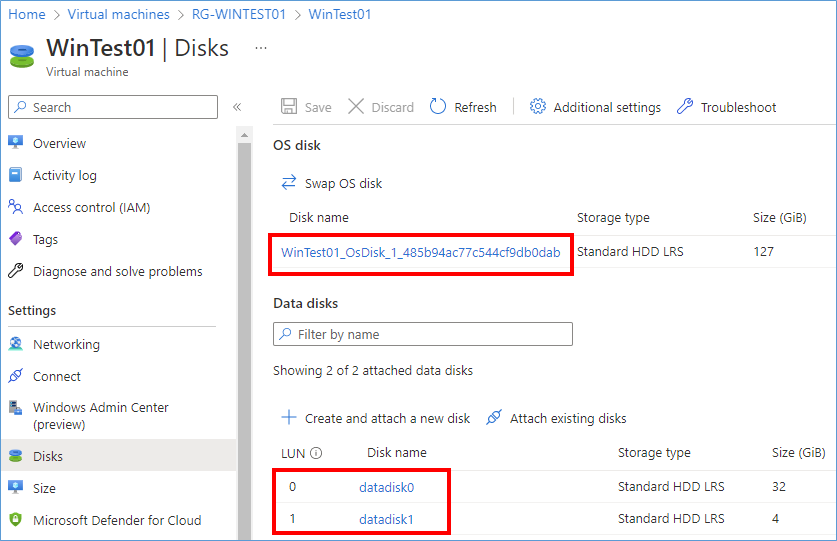
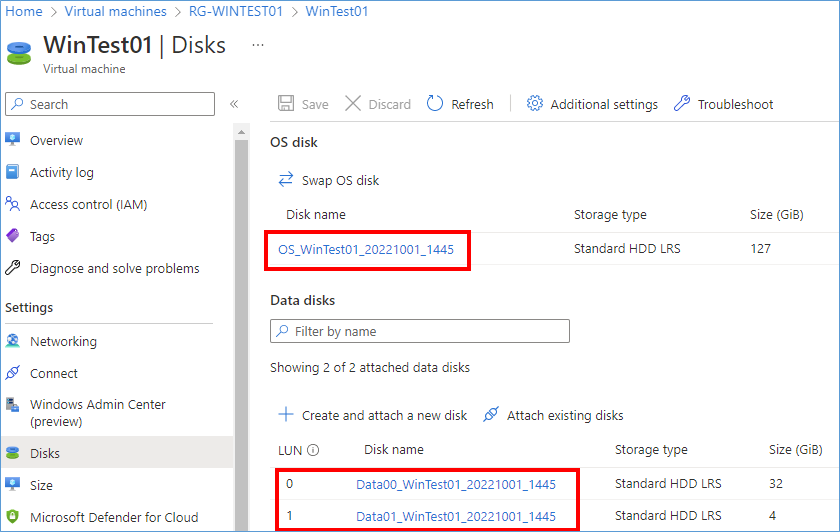
BEFORE: Disks overview of WinTest01 Virtual Machine. These are the original disks
TIP: The original attached disks are NOT deleted, they are still at their original location. Please delete them manually if required. Also note, as long as they are not deleted they keep costing Azure money.
AFTER: The new created managed disks are attached to the VM.
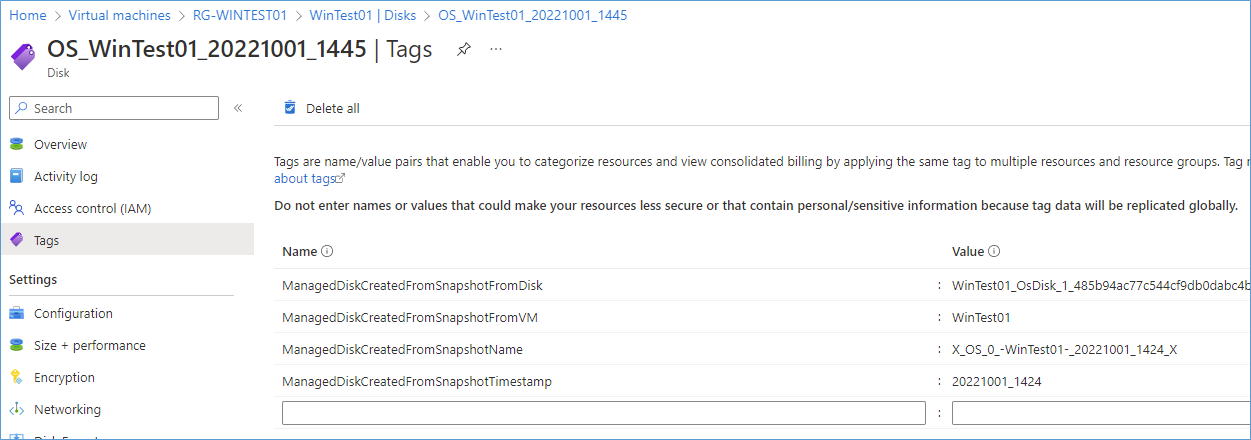
TIP: The new managed disks created by the script also include tags to help you know where the original disk came from.
Apply snapshot to new VM (Experimental)
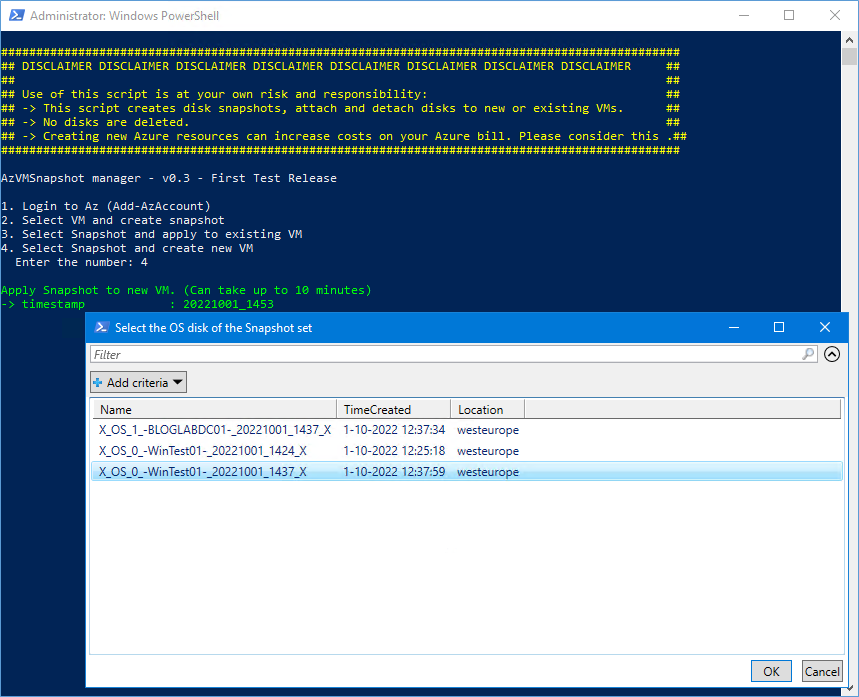
If you want to apply the snapshot to a new VM choose option 4. Select the snapshot you want to deploy as new VM.
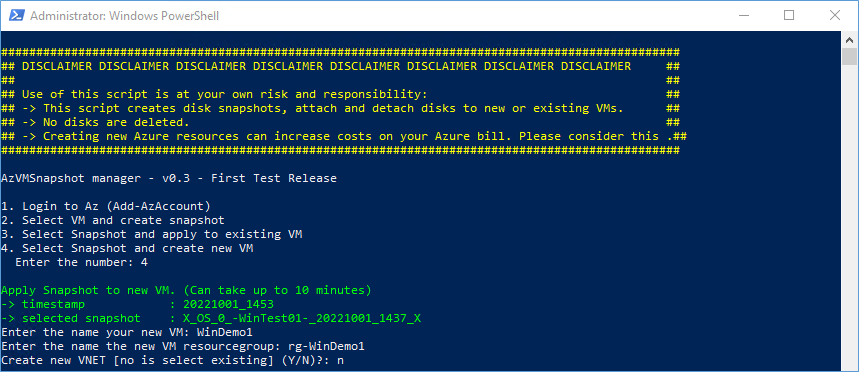
Enter the name and resource group name of the new VM. If you want to select an existing VNET select N for no.
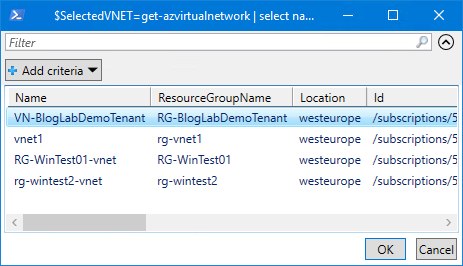
Select an existing VNET to attach the new VM to.
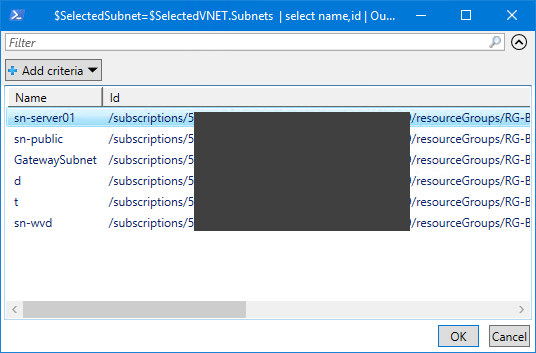
Select an existing subnet to attach the new VM to.
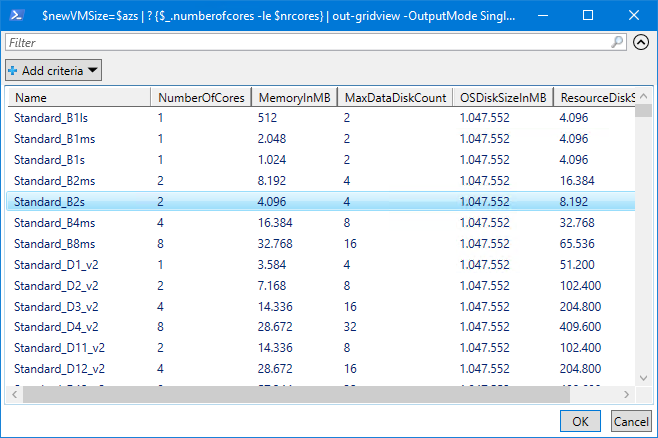
Select an Azure VM Size to apply to the new VM. Note: Some sizes maybe filtered out if you have many data disks.
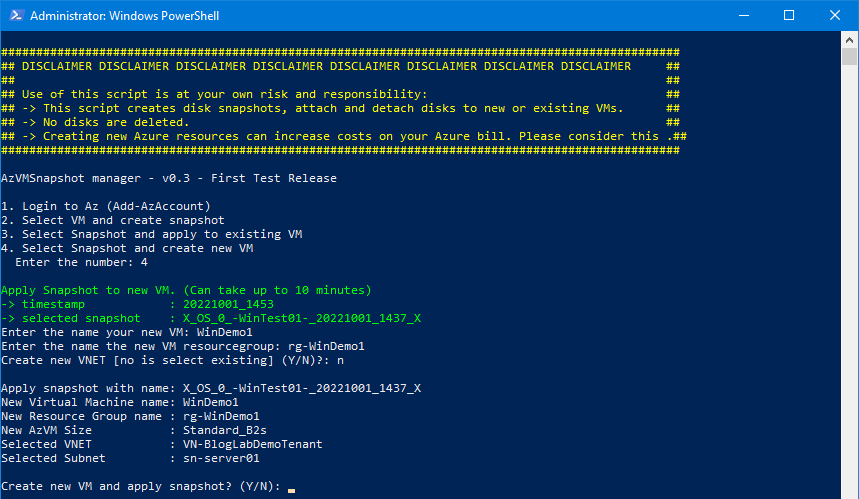
Enter Y to continue. Note: During the creation some warnings are displayed, this will be change in future versions of the script.
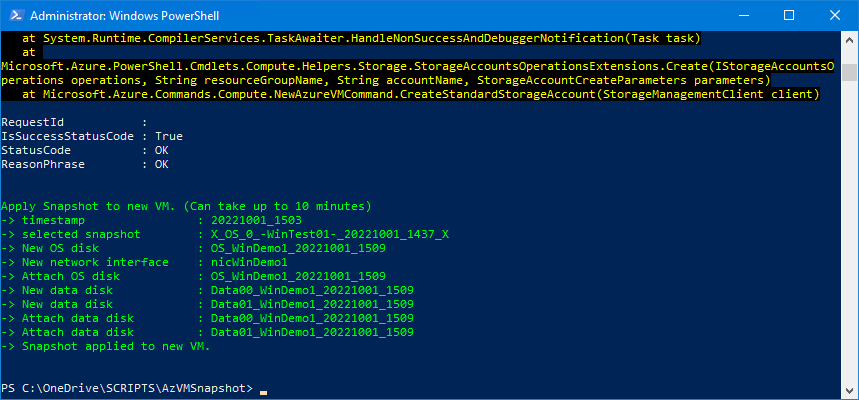
After some time the new VM is created and started. Tip: Deallocate or delete if no longer required running to save Azure costs.
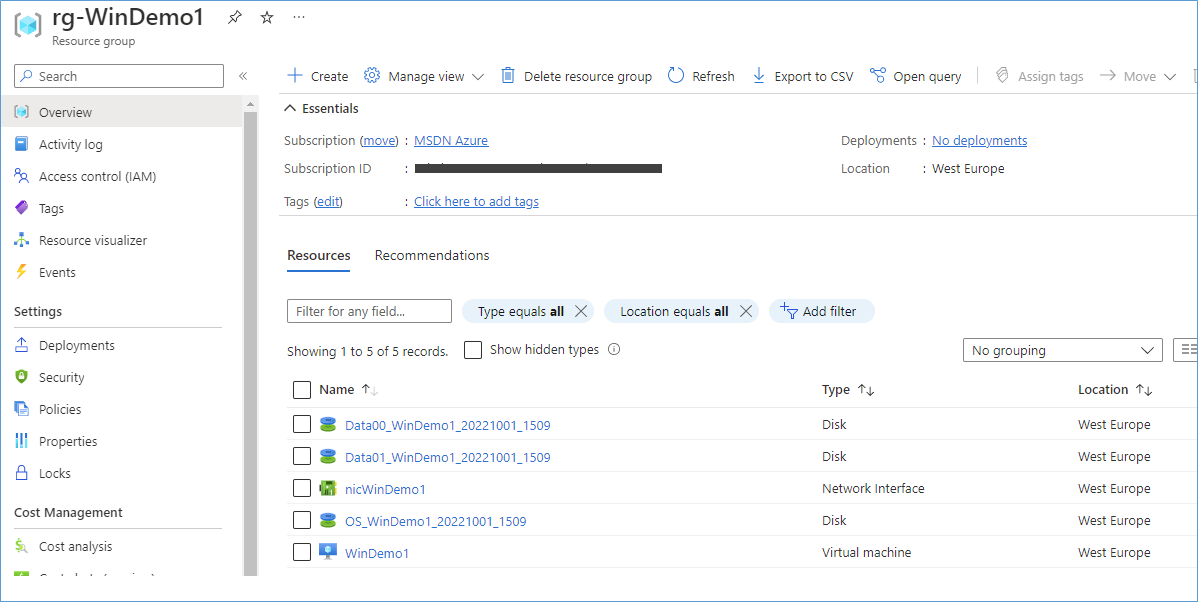
Overview of the new created VM with it’s disks. The tags are also applied to the new managed disks.