This post describes how to connect your on premise network via VPN to Azure. This blog shows how to create the settings in the Cisco ASA and in Azure.
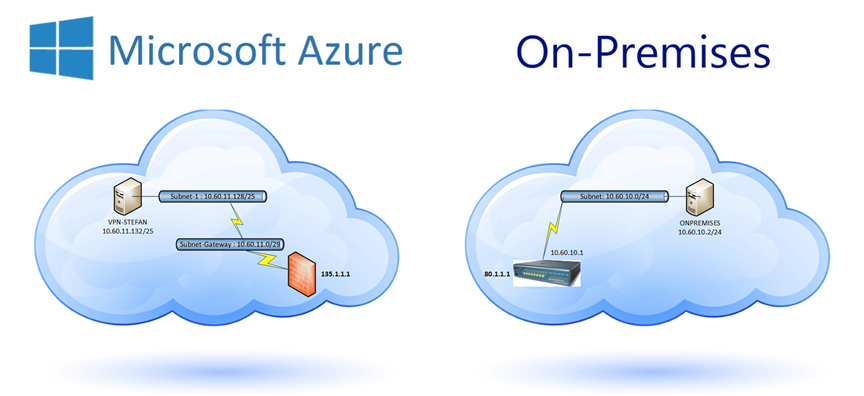
On Premise:
- VLAN 22 – 10.60.10.0 / 24
- Windows 8.1 Virtual Machine tagged in VLAN 22 – 10.60.10.2
- Cisco ASA Interface VLAN22 – 10.60.10.1
- Cisco ASA Interface OUTSIDE – 80.1.1.1
Azure:
- Virtual Network in Azure: 10.60.11.0/24
- Windows 2012R2 Virtual Machine: 10.60.11.132 (Auto assigned IP)
- Azure VPN Gateway address: 135.1.1.1
Preparations:
- Configure the Cisco ASA if not already done.
- Prepare a Windows PC/Virtual machine for the On Premise side.
- Make sure the Cisco ASA OUTSIDE interface has a static Public IP Number.
Steps:
- Make sure the preparations are done.
- Create the Azure Virtual Network
- Configure the Site-to-Site VPN in Azure
- Configure the Site-to-Site VPN in Cisco ASA
- Create a Windows Azure VM and test connectivity.
Create the Azure Virtual Network
First we need to setup the Virtual Network for the Azure VMs.
Click Create a Virtual Network.
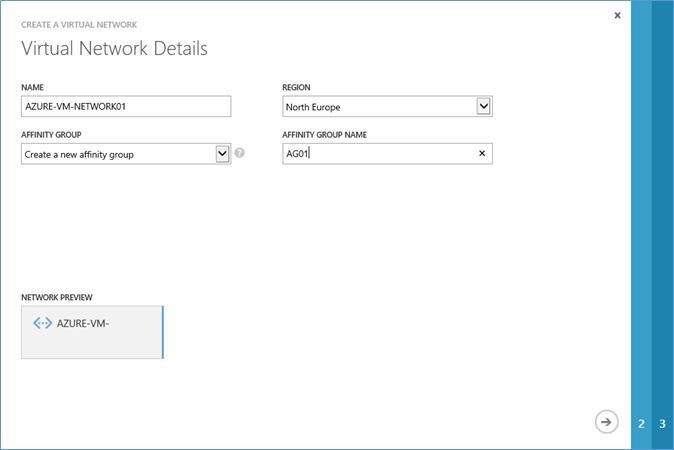
Enter the details. You can use your own names. Press NEXT.
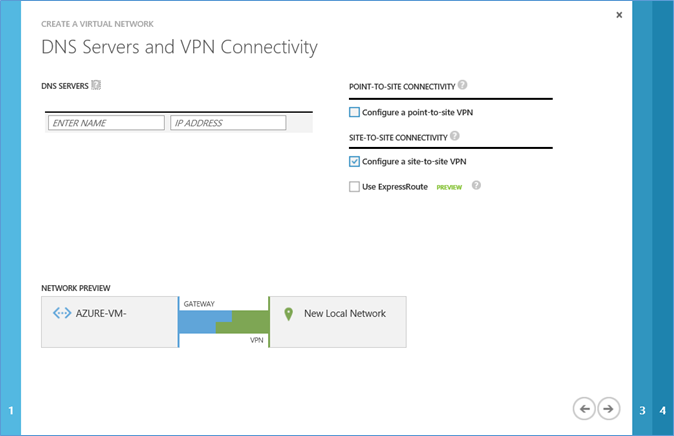
Enable “Configure a site-to-site VPN”. Press NEXT.
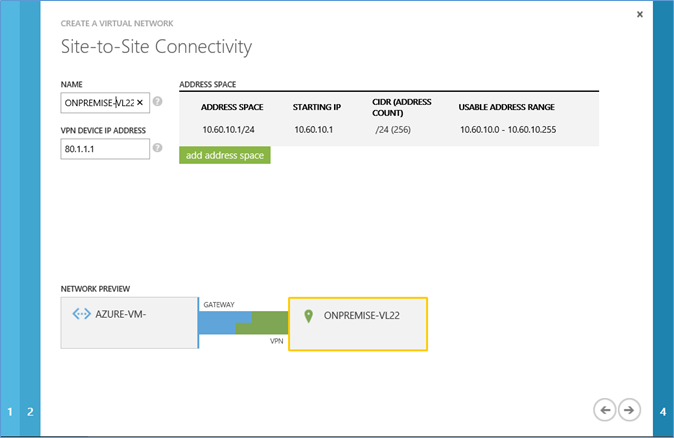
Enter the details. You can use your own names/IP addresses etc. Press NEXT.
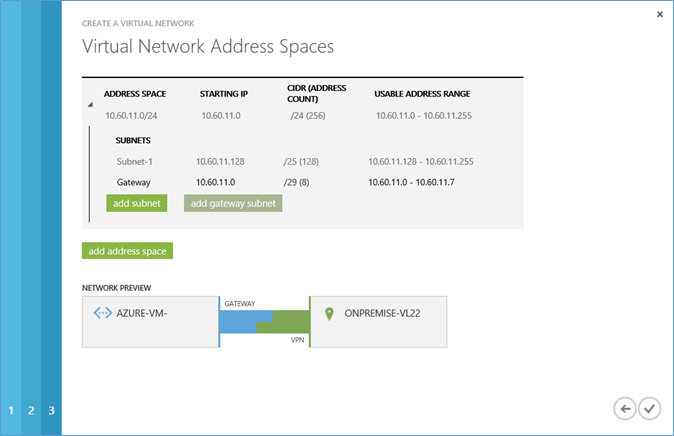
In this screen you need to add a Subnet and a Gateway Subnet. When both are included press NEXT.
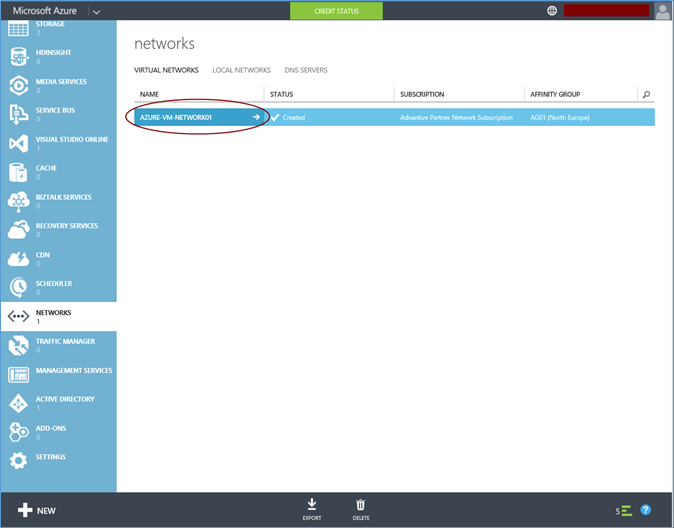
Now click on the newly created Virtual Network named: Azure-VM-Network01

On the bottom bar click “Create gateway” and choose “Static Routing”. Now you can grab a coffee or two, this can take up to 15 minutes.
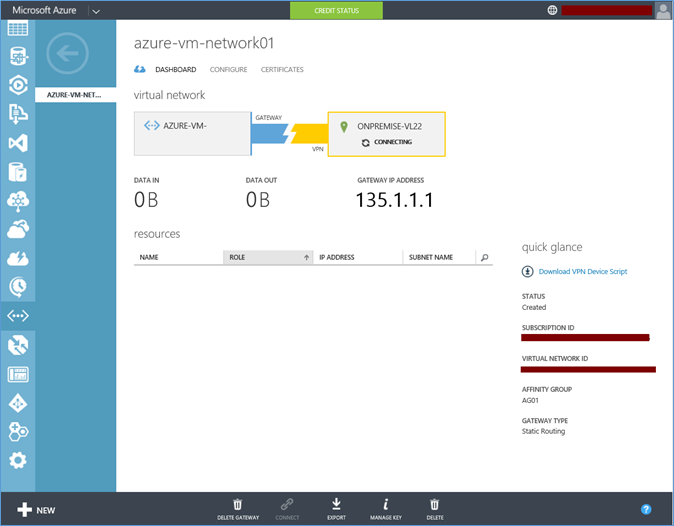
When the gateway is created you will see the Gateway IP Address. In my example I changed the real address in 135.1.1.1. Open a NOTEPAD and copy/paste this IP address for future reference. It is possible to download scripts to configure your VPN Appliance. Press the Download VPN Device Script button to download the script for your device.
In this LAB I will show how to do it without the script for a Cisco ASA. The reason for this is that I actually like to put all the information in my router myself and not via a preconfigured script.
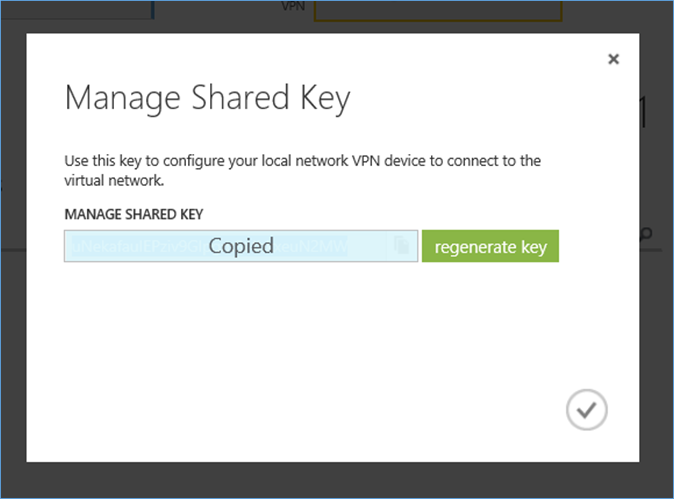
Press the Manage Key button to copy/paste your Shared Key to a notepad Window. Safe this key for future reference. Let’s continue and configure the VPN Device.
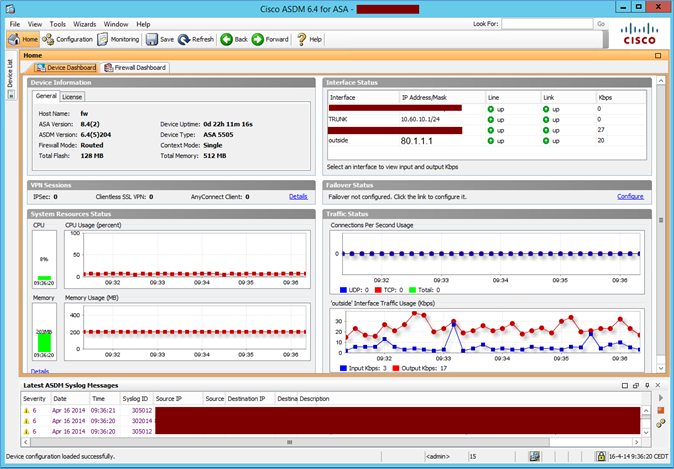
This is the Cisco ASDM overview of my LAB ASA. Some information has been cleaned for privacy reasons. As you can see I already have an outside interface with 80.1.1.1 and a TRUNK interface with 10.60.10.1/24 in VLAN22.
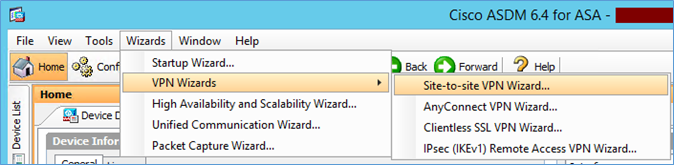
Go to the menu Wizards, VPN Wizards and choose Site-to-site VPN Wizard….
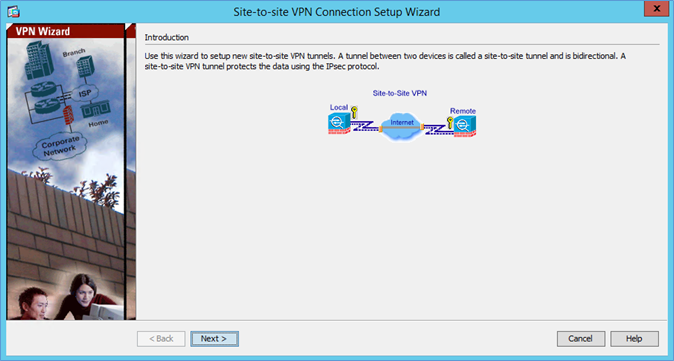
On the Introduction screen press NEXT.
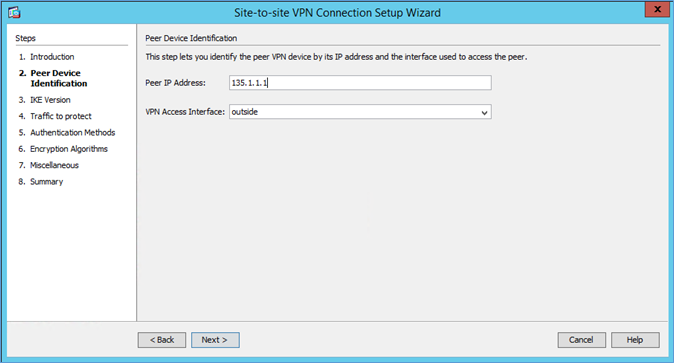
Enter the peer IP address, this is the gateway address of the Microsoft side of the VPN tunnel. This is the number you grabbed earlier. In my example: 135.1.1.1
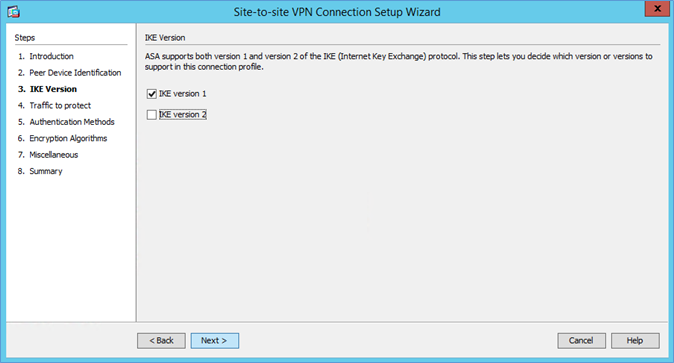
I have enabled only IKE version 1. Press NEXT.
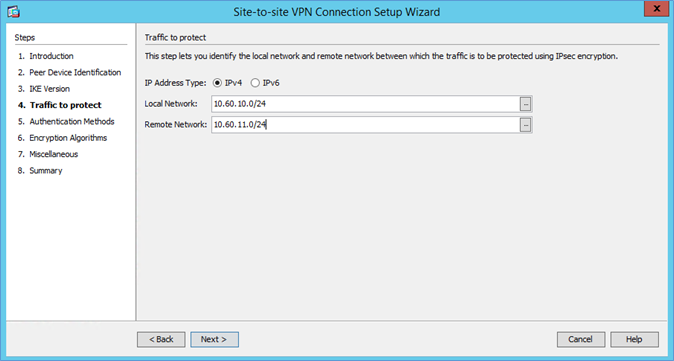
Enter the local and remote subnets. My on premise subnet is: 10.60.10.0/24 and the Azure subnet is 10.60.11.0/24. Enter them in the designated boxes and press NEXT.
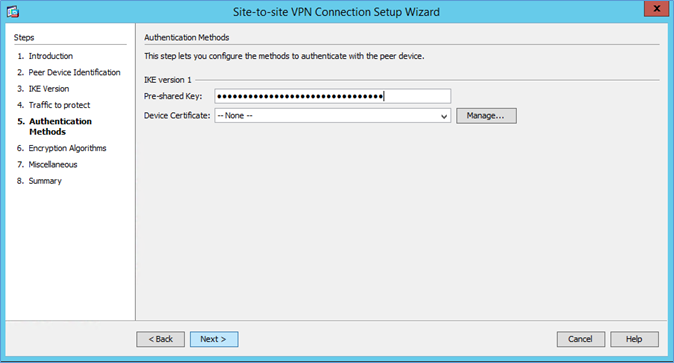
In the Pre-shared key paste in the key you copied to notepad earlier and press NEXT.
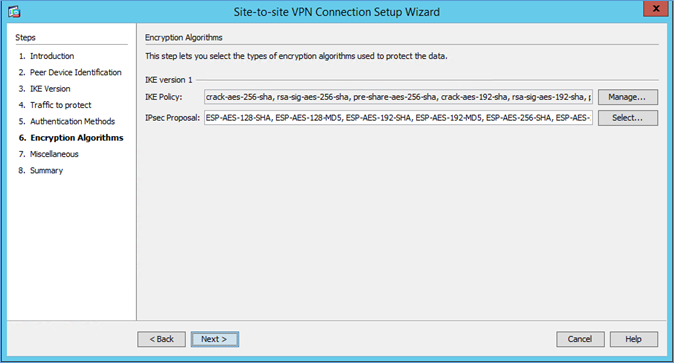
Keep these settings default and press NEXT.
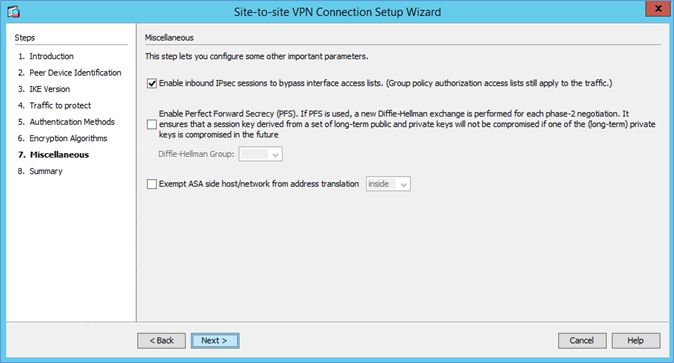
Make sure you enable “Enable inbound IPsec sessions to bypass….” and press NEXT.
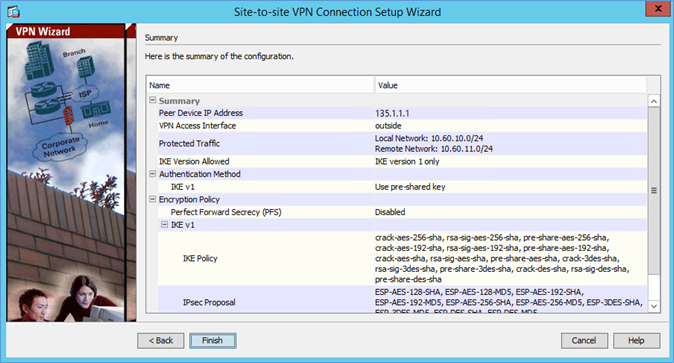
On the summary screen, press Finish.
Now we go back to Azure;
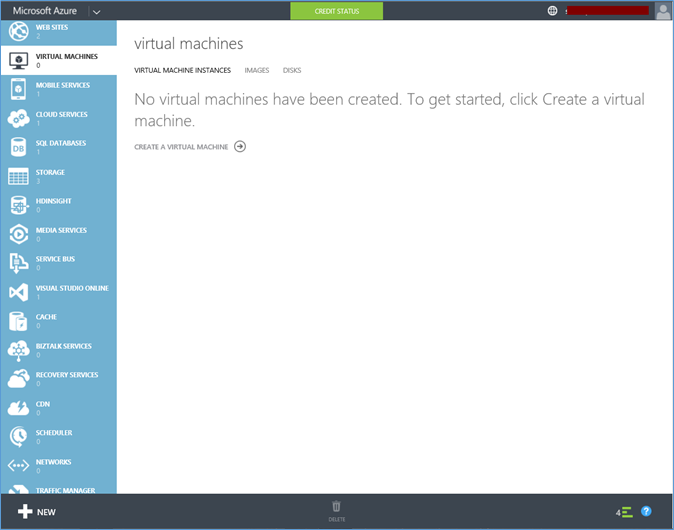
Go to the Virtual Machines section and click “Create a virtual machine”
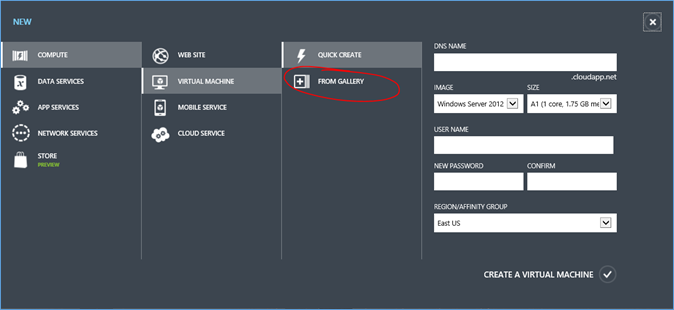
Choose “FROM GALLERY”
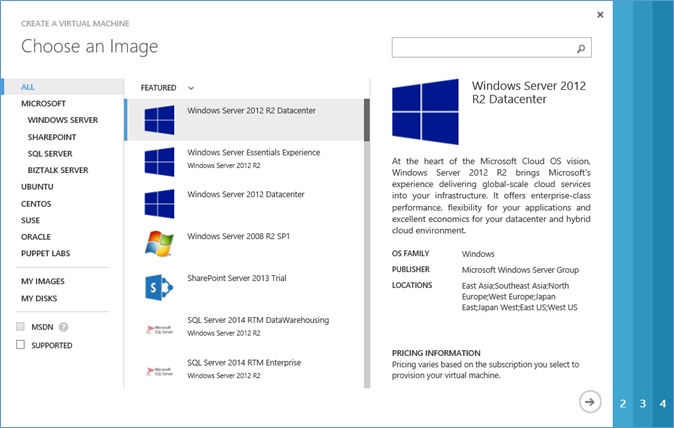
In my LAB I choose Windows Server 2012 R2 Datacenter. Press NEXT.
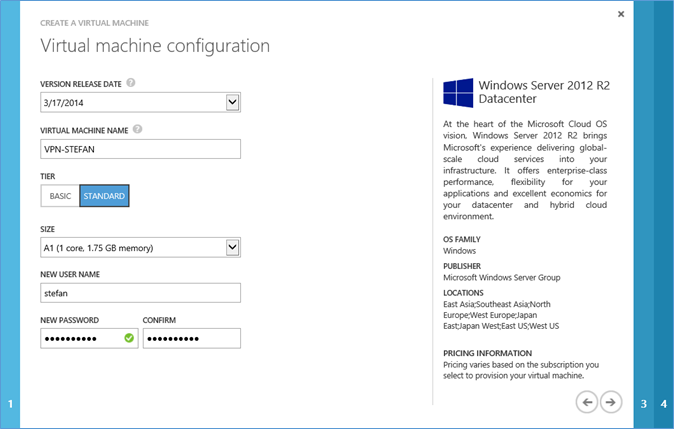
Enter details for your VM and press NEXT.
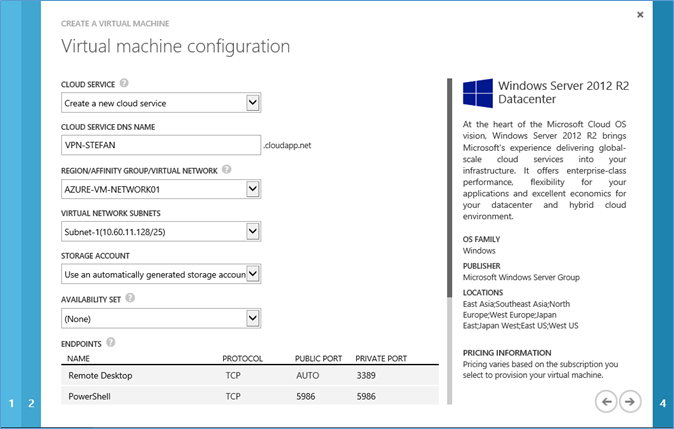
Make sure you select the Virtual Network you created in the previous steps and press NEXT.
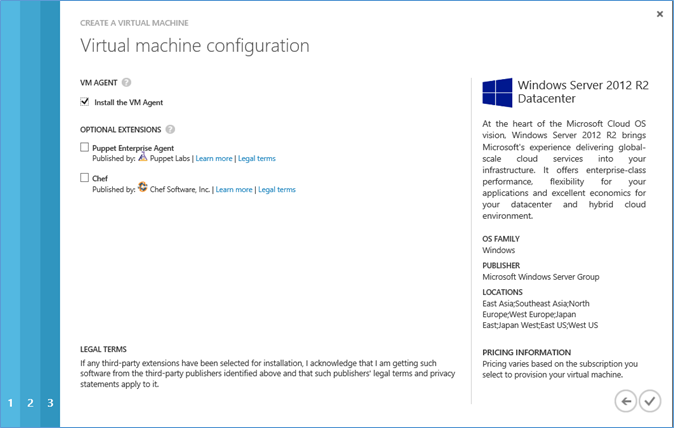
Press the complete button. You can get some new coffee now because the provisioning of the VM will take a few minutes.
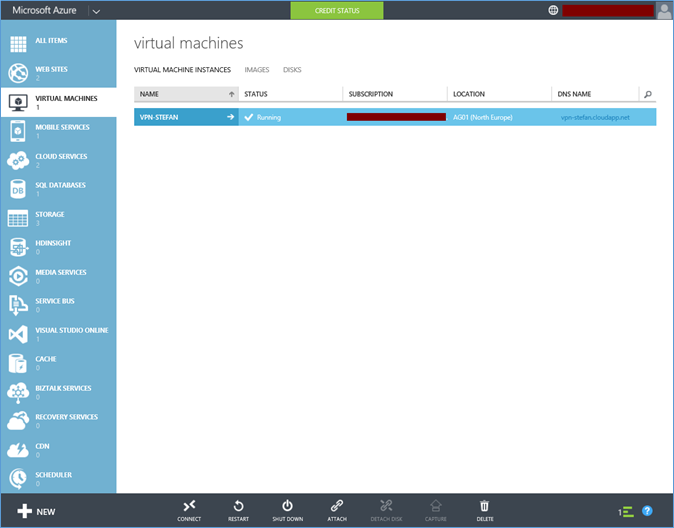
When the VM is created you can connect to it via RDP. Press the Connect button in the bottom bar. This will download a preconfigured RDP file to connect to the Azure VM.
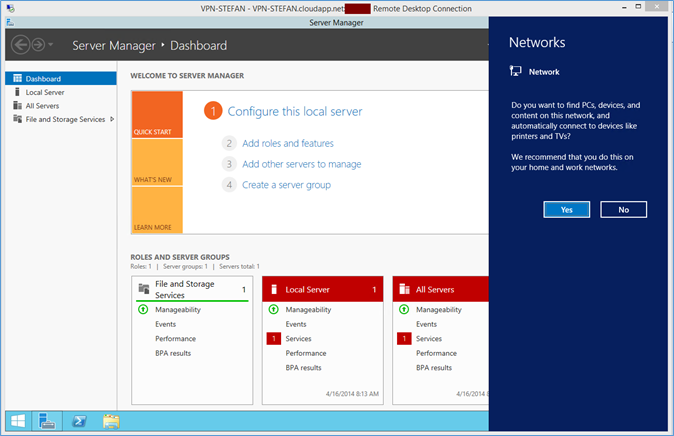
The Windows Server will detect the new network. I usually press no with his question. Because I want to check the connectivity with this VM and my on premise VM we need to allow PING.

Right click the Network icon in the tray and choose Open Network and Sharing Center.

Press “Change advanced sharing settings”
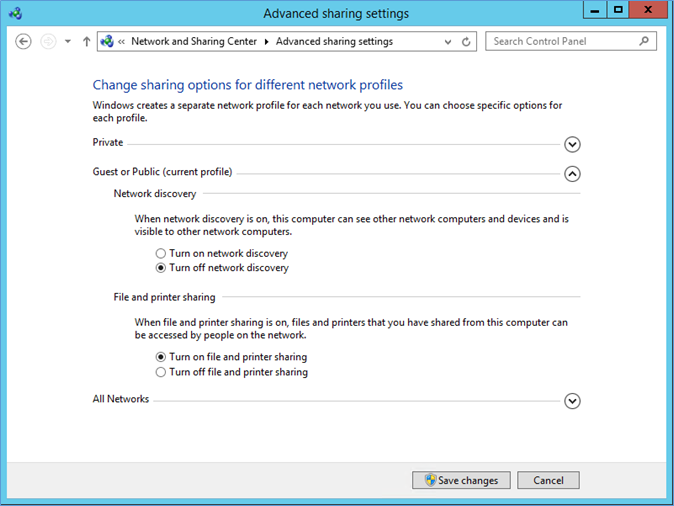
Select “Turn on file and printer sharing”. Do this for all network profiles. Next open a command box and use IPCONFIG to determine the IP number of the Azure VM.
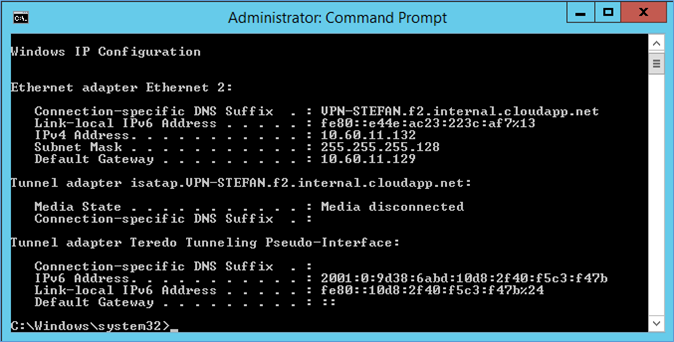
Now we go to our on-premises VM and try to PING the VM in Azure
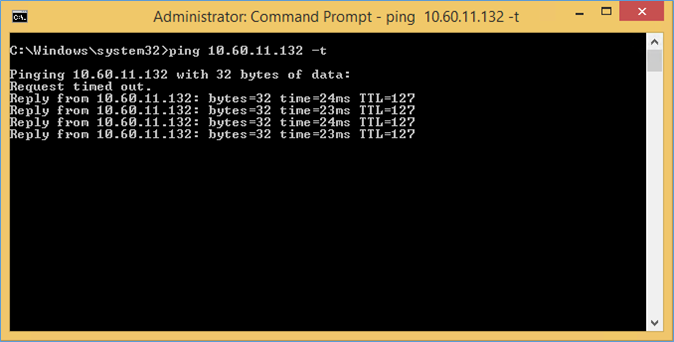
It can take a ping or two before you get a reply. This is because the Tunnel might need to (re)connect.
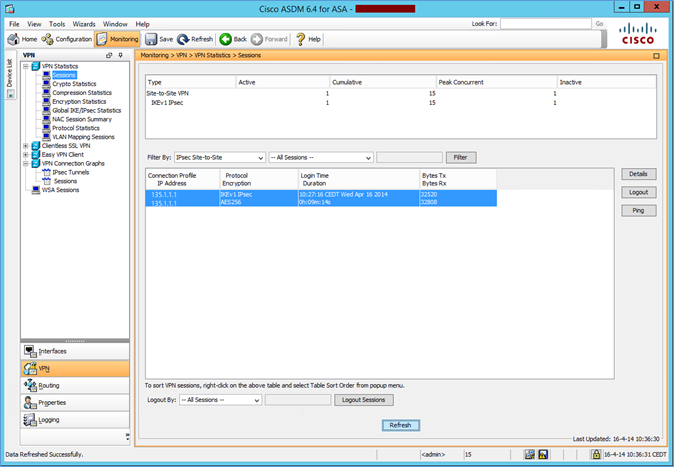
Here in Cisco ASDM you can see the tunnel being connected.
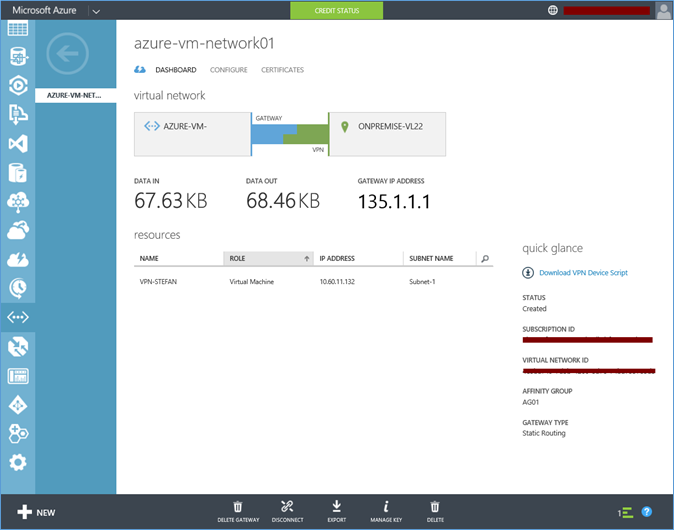
On the Azure portal you now see the Blue/Green connection connected. And you should see DATA IN and DATA OUT.
That’s it now we have a Site-to-Site connection to from On Premise to Azure.