MDT in a Box – Part 4 – Deploy Windows 10
Introduction
This BLOG will describe the instruction how to create your very own “MDT in a Box” server. You can use this server to create images for physical computers, RDS, WVD and probably also other VDI environments. MDT is Microsoft Deployment Toolkit, a few Windows tool to automate the Operation System Deployment (OSD). I use this often in my work for customers to create “golden images” for RDS or WVD.
With the MDT in a box you can create VHD or WIM files for your environments, or for you client environments. You can install several applications, scripts, language packs and updates in this task sequence.
In my work I use MDT to create “golden images” for RDS2019 and Windows Virtual Desktop with Windows 10 Enterprise Multi Session.
This BLOG is very long so I split it in a few parts.
5. Deploy Windows 10 – Multisession (WVD)
MDT in a Box – Part 4 – Deploy Windows 10
Imports Windows 10 ISO file
Download an official Windows 10 ISO file from your preferred Microsoft source. I use this version: en_windows_10_business_editions_version_1909_updated_april_2020_x64_dvd_aa945e0d.iso downloaded from MSDN. Mount the ISO file or extract the ISO file to a folder.
Start Deployment Workbench.
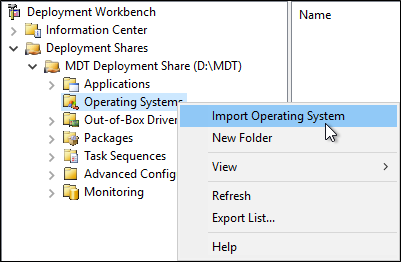
Browse to the Operating Systems, right click and choose “Import Operating Systems”
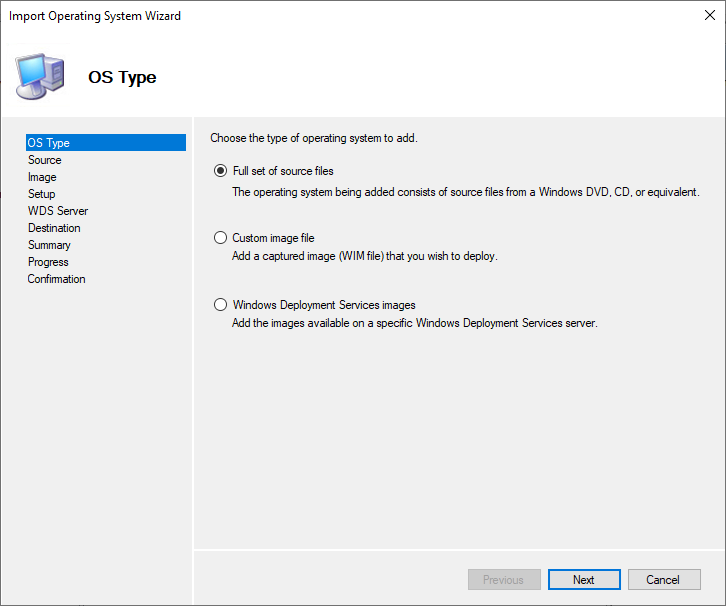
Choose Full set of source files, Next.
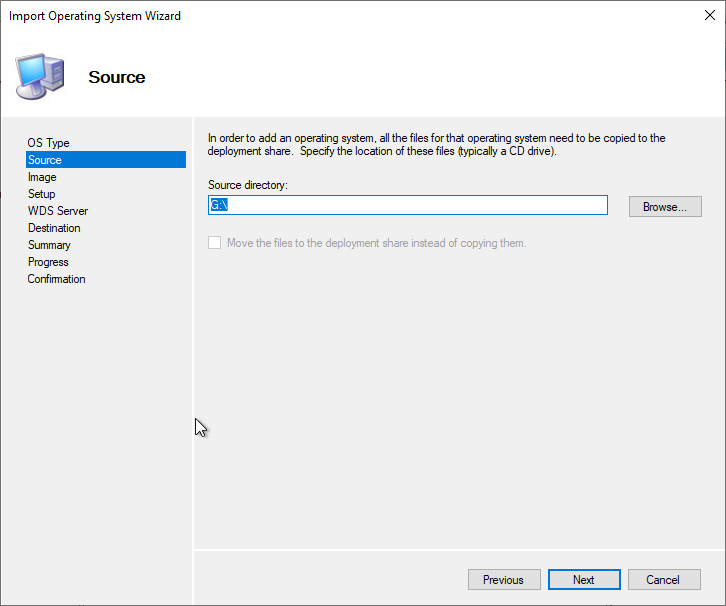
Point to the root of the mounted drive, or the root of the extraction folder, next.
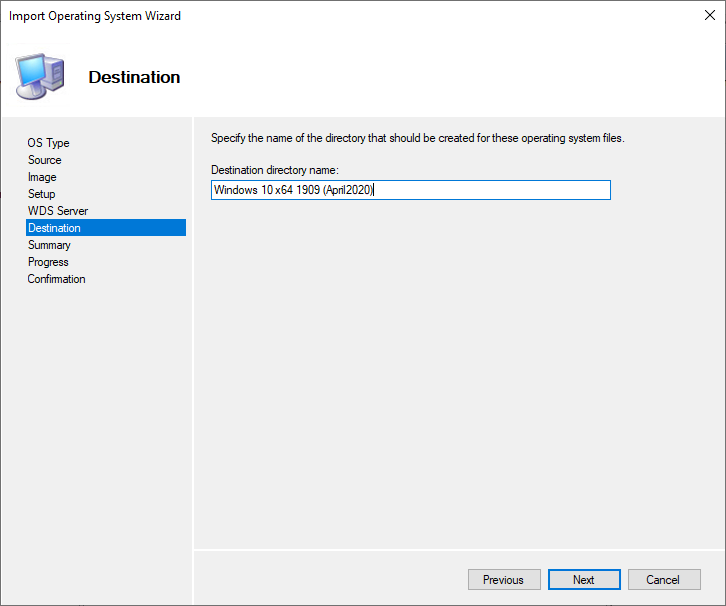
Change the name if you like, next. On the summary page, next, Finish.
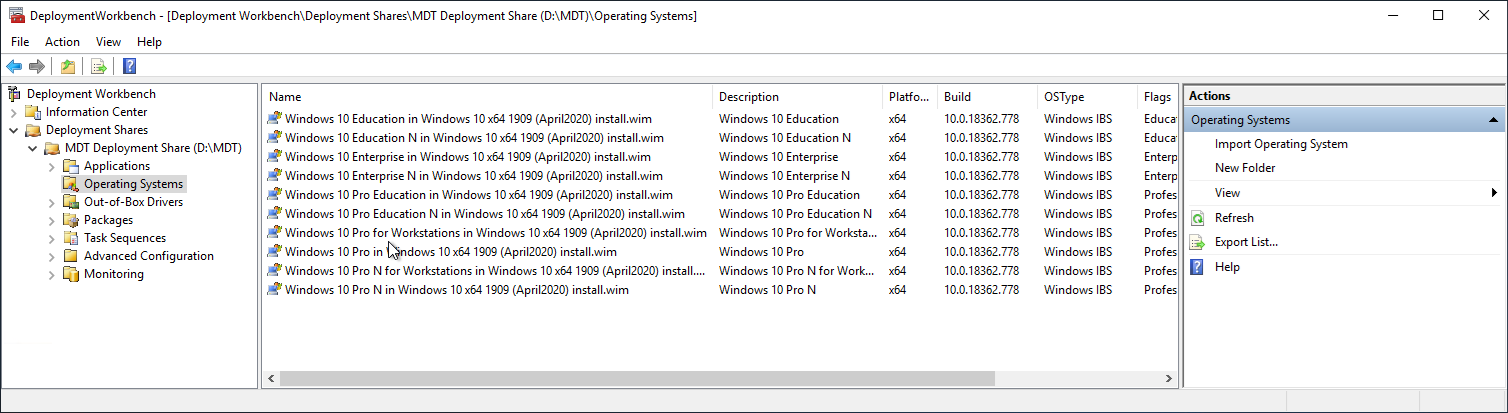
Now the Operating Systems folder should look like something above.
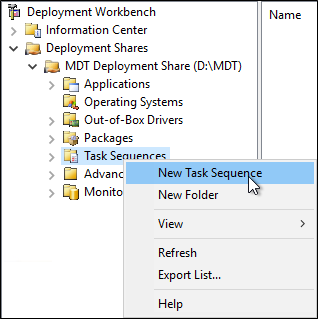
Create the OSD task sequence.
In Deployment Workbench, browse to Task Sequences, right click, and click New Task Sequence.
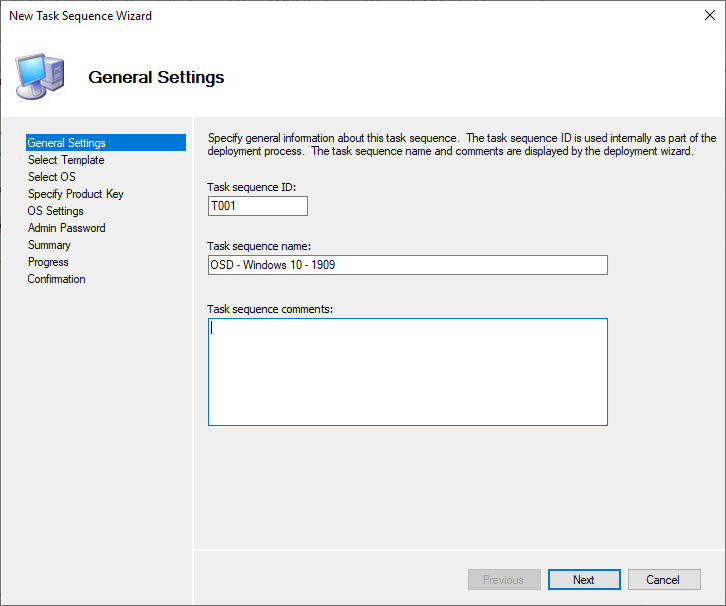
Enter a Task sequence ID, and a task sequence name. Next.
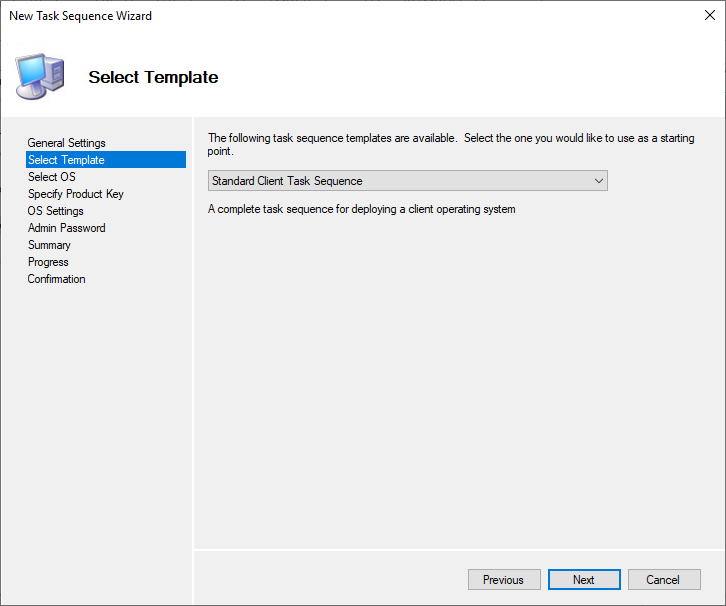
Choose the standard client task sequence, next.
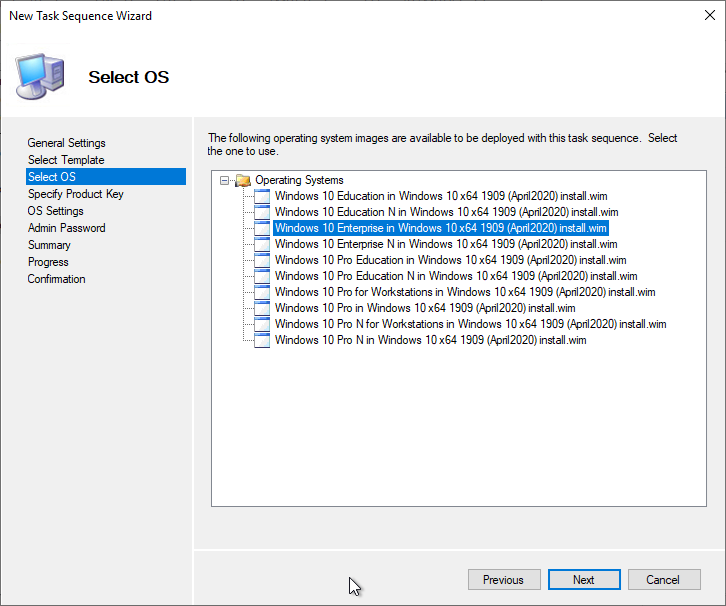
Select a Windows 10 Edition, next.
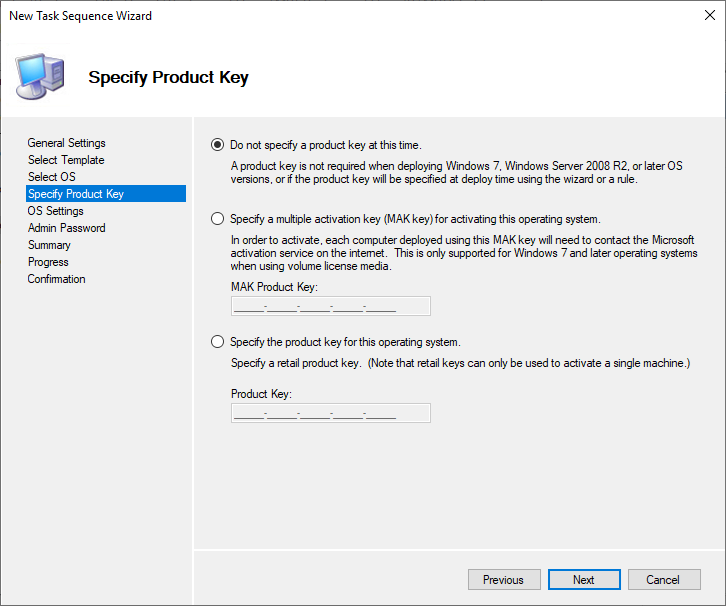
You can enter a product key, or choose ‘do not specify’, next.
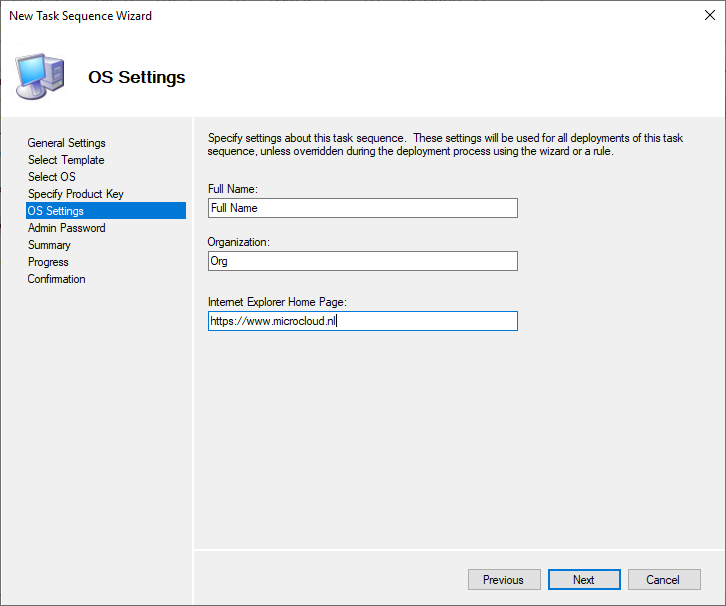
Enter some details, next.
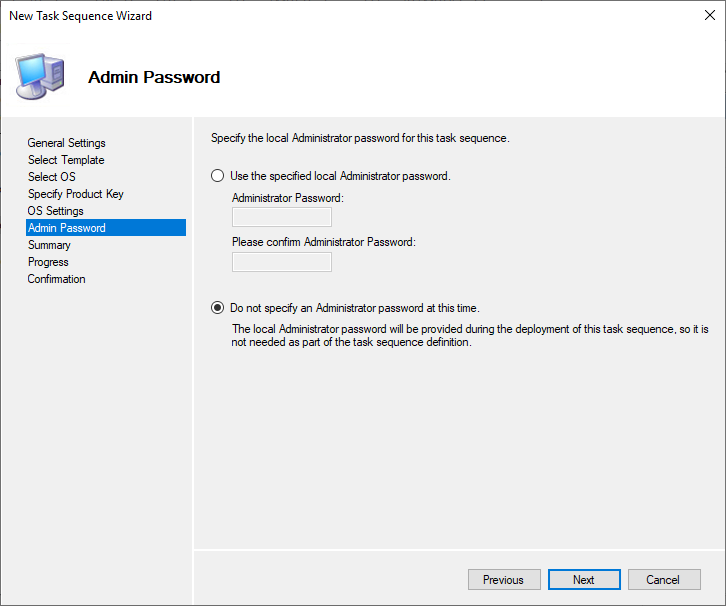
In the properties of the deployment share we entered the local Administrator password, no need to do it here again. Next.
On the summary page, next, next, finish.
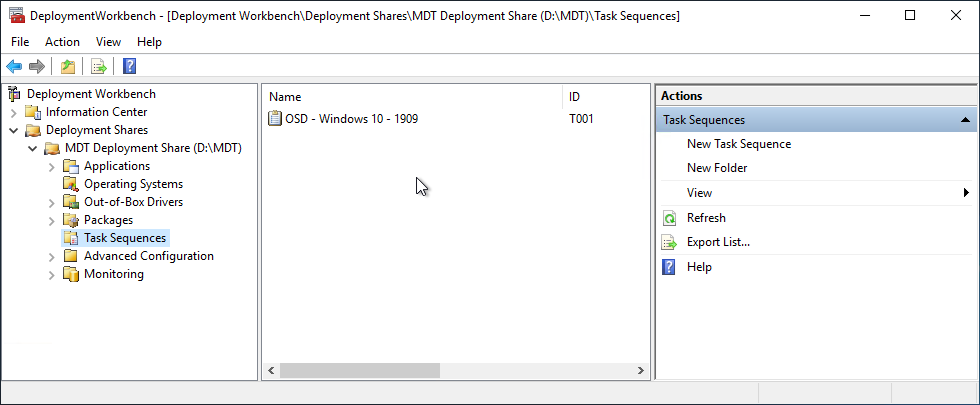
Here you can see the Task Sequence just created.
Test the Task Sequence.
To test the new OSD – Windows 10 task sequence we are going to create a Hyper-V Virtual Machine.
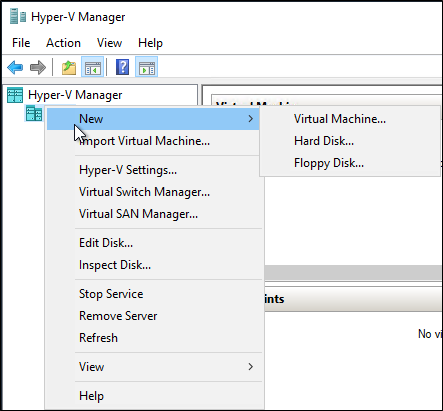
Start Hyper-V manager, right click the server name and choose New, Virtual Machine, a wizard opens.
On the before you begin page, next.
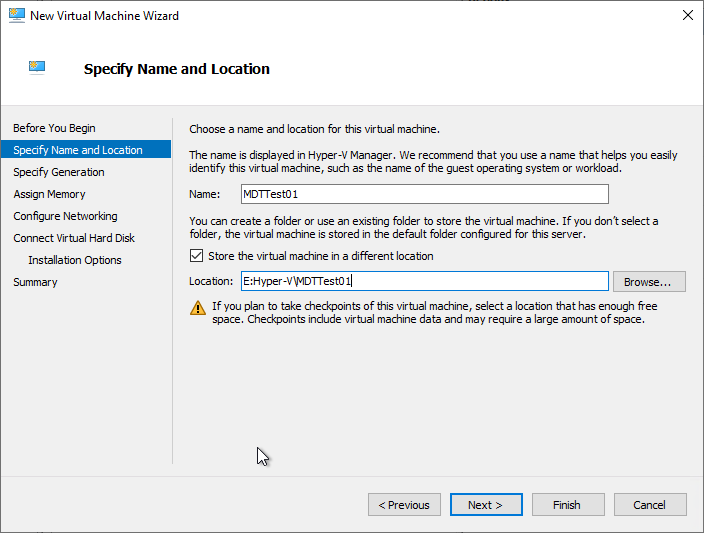
Name the VM: MDTTest01 (or something)
Optional, change the path to the Hyper-V disk (preferred a Premium SSD for quick OSD).
Generation: Choose 1, next.
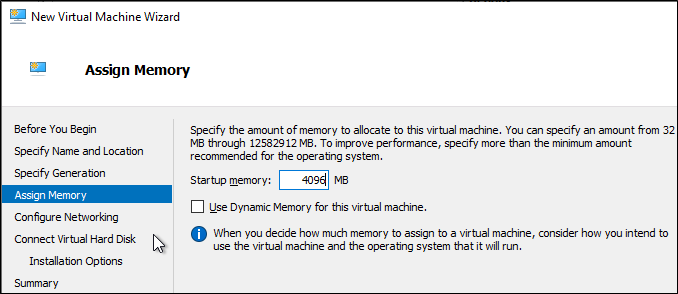
If memory permits assign 4096MB (4GB) RAM or more, next.
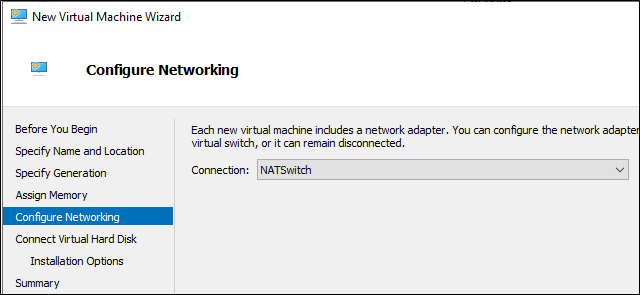
Connect to the NATSwitch, next.
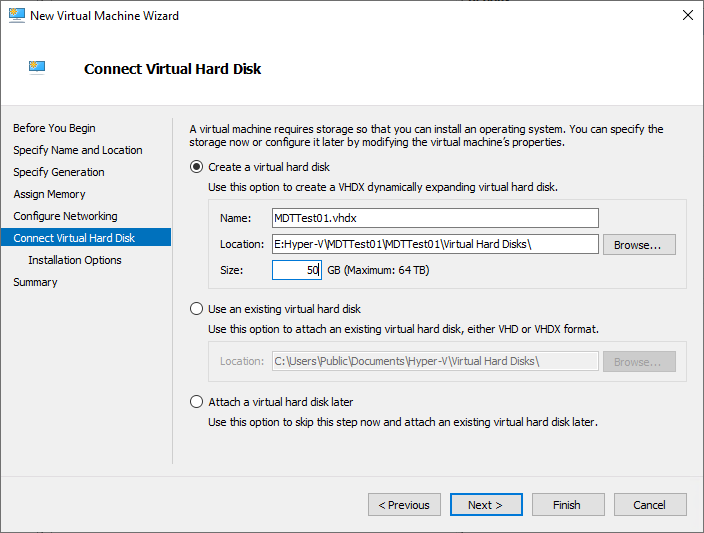
If you are just testing, choose a size and continue. If you want to use this VHD to upload to Azure after the OSD then choose to attach a virtual disk later and create a VHD (not VHDX), this saves you the conversion process and time.
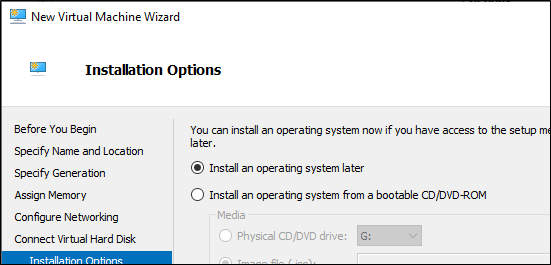
Choose, Install an operating system later, next, finish.
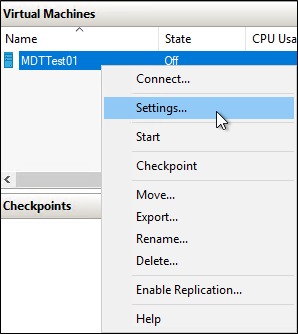
Right click the new VM and choose settings.
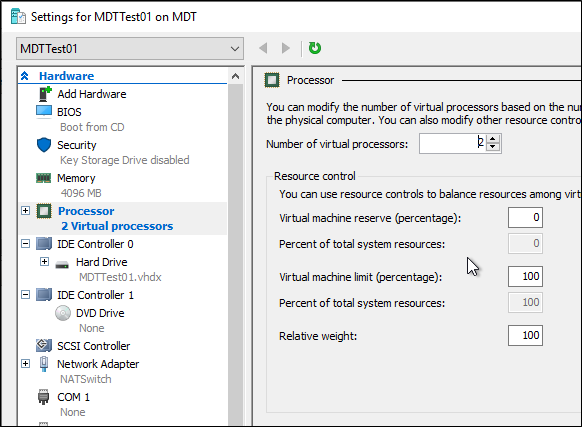
First increase the number of virtual processors to 2. More is not useful. Click Apply.
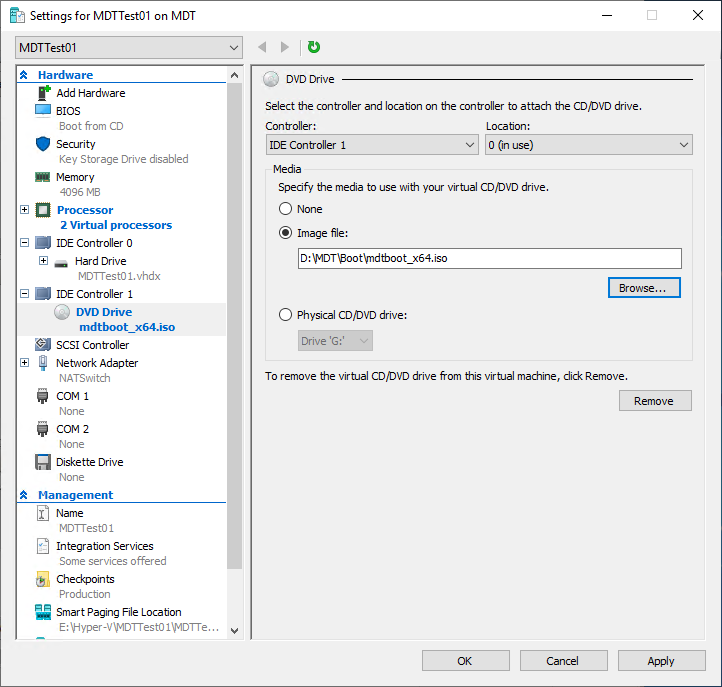
Browse to the DVD drive, click “Image file” and browse to the D:\MDT\BOOT folder and point the ISO file MDT generated. Click OK.
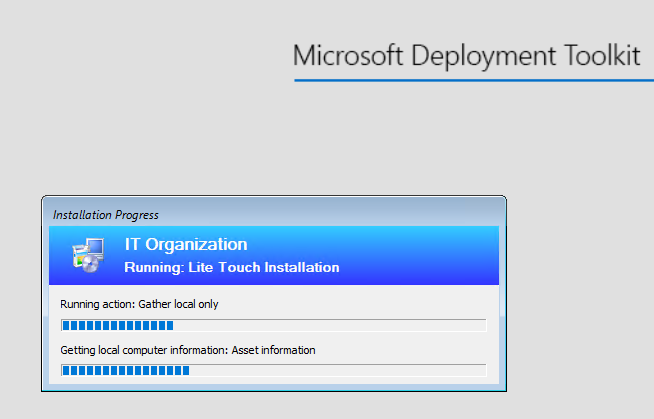
Next, start the VM and connect to the Console.
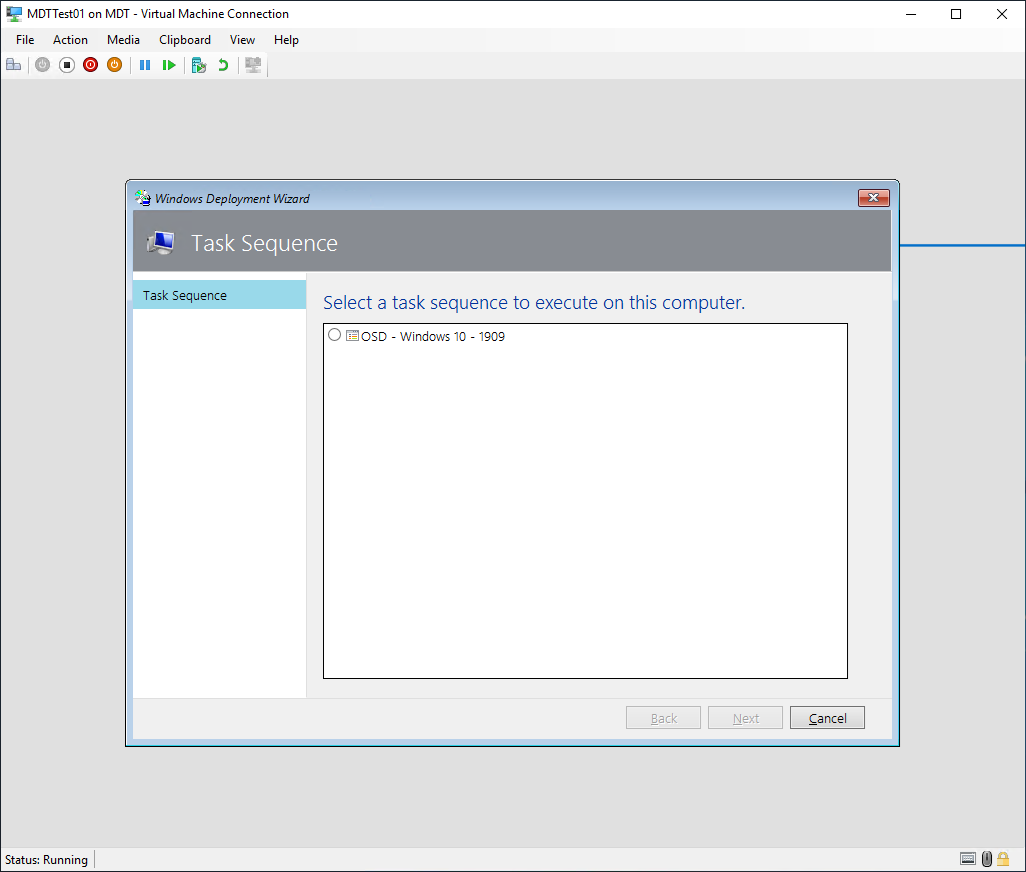
If all went well, after some boot time you should see something like above. You can now select the OSD task sequence and click Next to start.
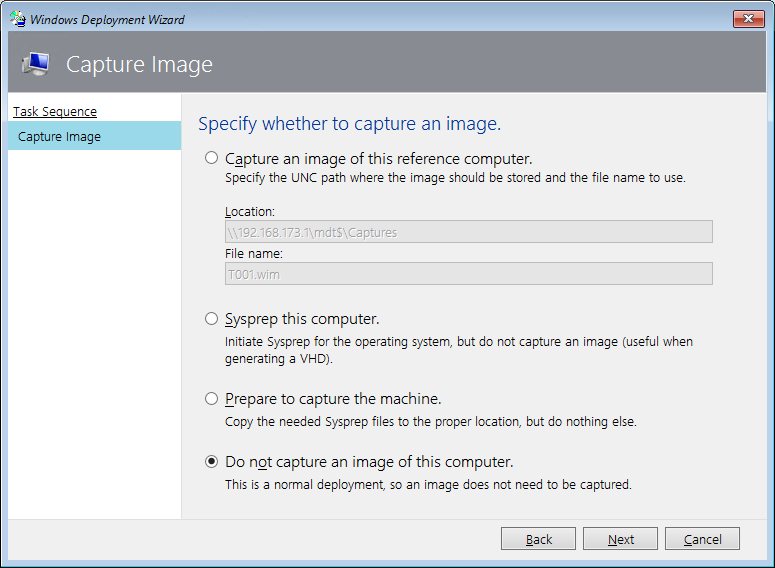
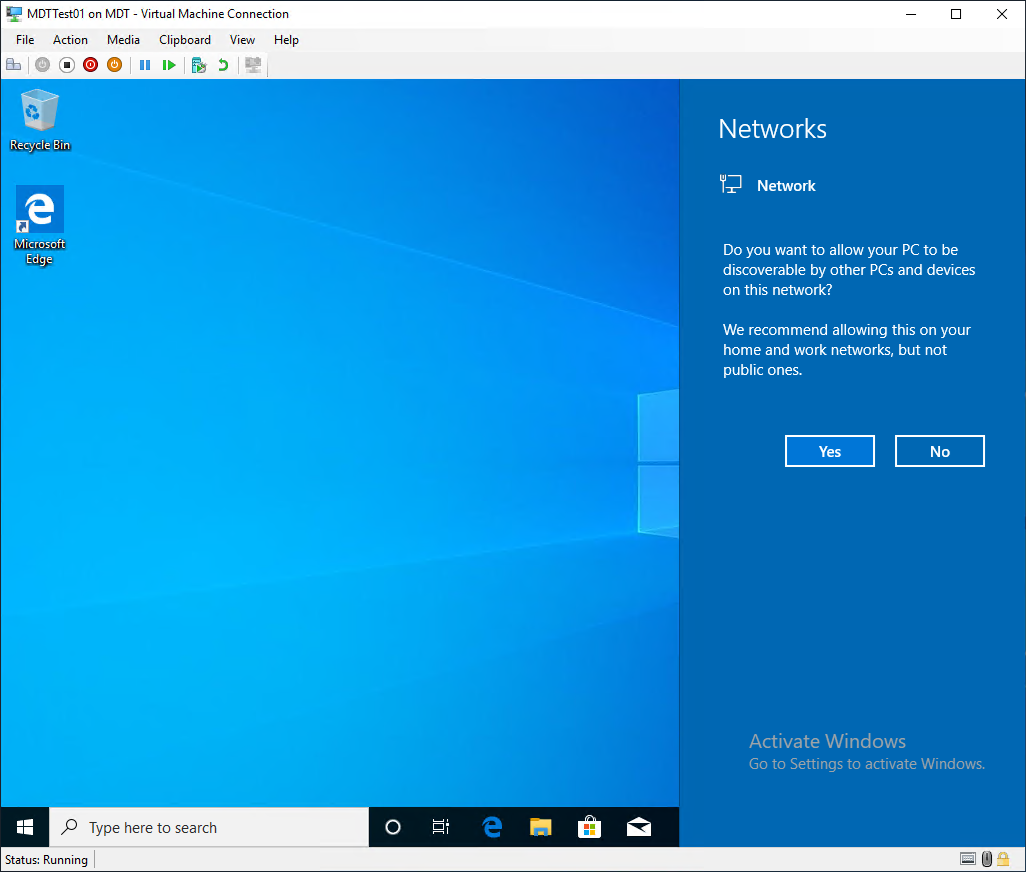
After some time, the OSD is ready and the VM will show a screen like above.
The task sequence installed Windows 10 as chosen. In the next section I will describe more useful deployments.
End of part 4, continue on part 5.