MDT in a Box – Part 8 – Windows Updates
Introduction
This BLOG will describe the instruction how to create your very own “MDT in a Box” server. You can use this server to create images for physical computers, RDS, WVD and probably also other VDI environments. MDT is Microsoft Deployment Toolkit, a few Windows tool to automate the Operation System Deployment (OSD). I use this often in my work for customers to create “golden images” for RDS or WVD.
With the MDT in a box you can create VHD or WIM files for your environments, or for you client environments. You can install several applications, scripts, language packs and updates in this task sequence.
In my work I use MDT to create “golden images” for RDS2019 and Windows Virtual Desktop with Windows 10 Enterprise Multi Session.
This BLOG is very long so I split it in a few parts.
5. Deploy Windows 10 – Multisession (WVD)
MDT in a Box – Part 8 – Windows Updates
It is very useful to have the OSD install all recent Windows Updates. For this to work we need a working WSUS environment. If you have one in your environment, you can use that one. In this blog I will install the WSUS role on the MDT server.
On the MDT server, start the Server Manager.
Click on 2 “Add roles and features”
On the before you begin page, click next.
On the Installation Type page, click next.
On the Server Selection page, click next.
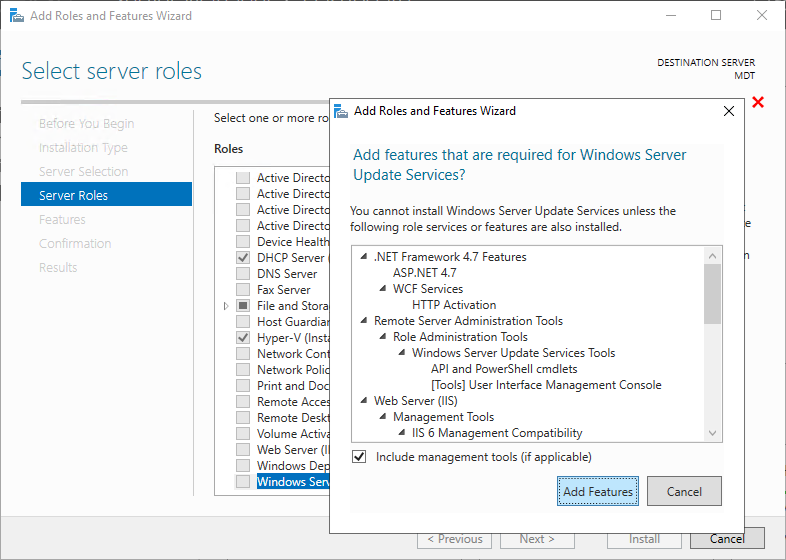
On the Server Roles page scroll down and select “Windows Server Update Services”, click Add Features, click next.
On the Features page, click next.
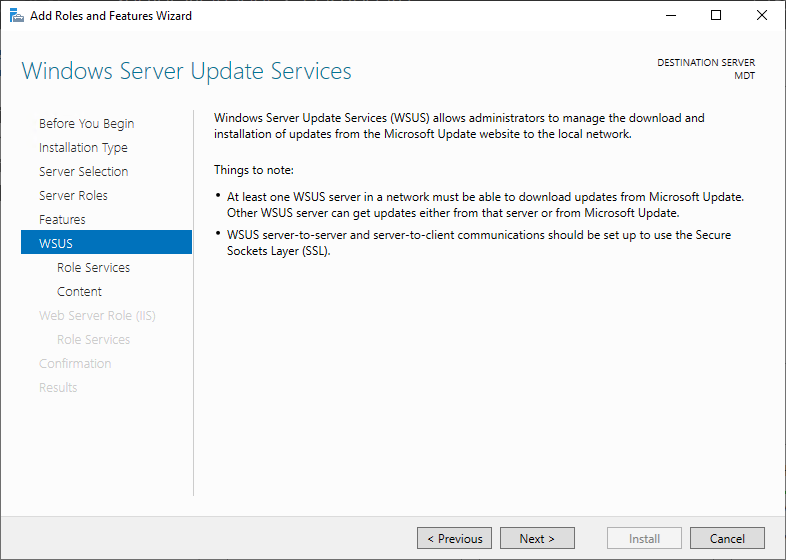
Click Next.
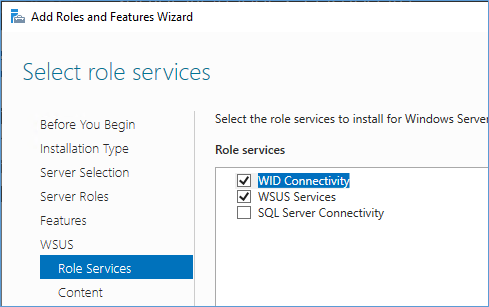
Choose WID Connectivity and WSUS Services, next.
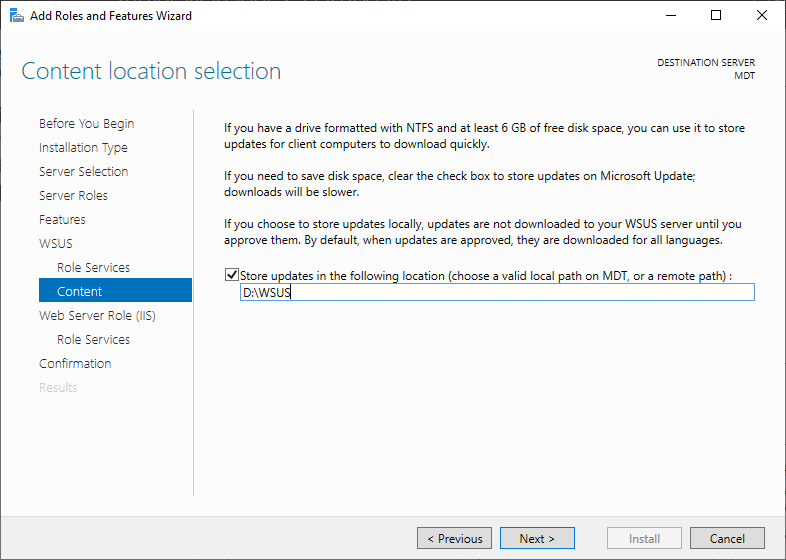
Type a local path to store WSUS information, next.
On the Web Server Role (IIS) page, next.
On the IIS Role Services page, next
On the Confirm installations selections page, Install.
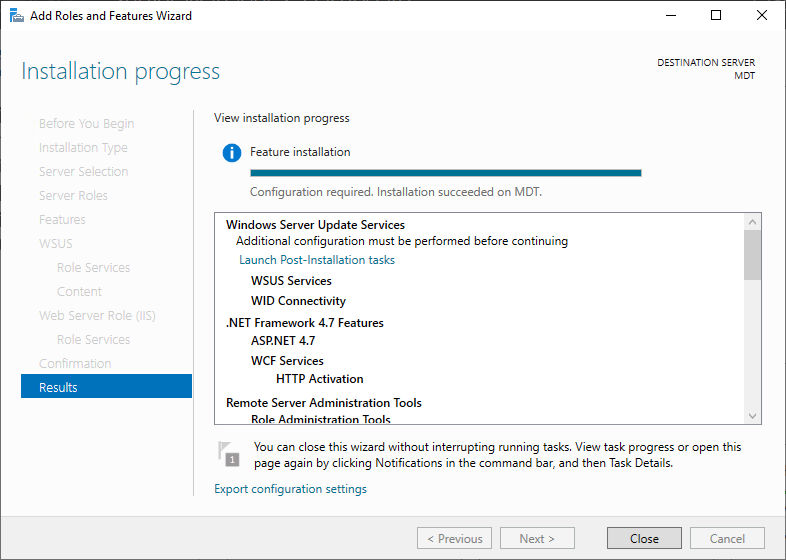
Click on the blue item “Launch Post-Installation tasks”
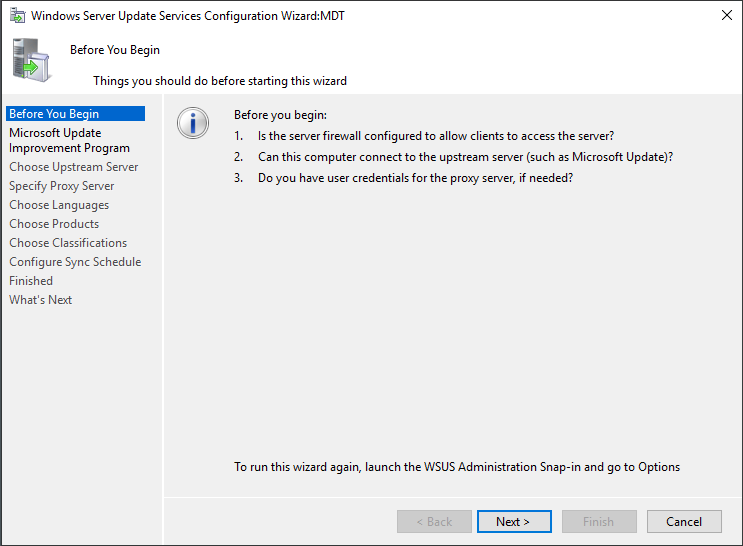
Next
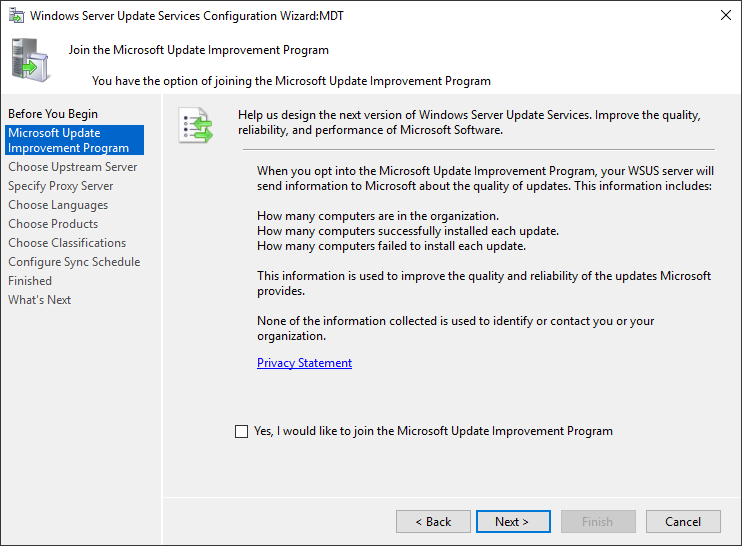
Next.
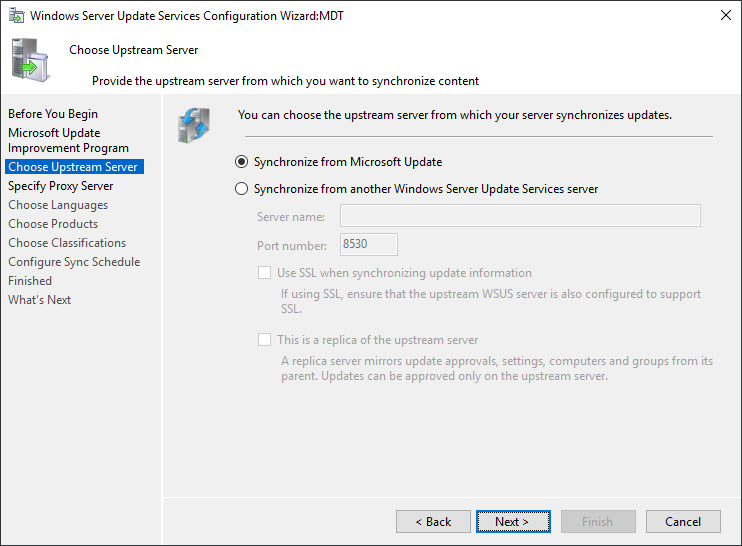
Choose what fits your environment.

If required add PROXY information, next.
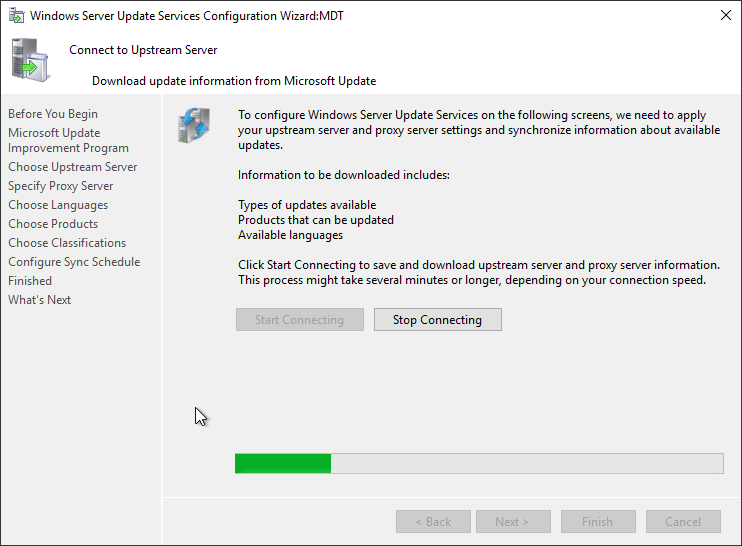
Press the “Start Connecting” button.
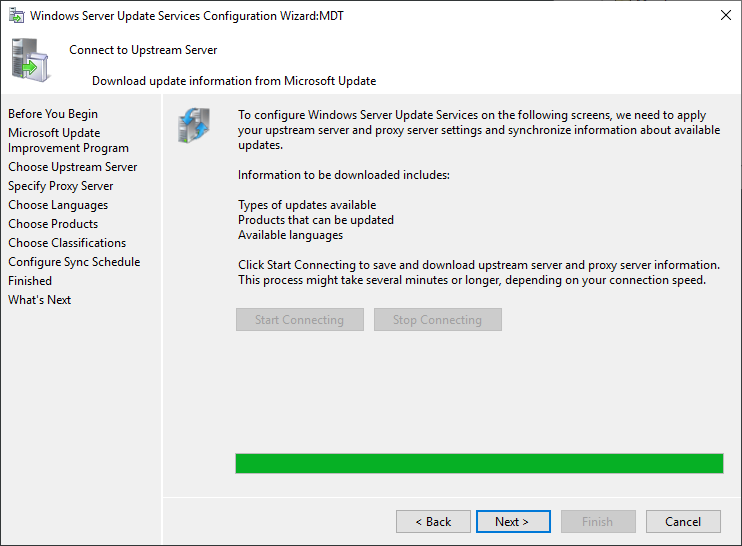
Next.
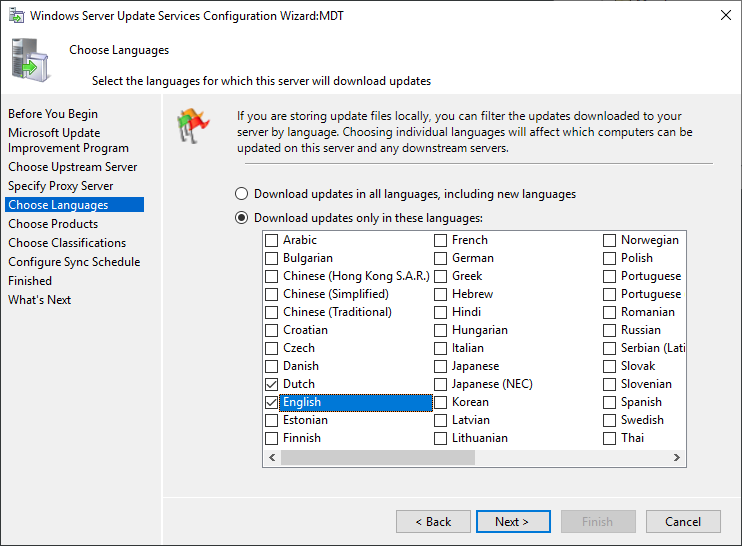
Choose one or more languages, or all, next.
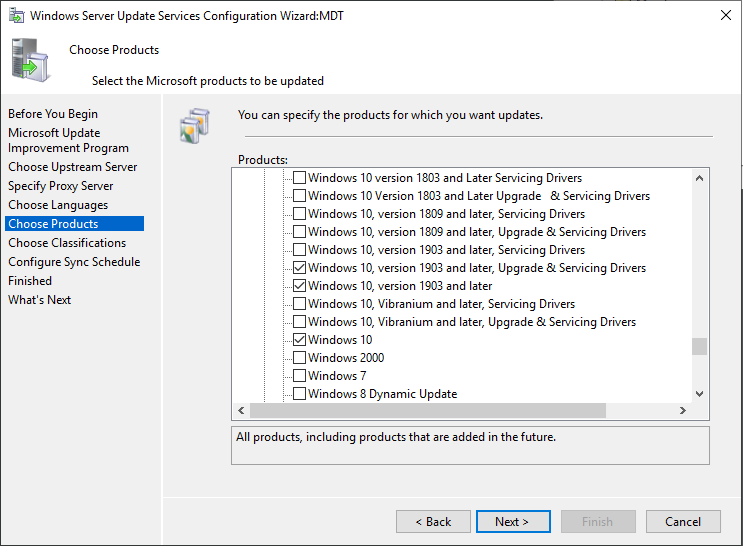
Select all your products. For example, Windows 10, version 1903 and later. Next.
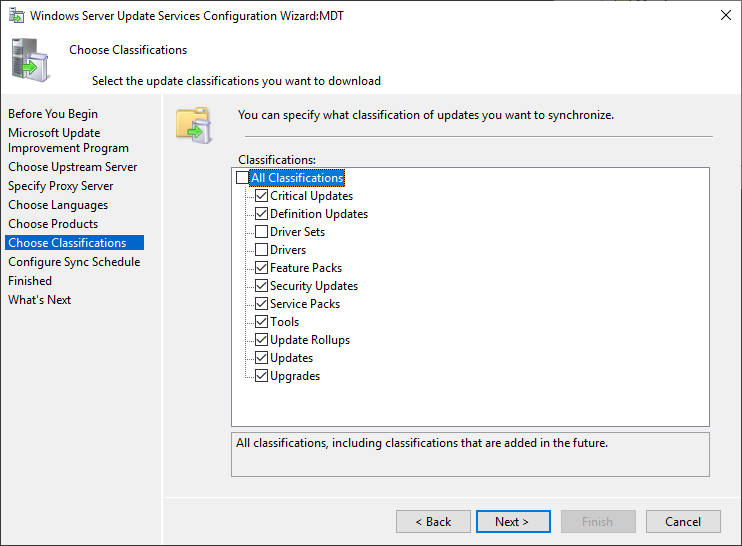
Select the Classifications for your environment, next.
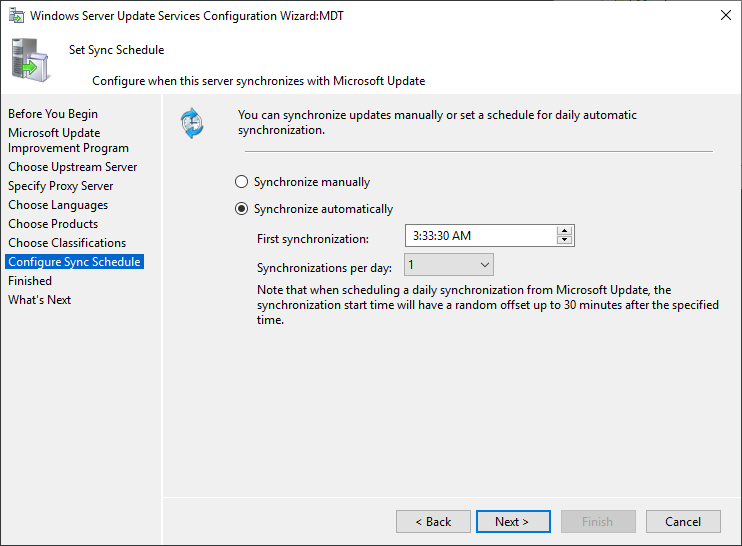
Choose you favorite sync schedule, next.
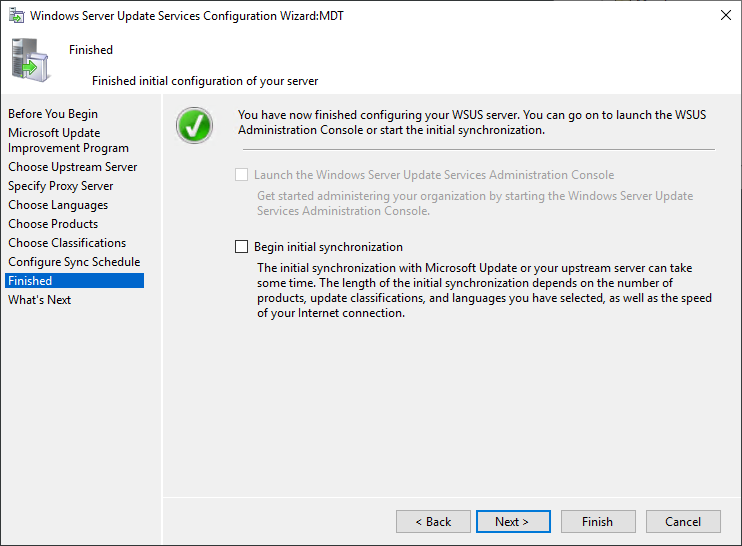
Do not start initial sync, next, finish.
If you do all update will be downloaded, if you do not want that you must disable that first, before syncing!!!
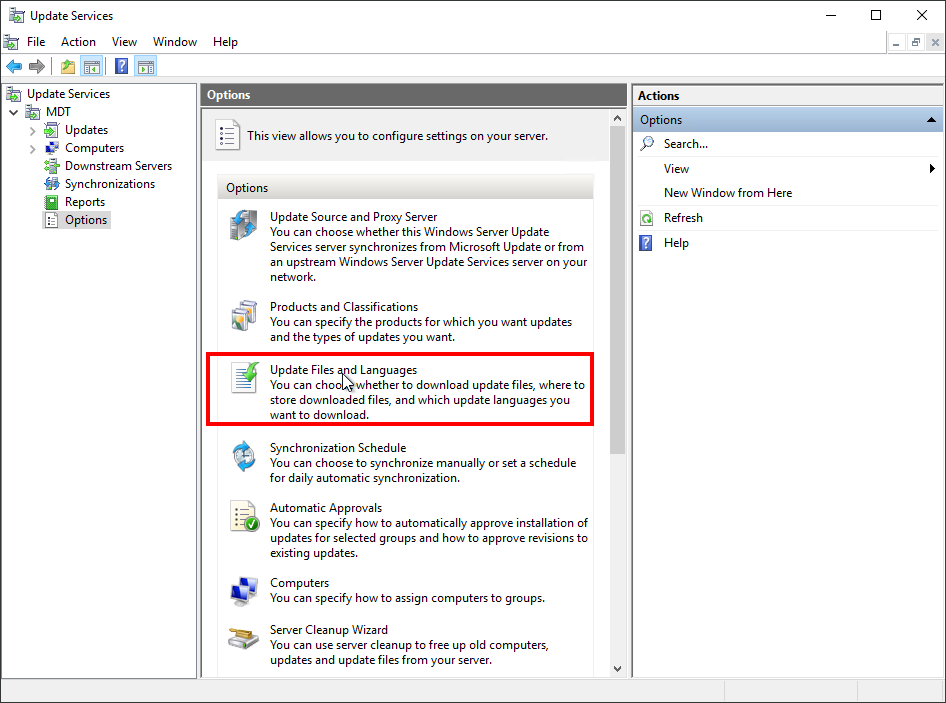
On the Update Services page, in the tree on the left select “Options” then click on “Update Files and Languages”
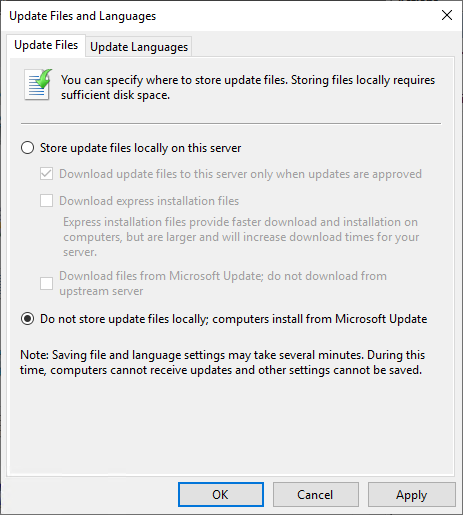
Depending on your environment you can choose to download all approved updates locally or let the client download it directly from the internet. I usually choose the latter. OK
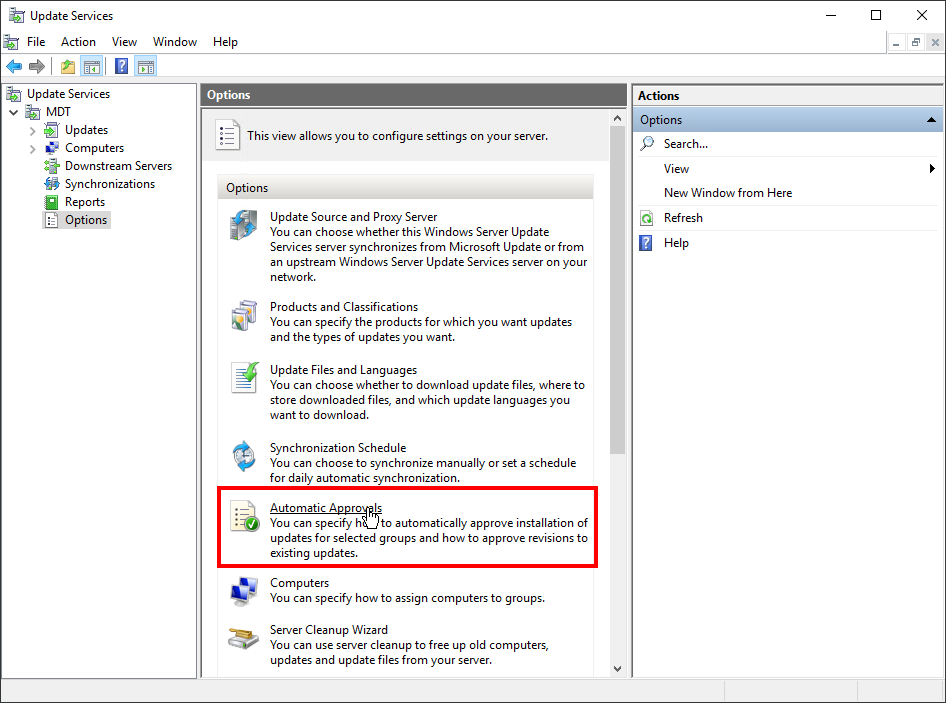
Click the “Automatic Approvals” option.
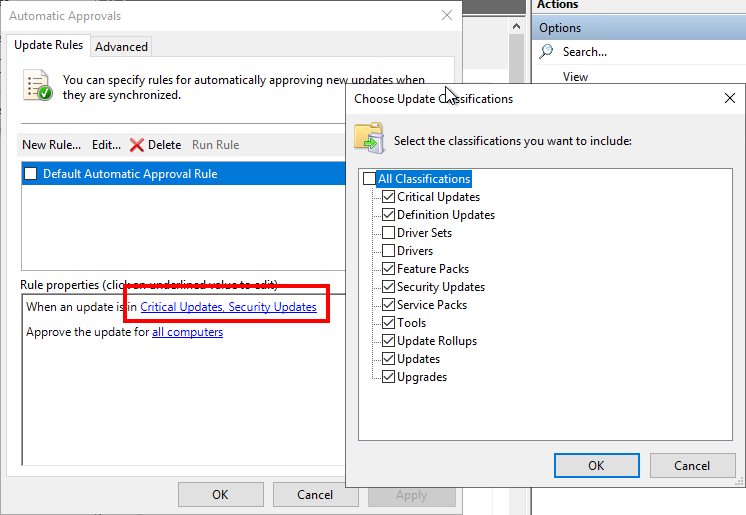
Click on the “Critical Updates, Security Updates” and select all classifications you need.
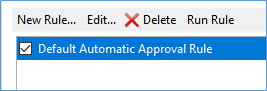
Enable the default rule. Click OK.
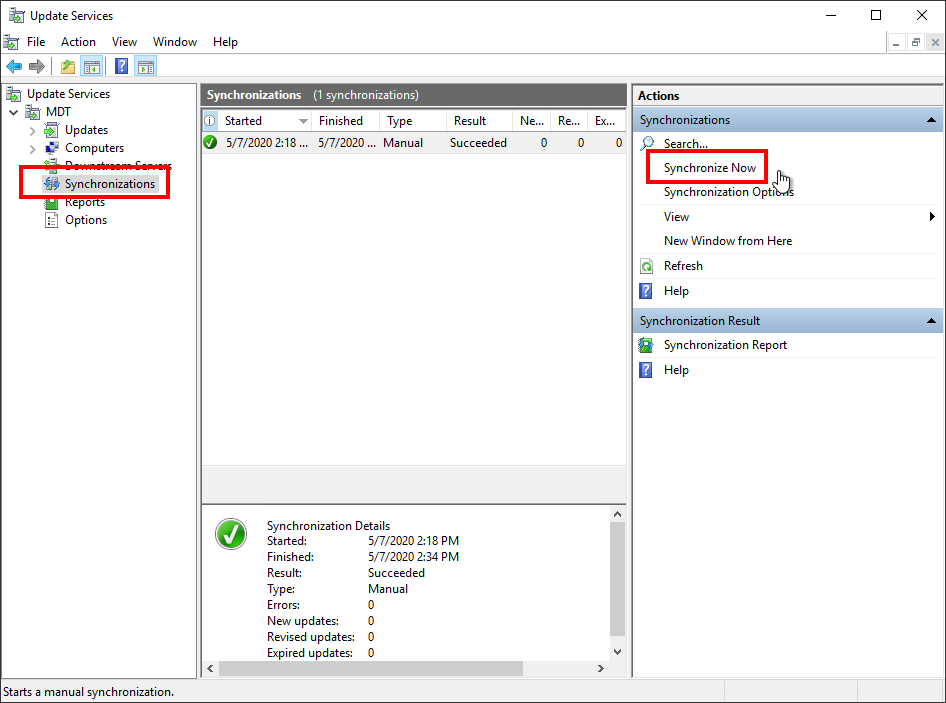
On the left click on the Synchronizations and then on the right side click “Synchronize Now”. This can take some time.
Configure MDT for WSUS.
In Deployment Workbench, right click the MDT Deployment Share and click properties.
In the RULES tab add one line for WSUS:
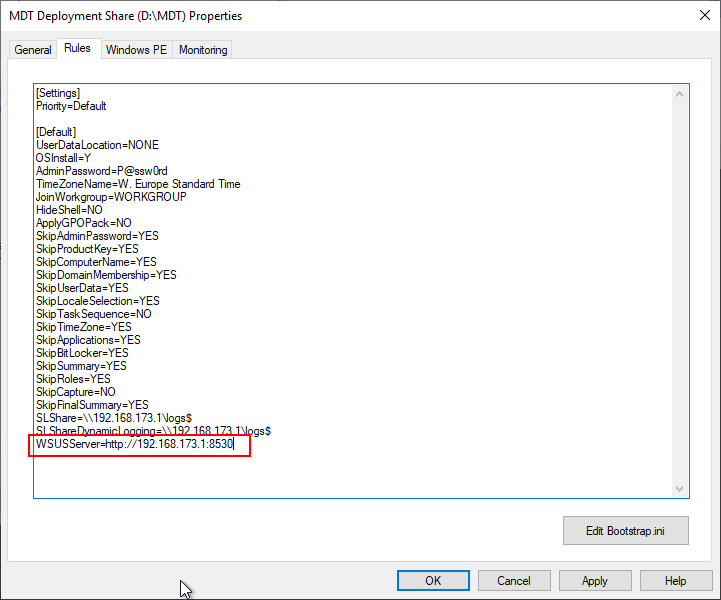
WSUSServer=http://192.168.173.1:8530
Click OK. Right click the MDT Deployment Share again and click “Update Deployment Share” choose the “Optimize the boot image updating process”, next, next, finish.
Go back to the properties of the OSD task sequence. Go to the task sequence tab.
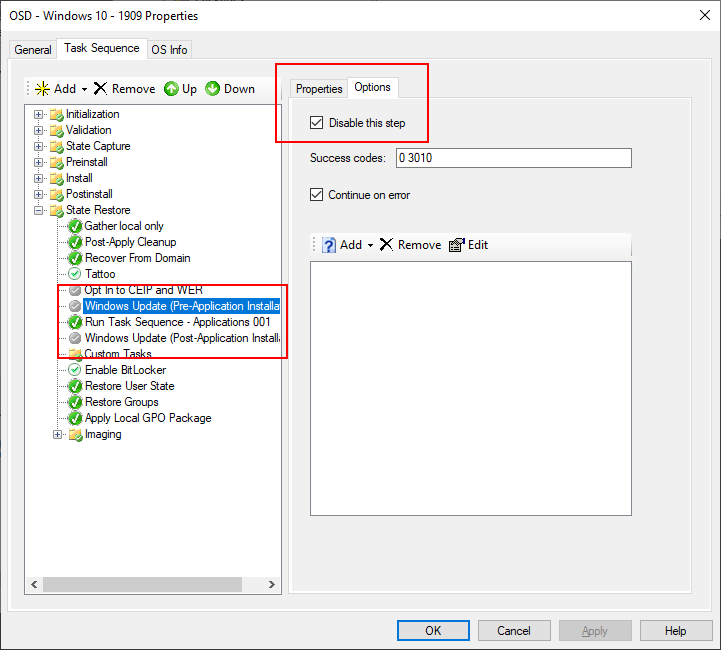
Select the first “Windows Update (Pre-application..)” click on the Options TAB, en deselect “Disable this step”
Repeat for the second Windows Update (Post-application..).
Click OK.
Testing:
If you test the task sequence now, you will see something similar like below.

It is downloading the 2020-02 Cumulative Update. Because I chose not to download all updates to the WSUS server the files need to be downloaded from the internet. This can take some time.
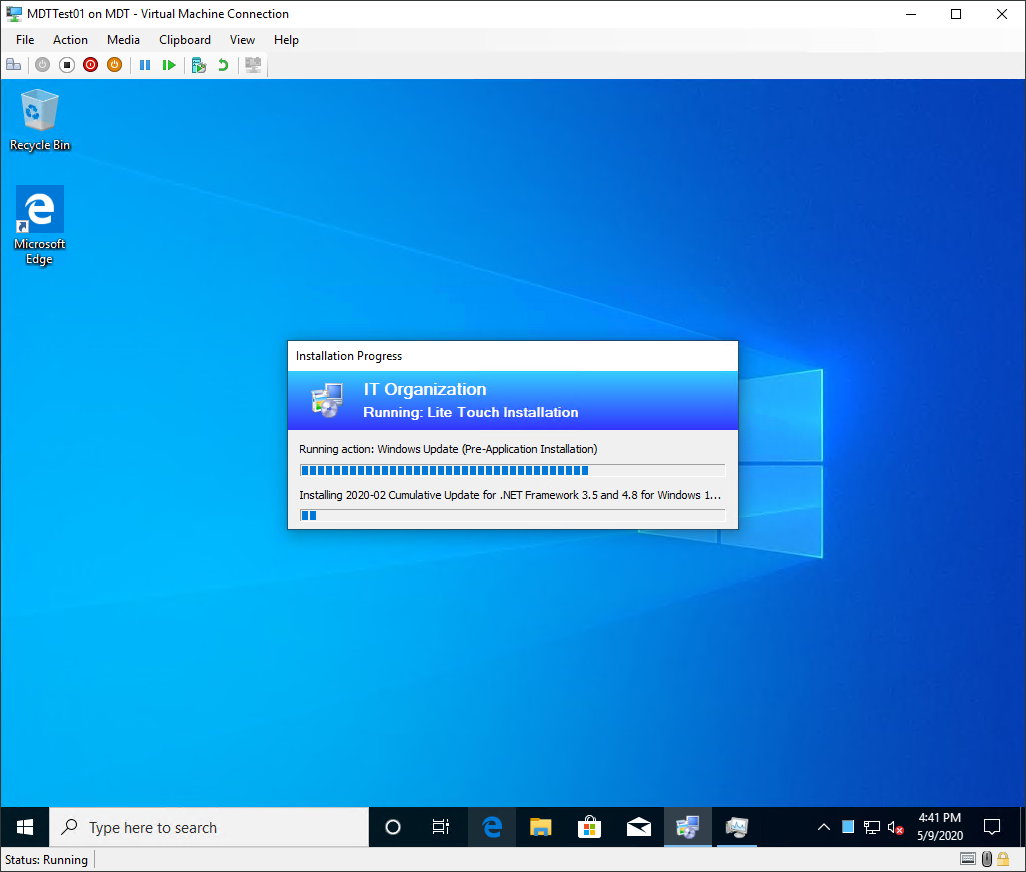
And after the download it will install the update.