MDT in a Box – Part 5 – Add Windows 10 – Multisession (WVD base image)
Introduction
This BLOG will describe the instruction how to create your very own “MDT in a Box” server. You can use this server to create images for physical computers, RDS, WVD and probably also other VDI environments. MDT is Microsoft Deployment Toolkit, a few Windows tool to automate the Operation System Deployment (OSD). I use this often in my work for customers to create “golden images” for RDS or WVD.
With the MDT in a box you can create VHD or WIM files for your environments, or for you client environments. You can install several applications, scripts, language packs and updates in this task sequence.
In my work I use MDT to create “golden images” for RDS2019 and Windows Virtual Desktop with Windows 10 Enterprise Multi Session.
This BLOG is very long so I split it in a few parts.
5. Deploy Windows 10 – Multisession (WVD)
MDT in a Box – Part 5 – Add Windows 10 – Multisession (WVD base image)
Windows Virtual Desktop is this wonderful new service from Microsoft that gives great flexibility to create a Remote Desktop experience without the need to build complex infrastructure. All you need to do is create the “golden image”. Depending on your application the “golden image” can be created just once, manually with the ARM Wizard. Install some manual applications and keep the WVD Virtual Machines up to date by updating Windows and applications manually.
If you want to create a “golden image” building environment, you can use this MDT in a Box if you want. Unfortunately, at time of writing Microsoft does not provide an ISO file for the Windows 10 – Multisession versions. However, it is possible to reverse engineer a WIM file that can be imported into MDT for creating this “golden image”. Follow my earlier blog post on how to create this WIM file and download it to the MDT in a Box server. https://www.microcloud.nl/create-a-wim-file-from-the-wvd-vhd-file/

Open Deployment Workbench and browse to Operating Systems and right click, click Import Operating System.
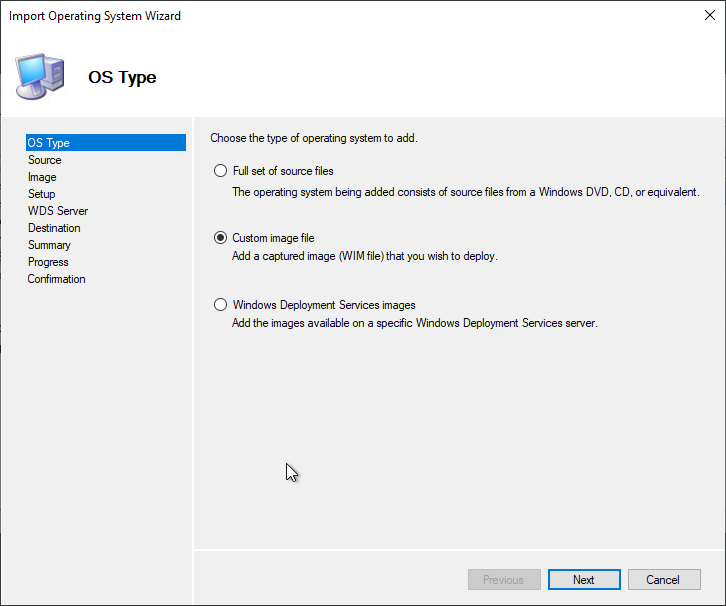
In the OS Type screen choose “Custom image file”, next.
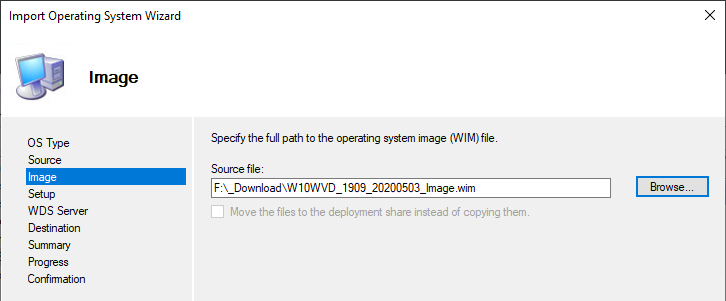
Type or browse the path to the WIM image you created from the instruction in my other blog, next.
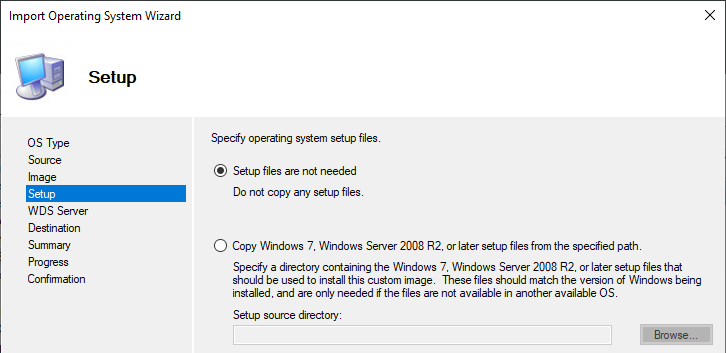
Setup files are not needed, next.
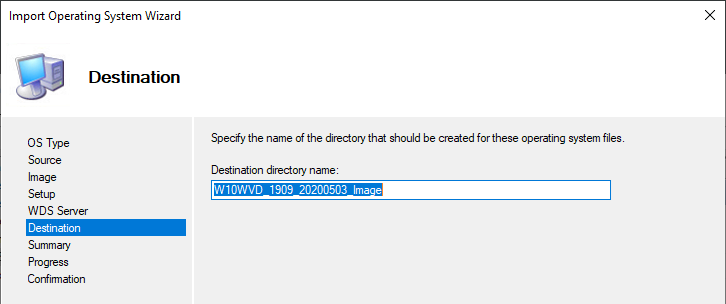
Name the folder, next.
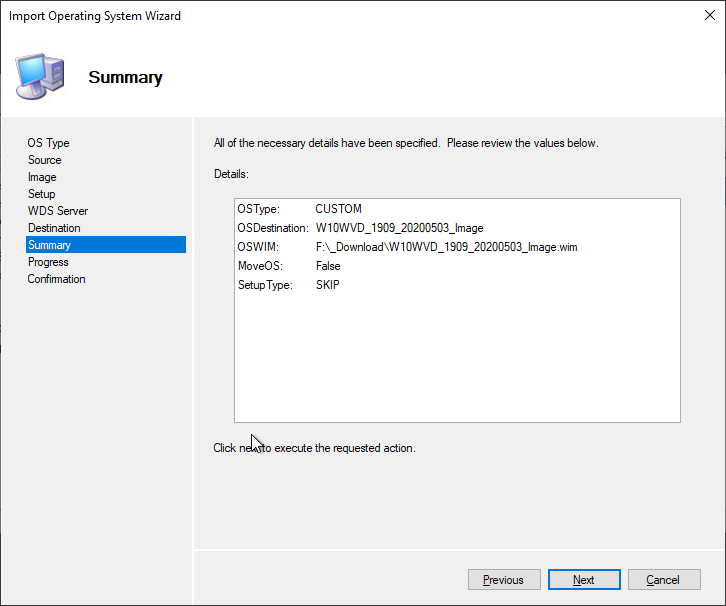
Next, finish. This can take some time to process.
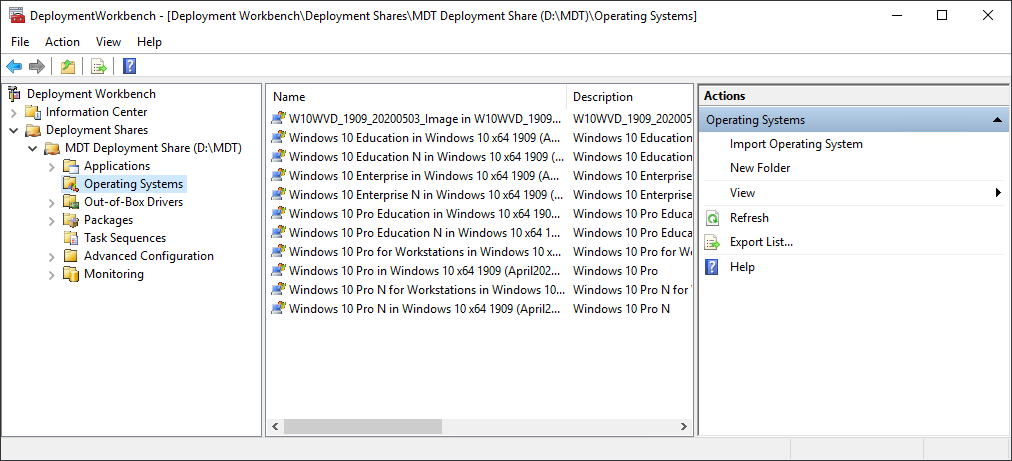
After the import you will see the W10WVD_1909_20200503 image in the Operating Systems folder.
Now we can follow Part 4 again to create the OSD task sequence, just skip the ISO file part.
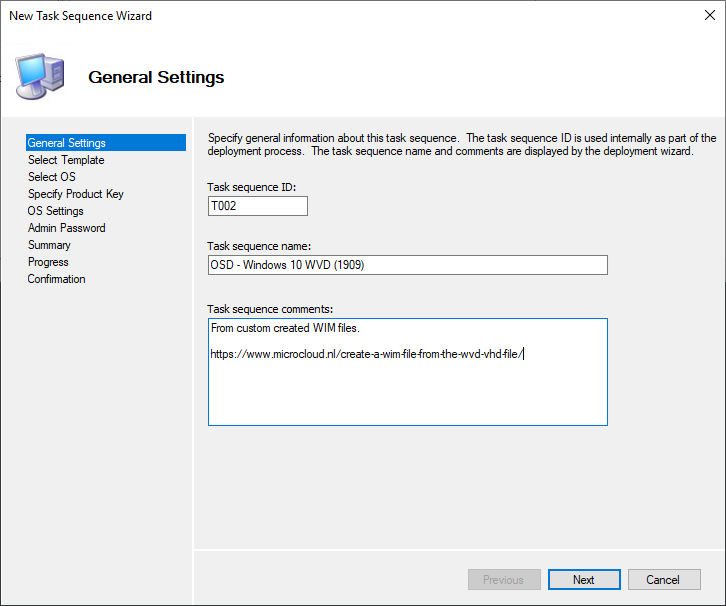
Create the task sequence.
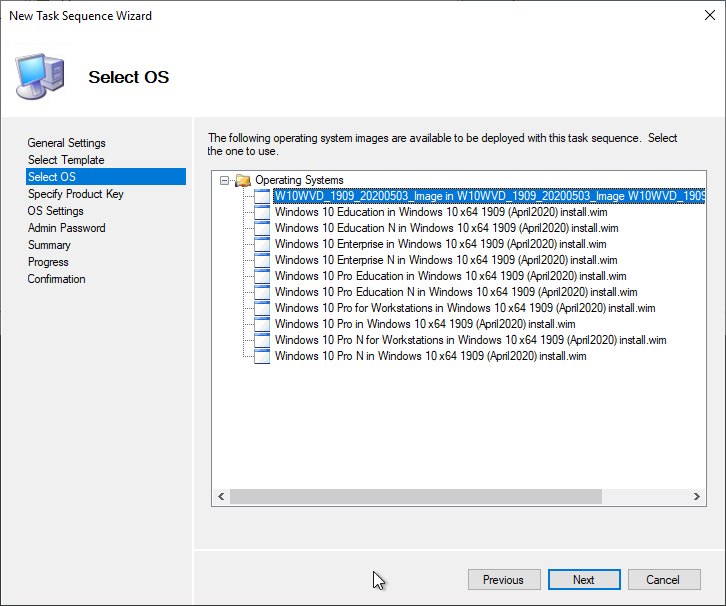
In this screen be sure to select the imported WIM file. For all the other settings take the same as in part 4.
TIP: Add the Azure VM agent as an application in the task sequence. If you only need it in the WVD image, then add it to the OSD task sequence instead of the Applications task sequence.
Microsoft page of the Azure VM Agent: https://docs.microsoft.com/en-us/azure/virtual-machines/extensions/agent-windows
Direct download of the Azure VM Agent MSI: https://go.microsoft.com/fwlink/?LinkID=394789
End of part 5, continue part 6.