Introduction
This BLOG will describe the instruction how to create your very own “MDT in a Box” server. You can use this server to create images for physical computers, RDS, WVD and probably also other VDI environments. MDT is Microsoft Deployment Toolkit, a few Windows tool to automate the Operation System Deployment (OSD). I use this often in my work for customers to create “golden images” for RDS or WVD.
With the MDT in a box you can create VHD or WIM files for your environments, or for you client environments. You can install several applications, scripts, language packs and updates in this task sequence.
In my work I use MDT to create “golden images” for RDS2019 and Windows Virtual Desktop with Windows 10 Enterprise Multi Session.
This BLOG is very long so I split it in a few parts.
5. Deploy Windows 10 – Multisession (WVD)
MDT in a Box – Part 1 – Prepare the Server
Deploy a Windows 2019 Server in Azure with a v3 type machine. We need v3 for Nested Virtualization.
I use a D2s_v3, with a [smalldisk] Win2019 GUI image, and a few extra disks. Except for the Hyper-V disks regular Standard HDD will do just fine. If you have enough Azure ‘money’ you can pump it up to D4s_v3 with Premium SSD to speed things up.
| Computername | MDT |
| Azure VM Type | D2s_v3 |
| C: OS DISK | 32GB Standard HDD [smalldisk] (Increase in size when required) |
| D: Datadisk0 | 64GB Standard HDD |
| E: Datadisk1 | 32GB Premium SSD (for hyper-V) |
| F: Datadisk2 | 500GB Standard HDD for VHD conversions |
First, we need to download the binaries. (Source)
ADK – https://go.microsoft.com/fwlink/?linkid=2086042
PE Add-in ADK – https://go.microsoft.com/fwlink/?linkid=2087112
WSIM 1903 Update – https://go.microsoft.com/fwlink/?linkid=2095334
MDT 8456 – https://www.microsoft.com/en-us/download/details.aspx?id=54259
Installation
Prepare
I have deployed the server in Azure not domain joined. I create a local “Service Account” for the MDT connection. If you have a domain joined machine you can create a domain or local account. I choose a local account.
Username: sa_mdt
Password: P@ssw0rd (Secure this if you like, keep in mind we need to add this password to config files later)
Make sure the password of this service account does not expire.
Enable Hyper-V
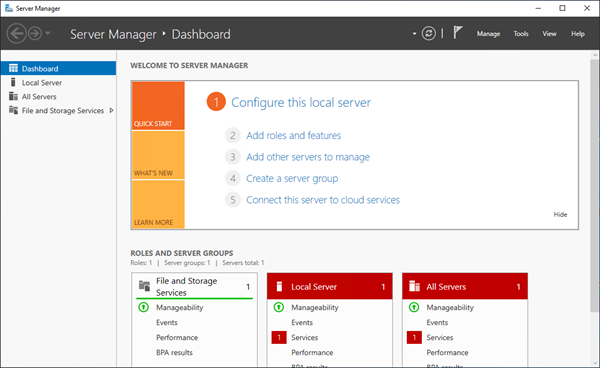
Start the Server Manager

Click (2) Add roles and features
On the before you begin page, click next.
On the installation type page, click next.
On the server selection page, click next.
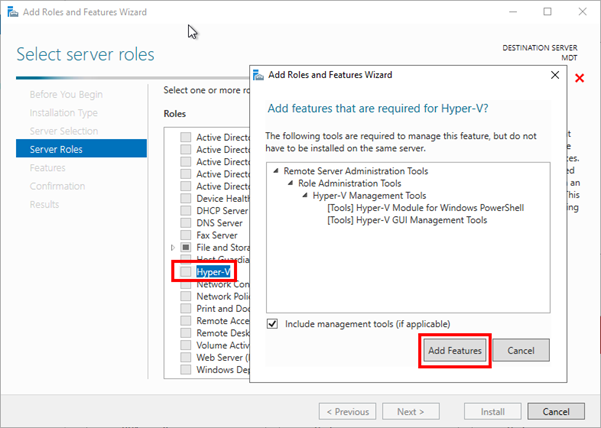
Select Hyper-V and click the Add Features button on the popup.
Click next, and keep clicking next until Install, leave all defaults. After the role installation, allow the server to reboot. This reboot can take 10-15 minutes, be patient.
Hyper-V network (NAT)
After installation we need to configure the network for Hyper-V. In Azure network adapter sharing is not supported, we need to create a NAT interface.
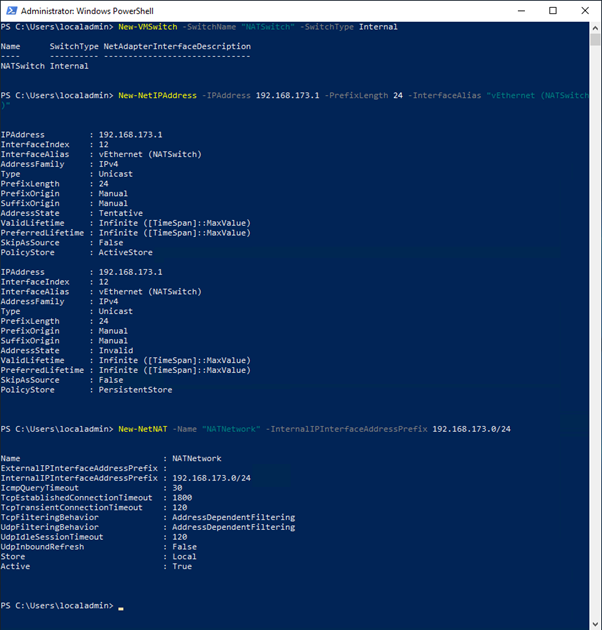
Open an elevated PowerShell box and enter these commands:
New-VMSwitch -SwitchName “NATSwitch” -SwitchType Internal
New-NetIPAddress -IPAddress 192.168.173.1 -PrefixLength 24 -InterfaceAlias “vEthernet (NATSwitch)”
New-NetNAT -Name “NATNetwork” -InternalIPInterfaceAddressPrefix 192.168.173.0/24
The subnet used in the Hyper-V network is 192.168.173.0/24, you can change this if you like.
DHCP for the NAT network
Start the Server Manager
Click (2) Add roles and features
On the before you begin page, click next.
On the installation type page, click next.
On the server selection page, click next.
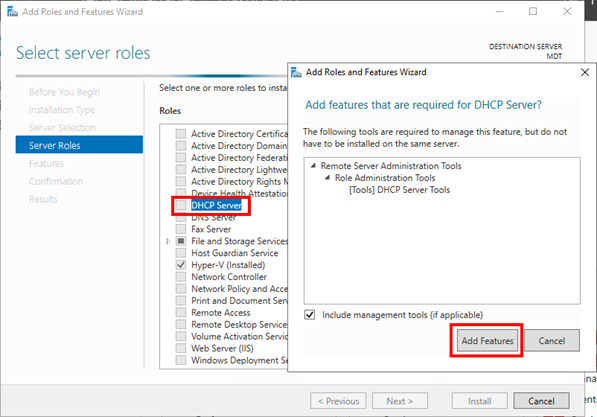
Add the DHCP Server Role and click Add Features. Next, Next, Next, Install.
Note: At time of writing DHCP Servers in Azure are not supported. We only need it to provide IP numbers on the NAT network. For this case it just works, don’t use it for anything else or be ready to be disappointed.
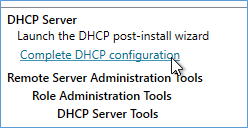
Click on “Complete DHCP Configuration”
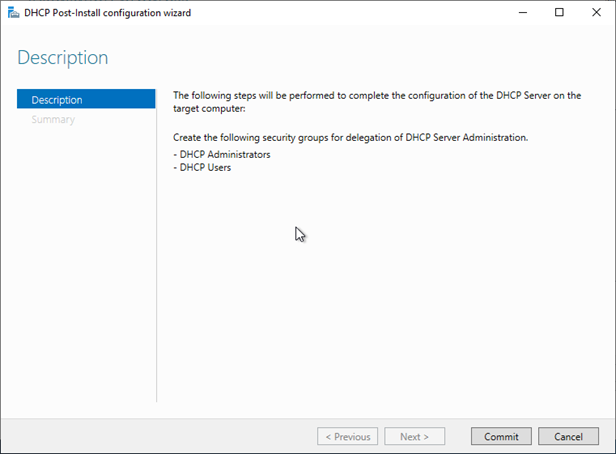
Click Commit.

Restart the DHCP Server service.
Start the DHCP Console from Administrative Tools.
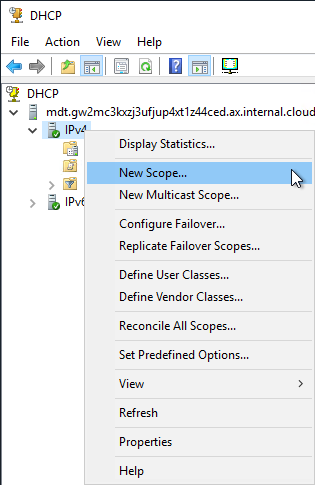
In the DHCP Console, browse to the IPv4 section, right click it, and click New Scope.
On the welcome page, click Next.
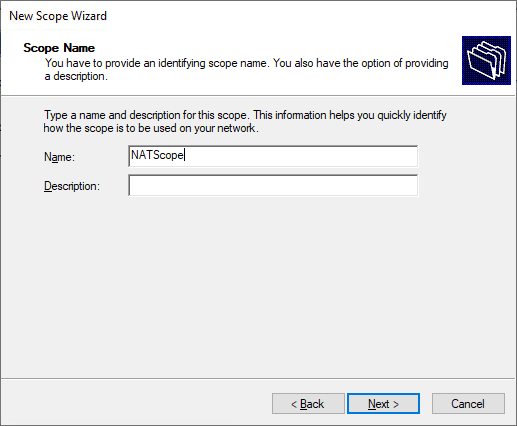
Name the scope, next.
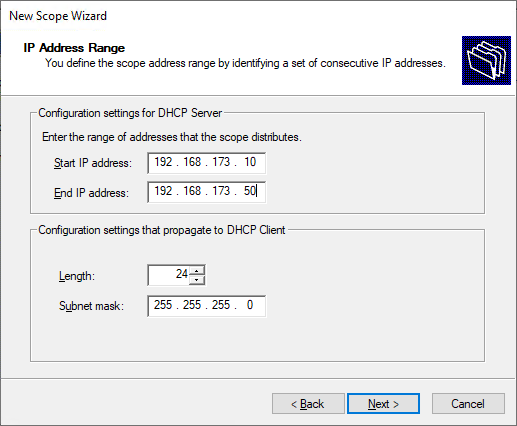
Enter a scope, this can be of about 40 numbers, or even less. Next.
No exclusions, next.
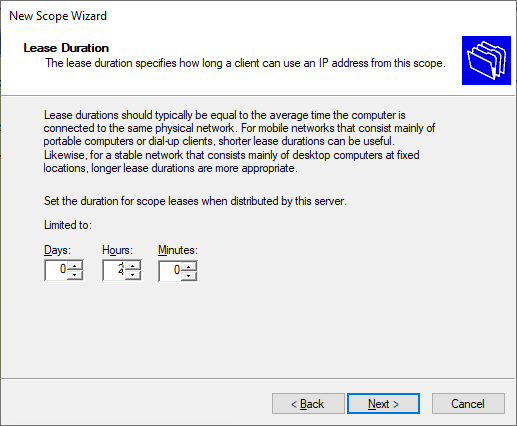
I choose 2 hours lease time, next.
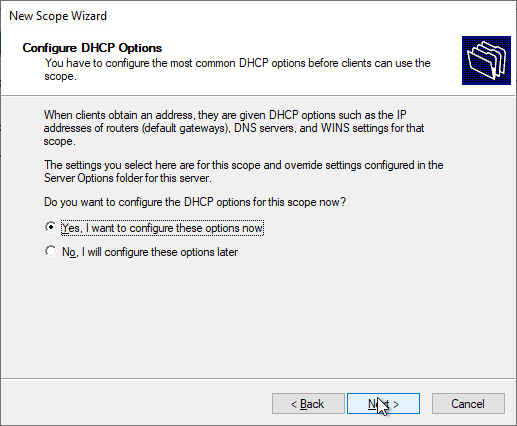
Yes, I want to configure these options now, next.
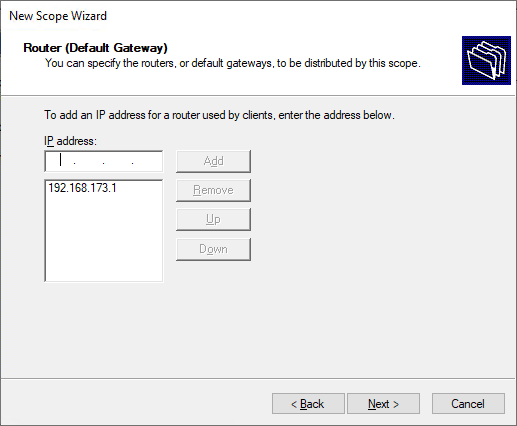
Enter the IP number of the NAT gateway network, in my environment it is 192.168.173.1, Next
It is the number in this PowerShell line from the Hyper-V NAT:
New-NetIPAddress -IPAddress 192.168.173.1 -PrefixLength 24 -InterfaceAlias “vEthernet (NATSwitch)”
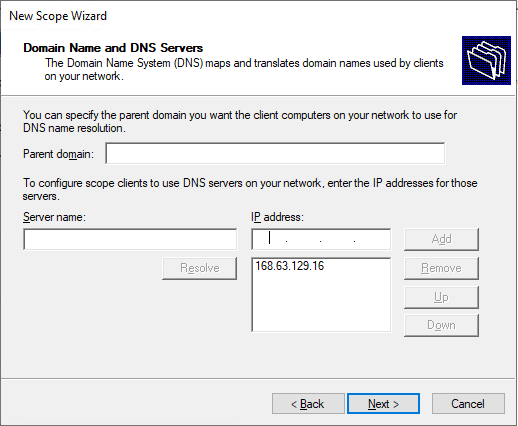
Default the Azure DNS server is copied to this screen, it will be okay. You can change it to your internal DNS, if the AzureVM is connected to a Virtual-NET with connectivity to the rest, my machine is a single VM in its VNET so I keep this default. You can also use some famous open DNS servers. Just enter something that will work. The VMs need internet and DNS connectivity.
On the WINS screen just hit next.
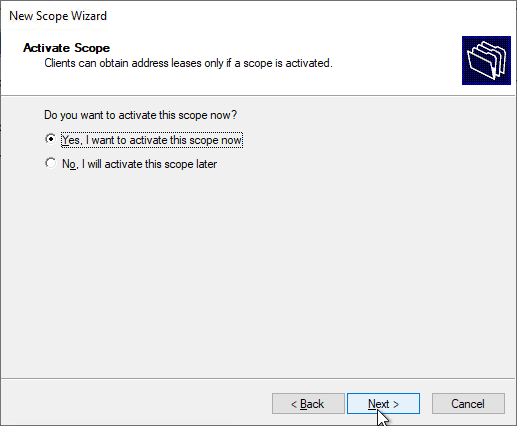
Yes, I want to activate the scope. Next, Finish. Close the DHCP Console.
End of part 1, continue on part 2.