MDT in a Box – Part 6 – Add applications
Introduction
This BLOG will describe the instruction how to create your very own “MDT in a Box” server. You can use this server to create images for physical computers, RDS, WVD and probably also other VDI environments. MDT is Microsoft Deployment Toolkit, a few Windows tool to automate the Operation System Deployment (OSD). I use this often in my work for customers to create “golden images” for RDS or WVD.
With the MDT in a box you can create VHD or WIM files for your environments, or for you client environments. You can install several applications, scripts, language packs and updates in this task sequence.
In my work I use MDT to create “golden images” for RDS2019 and Windows Virtual Desktop with Windows 10 Enterprise Multi Session.
This BLOG is very long so I split it in a few parts.
5. Deploy Windows 10 – Multisession (WVD)
MDT in a Box – Part 6 – Add applications
Some Applications
I am going to show an example how to add a few applications to the task sequence. First, we need to create a source folder structure. You can use any structure you like but I always use these rules:
- I create a folder for every vendor.
- I create a folder for each application.
- I create a folder for each version.
When you add an application with MDT, it will copy all files and folders below the folder you select. So, putting every version in a separate folder is no luxury. Make sure you clean older versions when they are no longer in use.
This folder does not have to be on the same server, if you already have a internal software library with all software in a usable format you can create a drive mapping of browse via UNC from the Deployment Workbench.
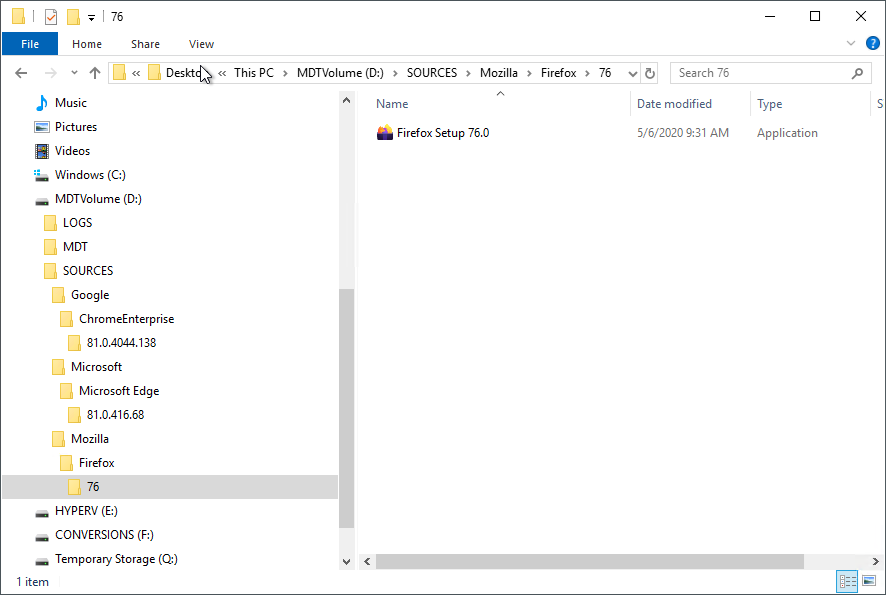
Example folder structure for Sources.
You need to know the silent installation method for the application to deploy. For Firefox it is “Firefox setup 76.0.exe /S”. Most silent install parameters are just a search engine query away.
Start the Deployment Workbench.
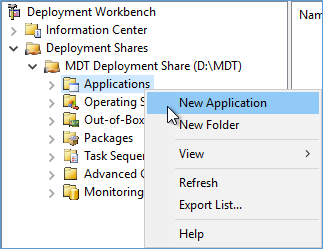
Right click the Applications folder and click New Application.
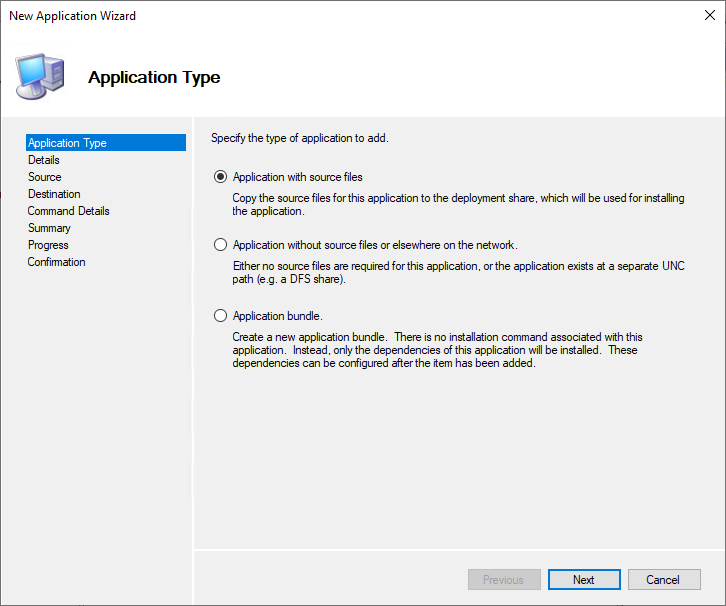
For this example, I use “Application with source files”, next.
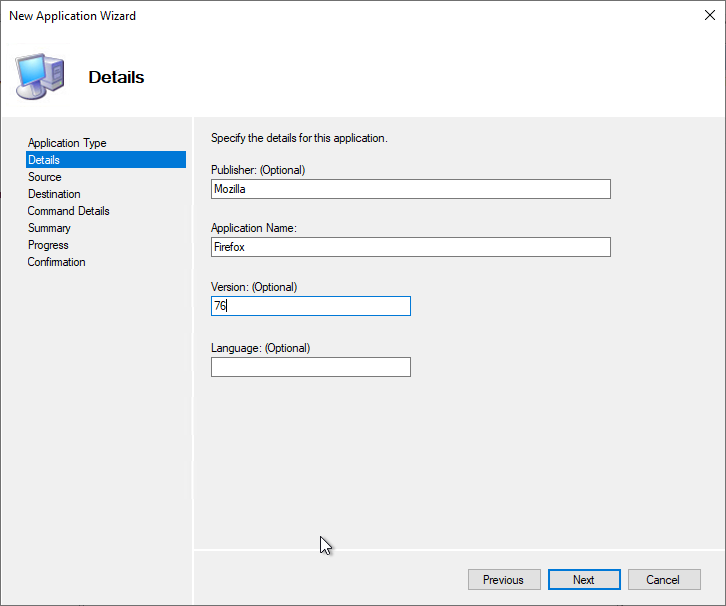
Add at least an application name, and optional the other parameters. Next.
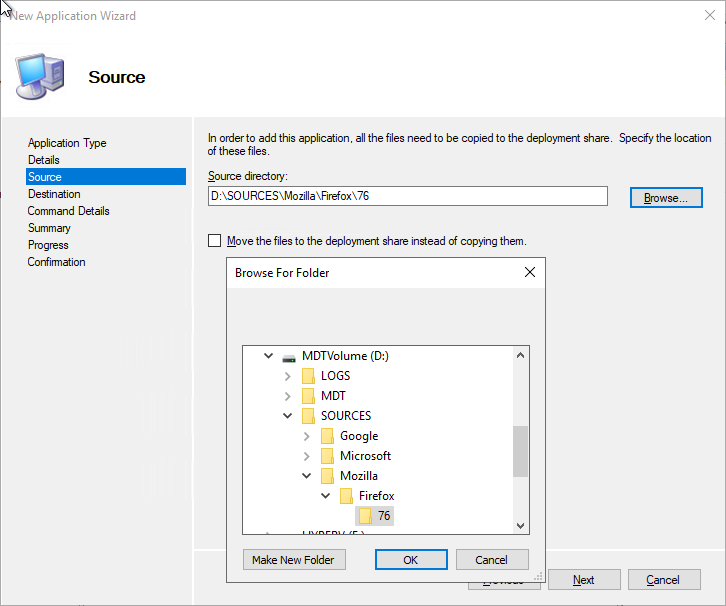
Browse to your sources folder and select the folder that contains the installation file(s) of Firefox 76. I never check the “move the files….” option. Next.

You can change the name of the directory; I usually do not do that. Next.
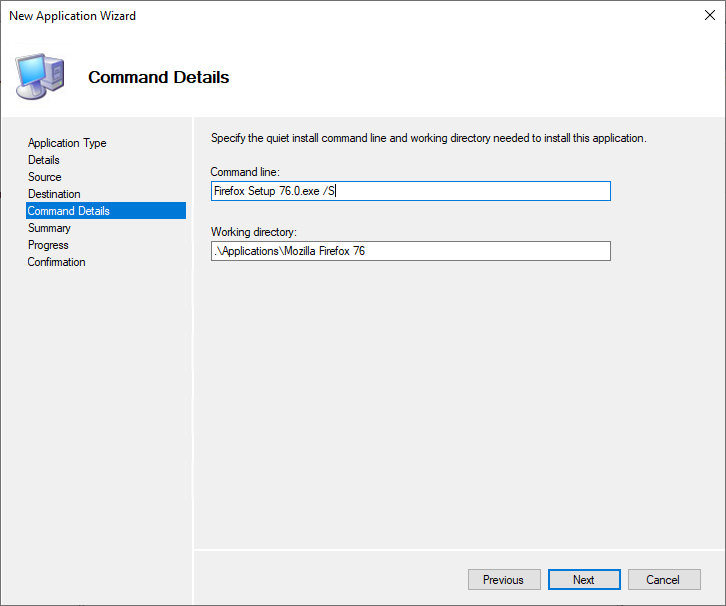
In the command line field, you must enter the complete command to install the application. If the file you execute is directly in the folder you selected in the “source” section, you do not have to enter any paths here. Just type the EXE name and the parameter. For this Firefox example “Firefox Setup 76.0.exe /S” will do the trick. Next.
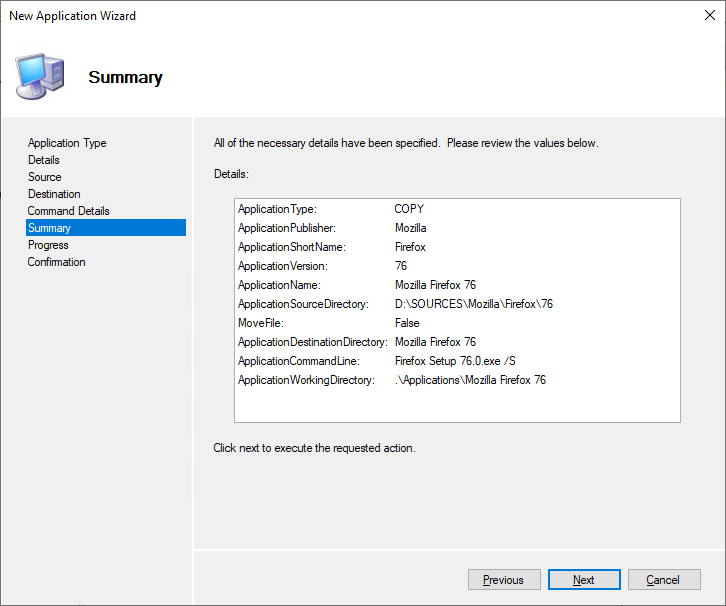
On the summary screen click next.
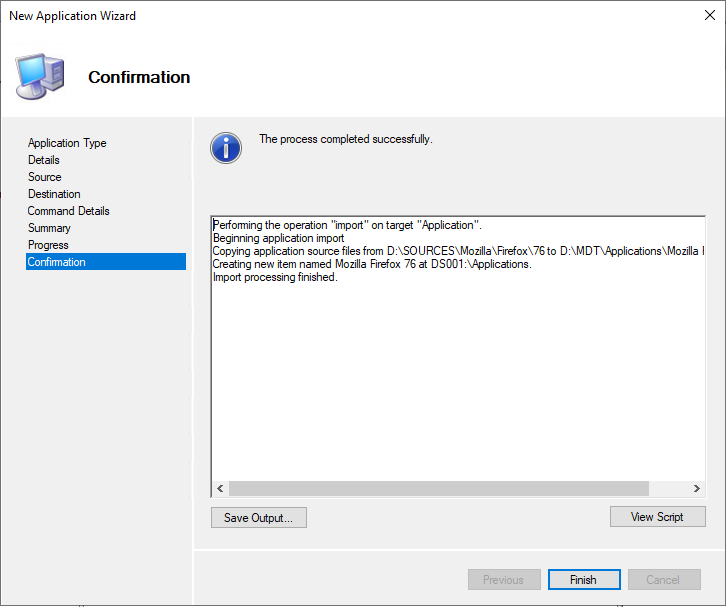
Finish.
Next example is Microsoft Edge Chromium. This installer is downloaded as an MSI file. Always use the larger installers, not the small “still need to download stuff” installers, they do not work very well in an OSD.
Start a New Application Wizard: (Not all screens are in this example, only the useful ones)
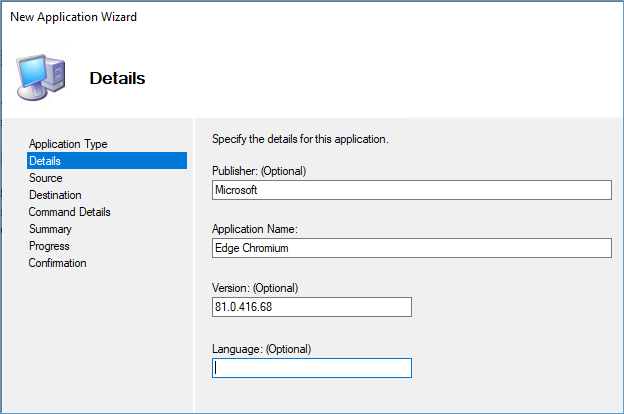
Add the names versions etc. Next.
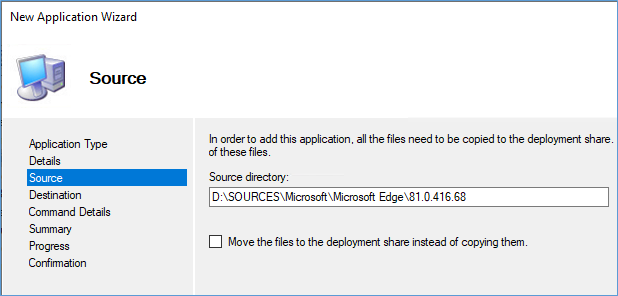
Add the source folder, next.
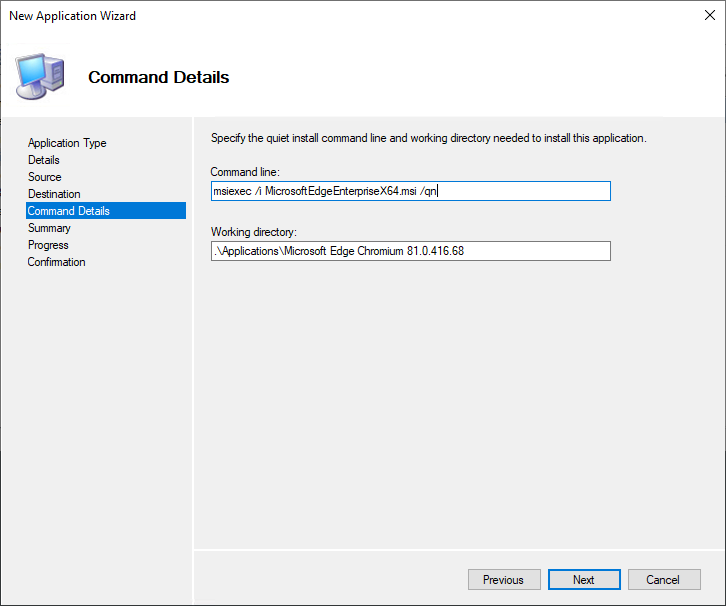
Because the Edge Chromium installer is an MSI file we need to execute msiexec with the correct parameters. (msiexec /i MicrosoftEdgeEnterpriseX64.msi /qn)
Next, next, Finish.
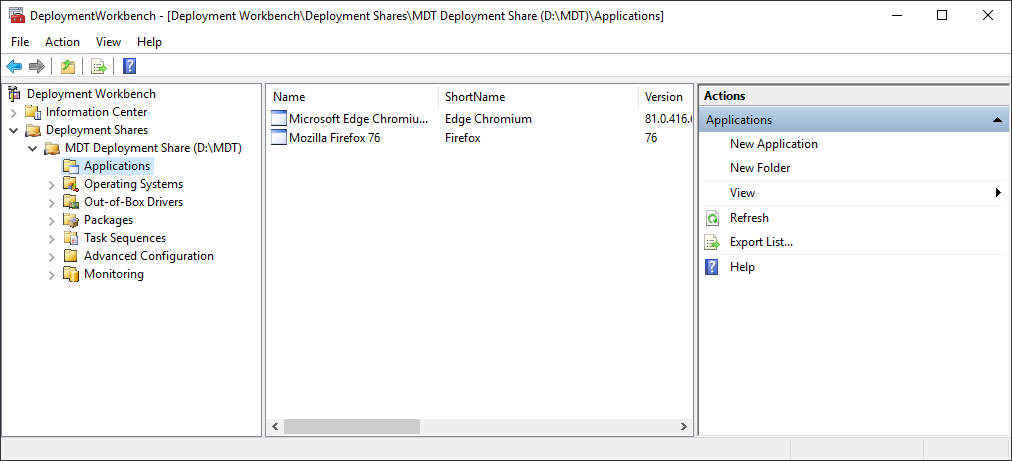
After adding these two applications the MDT Deployment Workbench should look something like this.
I recommend creating a separate task sequence for the applications. This way you can install the same set of applications on different operating systems with the minimal effort.
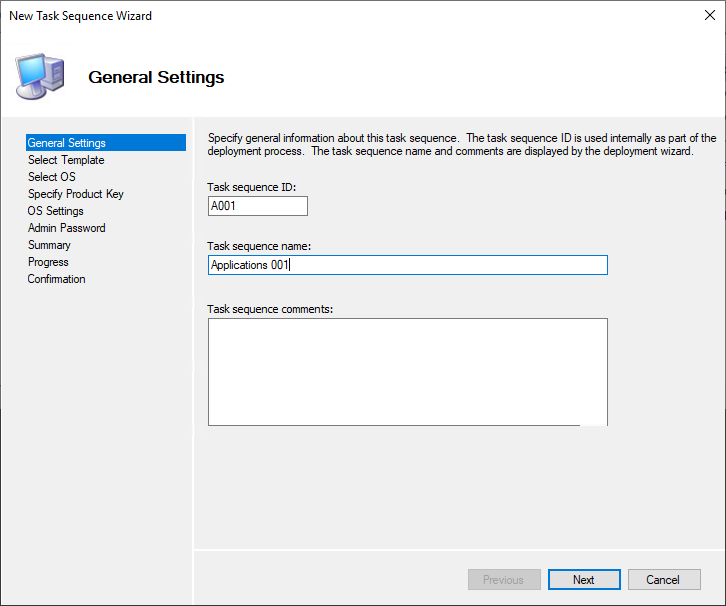
Open a New Task Sequence wizard and name the ID and the task sequence.
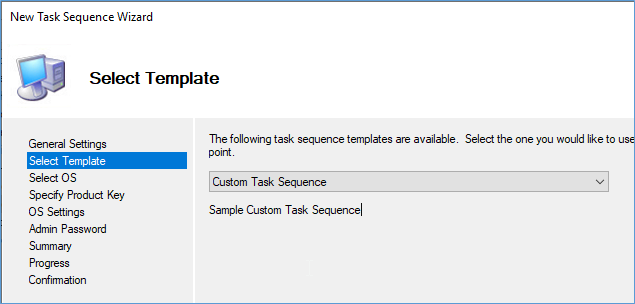
Choose a Custom Task Sequence, next, next, finish.
Open the properties of the new Task Sequence.
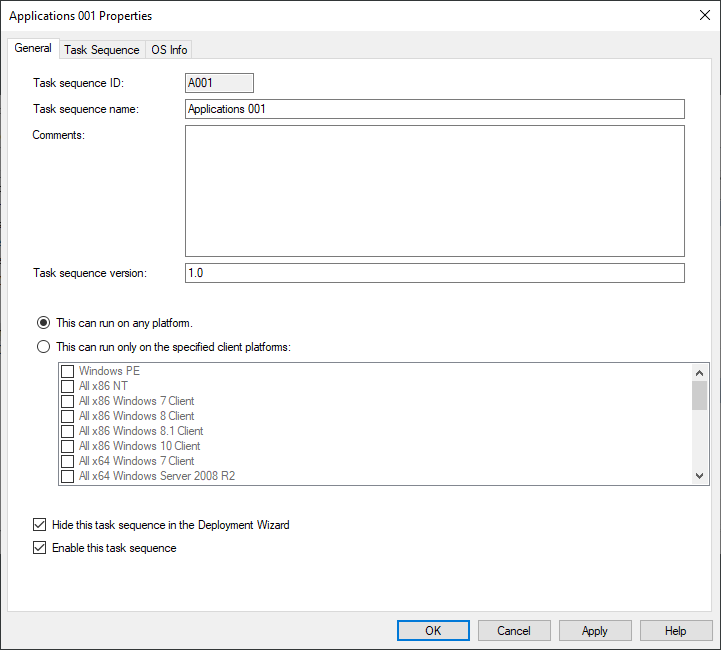
Check the option “Hide this task sequence in the Deployment Wizard”, click Apply. Click on the TAB: Task Sequence
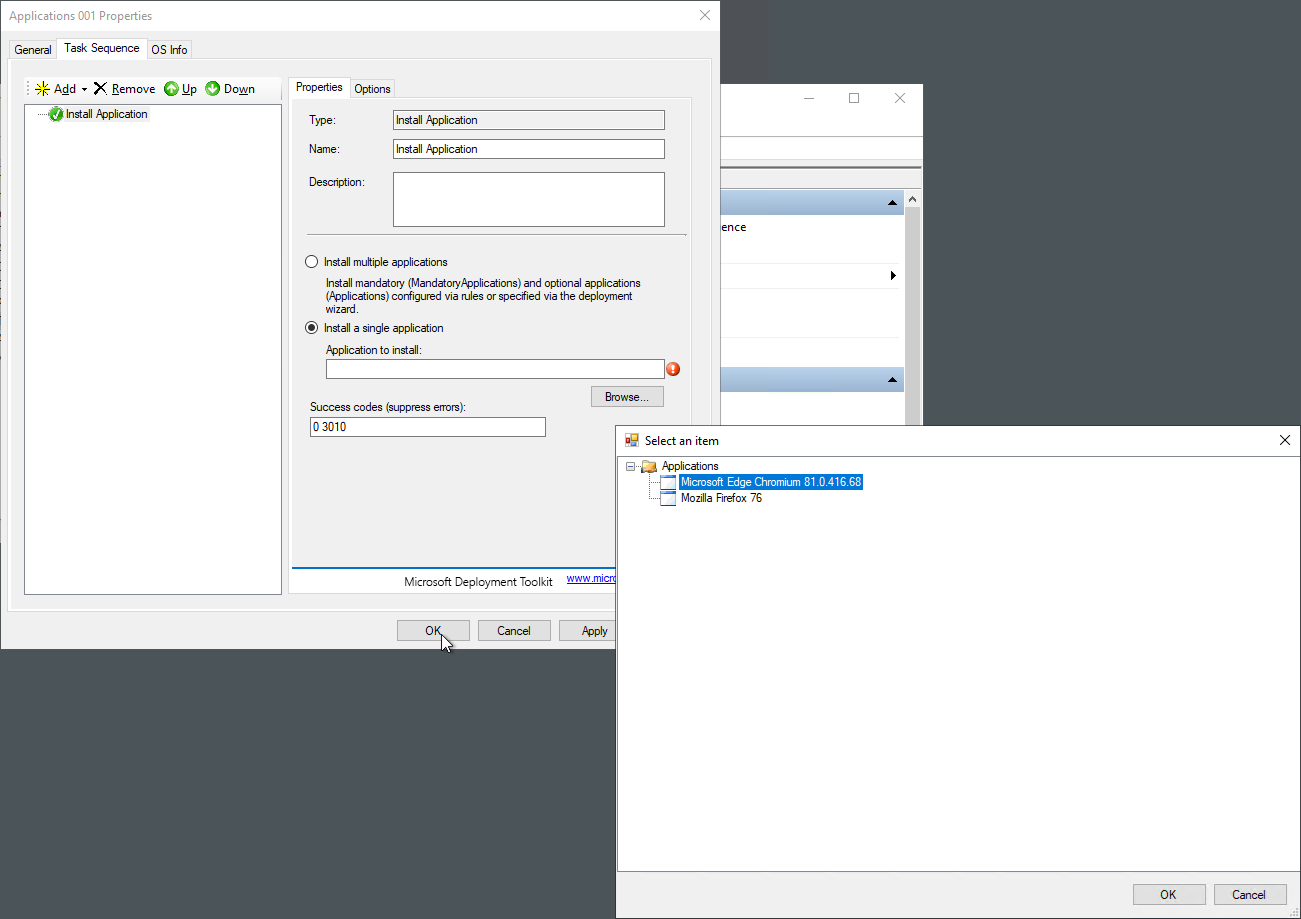
Select “Install a single Application” click Browse. Select an application and press OK.
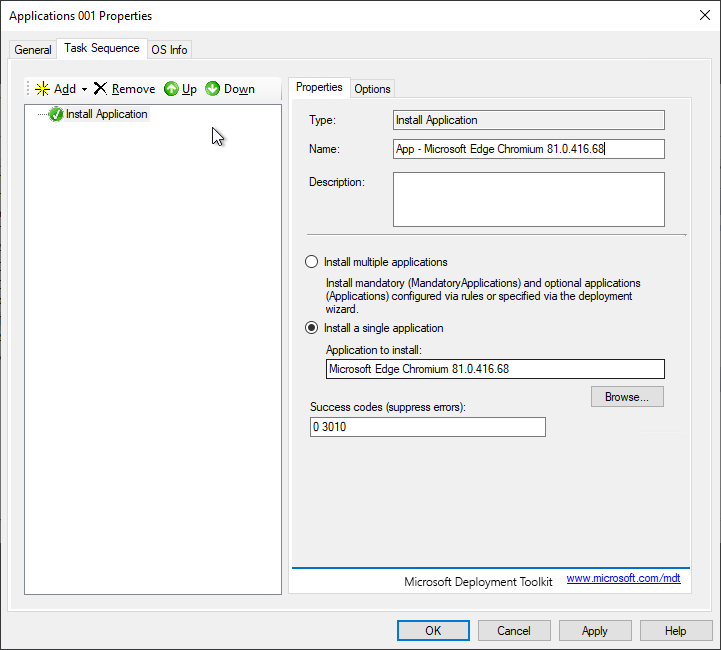
You can change the Name. I usually copy the name in the “Application to install” field, give the name: “App – (PASTE)”
Back in the task sequence tab you can add multiple applications or other tasks.
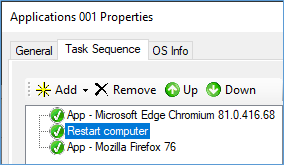
As you can see in this screenshot example. You can also add “Restart Computer” items. If applications require a reboot add these, or just if it makes you feel good
I usually add these reboots after several applications. I decide this after troubleshooting. If during test run’s application have trouble installing, I sometimes add one or more reboots.
Now right click the OSD task sequence and choose properties.
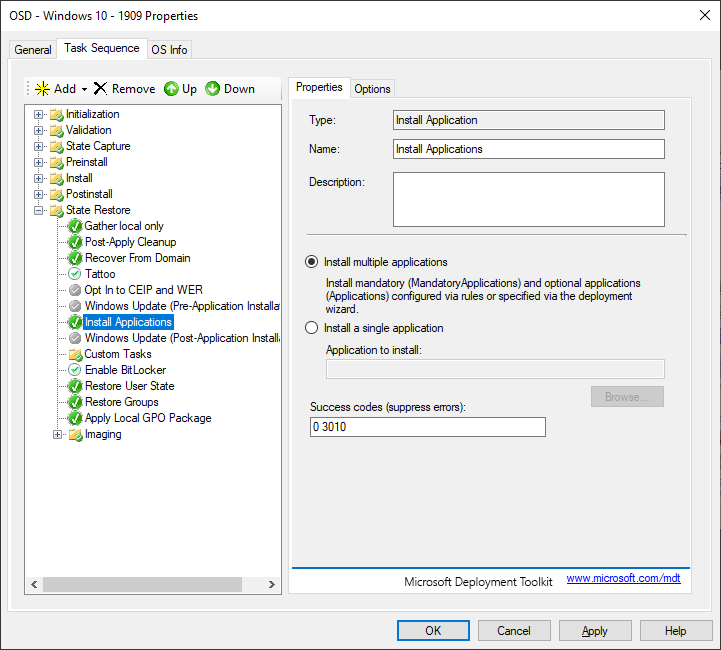
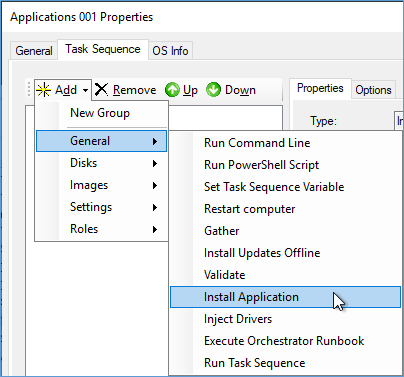
On the TAB: Task Sequence you see an “install applications”. I always Remove this, and add on that exact position another option:
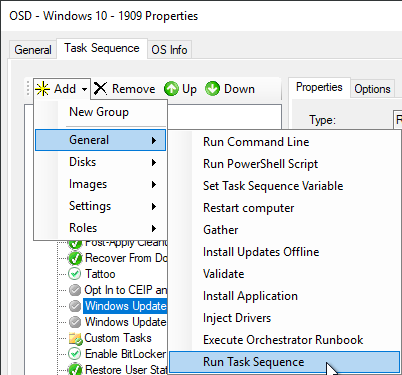
Go to Add, General, Run Task Sequence.
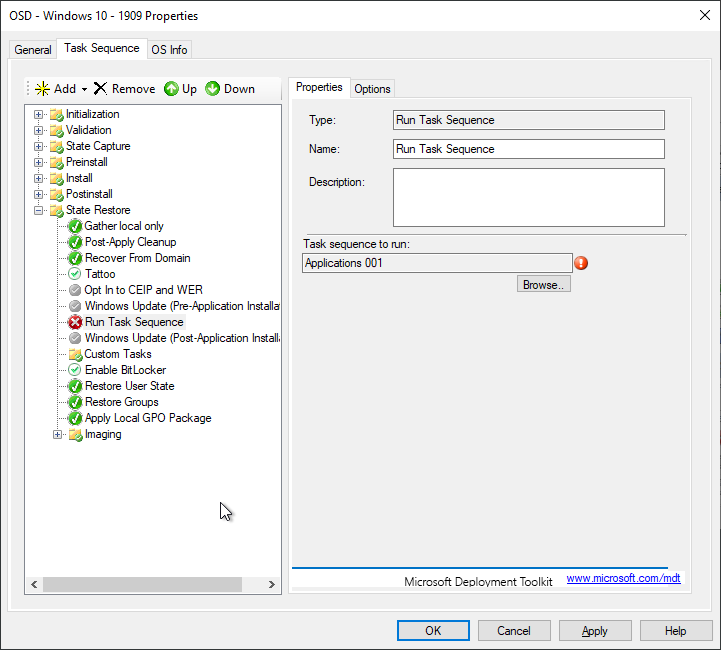
Select the task sequence with the applications. Or add multiple if you have more task sequences with applications installers. Make sure the applications install between the two “Windows Update” items.
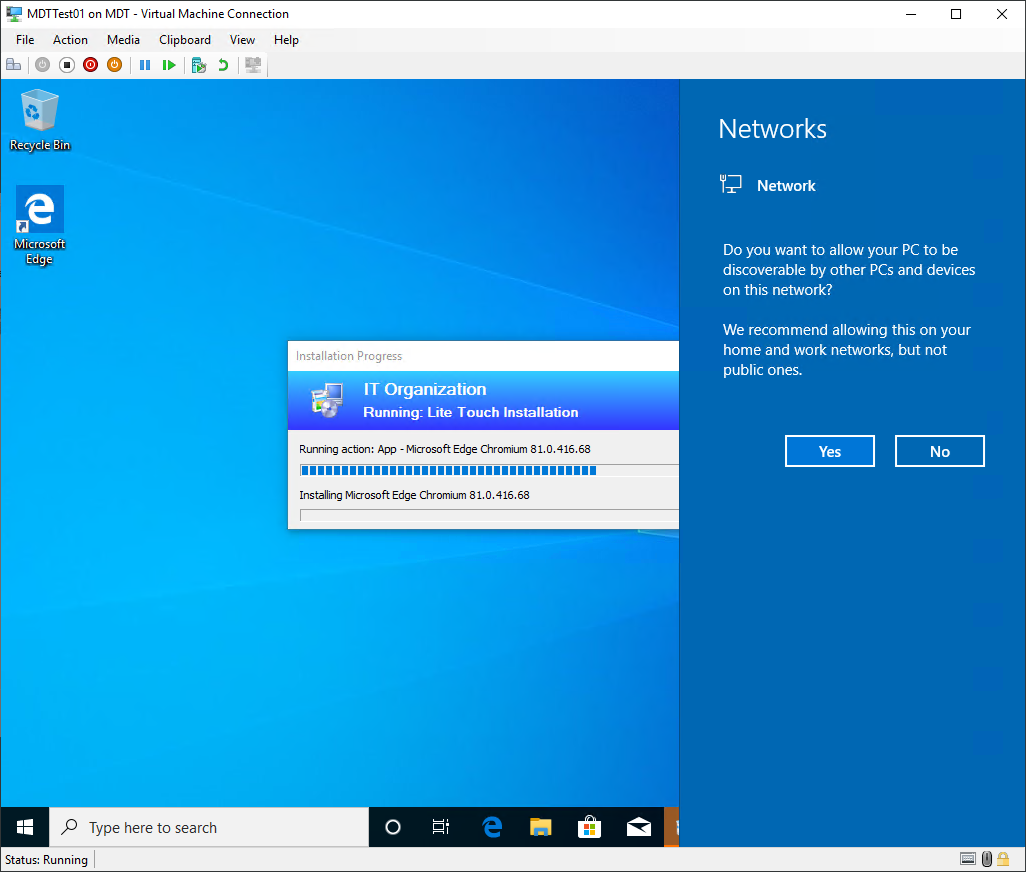
During OSD you will see something similar as on the screenshot above.
End of part 6, continue with part 7.