MDT in a Box – Part 2 – Install MDT
Introduction
This BLOG will describe the instruction how to create your very own “MDT in a Box” server. You can use this server to create images for physical computers, RDS, WVD and probably also other VDI environments. MDT is Microsoft Deployment Toolkit, a few Windows tool to automate the Operation System Deployment (OSD). I use this often in my work for customers to create “golden images” for RDS or WVD.
With the MDT in a box you can create VHD or WIM files for your environments, or for you client environments. You can install several applications, scripts, language packs and updates in this task sequence.
In my work I use MDT to create “golden images” for RDS2019 and Windows Virtual Desktop with Windows 10 Enterprise Multi Session.
This BLOG is very long so I split it in a few parts.
5. Deploy Windows 10 – Multisession (WVD)
MDT in a Box – Part 2 – Install MDT
Install ADK
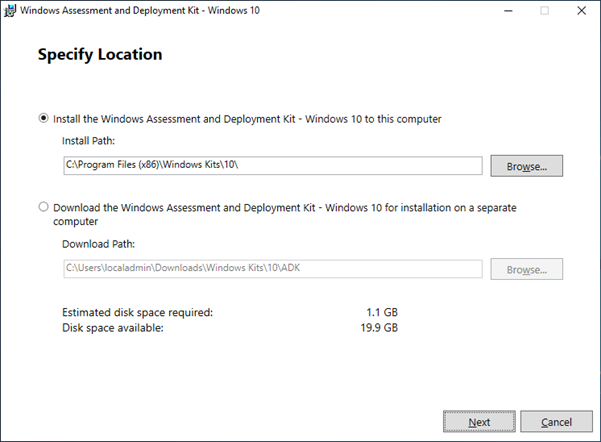
Start the installer (adksetup.exe), change path if required and click Next.
Choose your privacy setting, Next.
Accept license agreement.
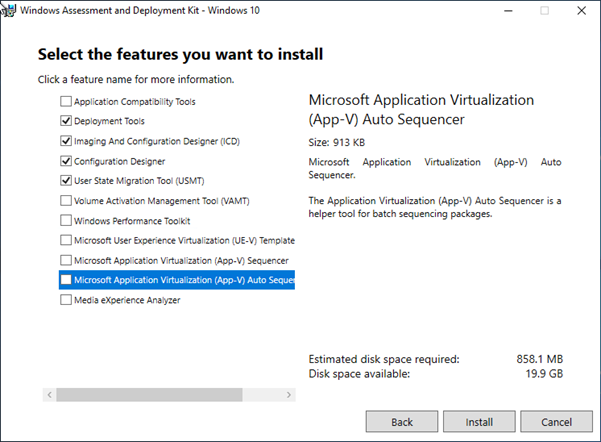
Choose: Deployment Tools, Imaging and Configuration Designer, Configuration Designer and User State Migration Tool. Click INSTALL
When installation is done, click Close.
Install WinPE
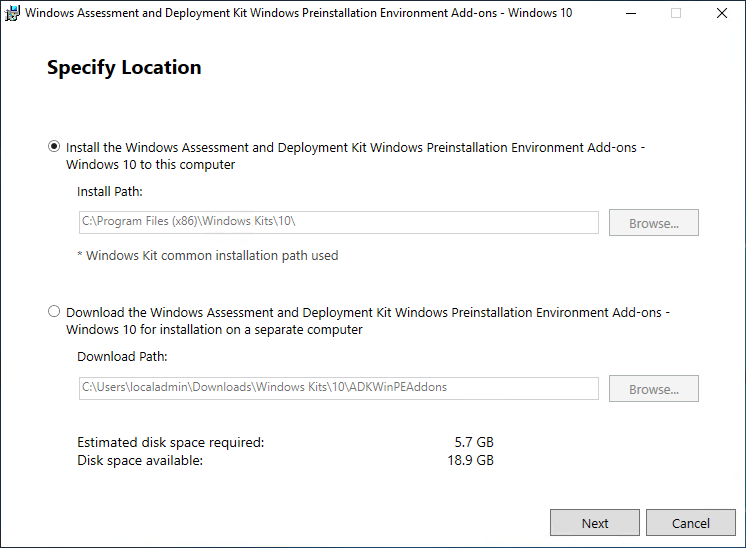
Start the installer (adkwinpesetup.exe), if required change the path, click Next.
Choose the privacy setting and press next. Accept the license agreement.
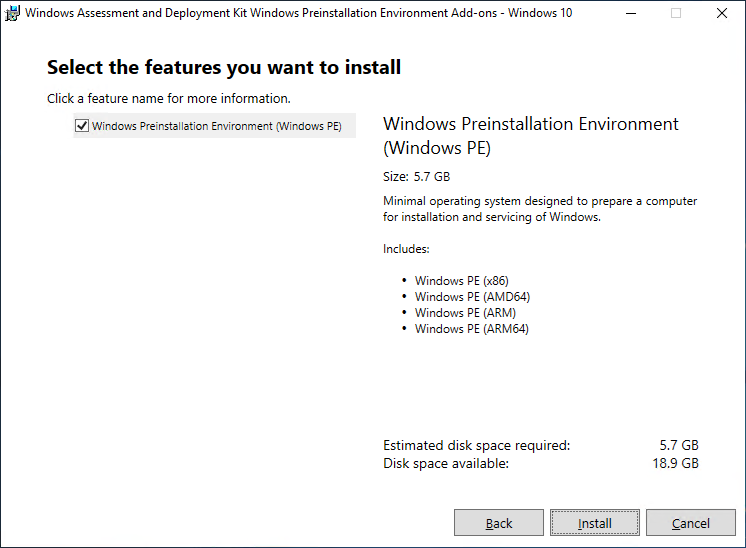
Click Install. Press Close when done.
WSIM1903 Update
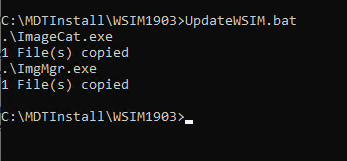
Apply the WSIM1903.zip update by executing the UpdateWSIM.bat file in an elevated CMD prompt. Read the readme, if you haven’t installed previous applications in default locations.
MDT 8456 Installation
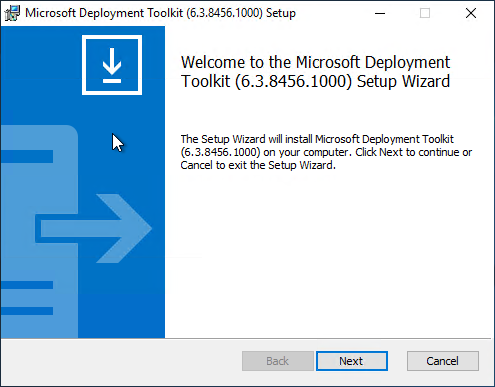
Start the installation by executing MicrosoftDeploymentToolkit_x64.msi, NEXT.
Accept the license agreement. Default path, NEXT. Choose for the Customer Experience Improvement Program. Next, Install, Finish.
End of part 2, continue on part 3.